Read Time: 15 minutes
Are you looking for a photography adventure that'll open your eyes to the world's hidden wonders? That's macro photography!
With macro photos, you discover the extraordinary in the seemingly ordinary.
From camera settings to creative subjects, we've got you covered with macro photography ideas – plus tips, tricks, and inspiration – to help you create close-up photos of nature.
Join us as we unravel the mysteries of macro photography, exploring how making macro shots can transform how we see and capture the natural world.
What is macro photography?
Macro photography is the art of taking close-up photos of small subjects, magnifying them to larger-than-life proportions to showcase their incredible textures, patterns, and colors.
Think dewdrops on a spider's web, the delicate veins of a butterfly's wings, or the striking details of a tiny flower bud.
It's all about capturing the finer points of the natural world – those minuscule wonders that often go unnoticed.
Photo: Protasov AN/Shutterstock
The great thing about macro photography is it can be as simple or complex as you want. Start with just a camera and lens, then add special accessories and custom gear as your obsession grows.
Camera equipment for making macro photos
To get started, you'll need a few essential tools. Camera-wise, while many types can be used effectively, a DSLR or mirrorless camera is often considered the best choice for macro photography.
They offer superior image quality, robust manual controls, and the ability to use interchangeable lenses.
Additionally, look for a model with a high megapixel count to capture images with intricate details.
Consider features like in-body image stabilization, focus peaking, and live view mode.
We have a complete guide to the best cameras for macro photography, which includes helpful info on features to consider and how to pick the right camera for your needs and budget.
Here's what else we recommend:
Macro Lens
Arguably, the most important piece of equipment for macro photography is a macro lens.
These special lenses allow you to focus on subjects very close to your camera – often just a few inches away.
Look for a lens with a 1:1 magnification ratio, meaning that the image captured by your camera will be the same size or larger than the subject itself. Pretty amazing, right?
Photo: Antonio S/Shutterstock
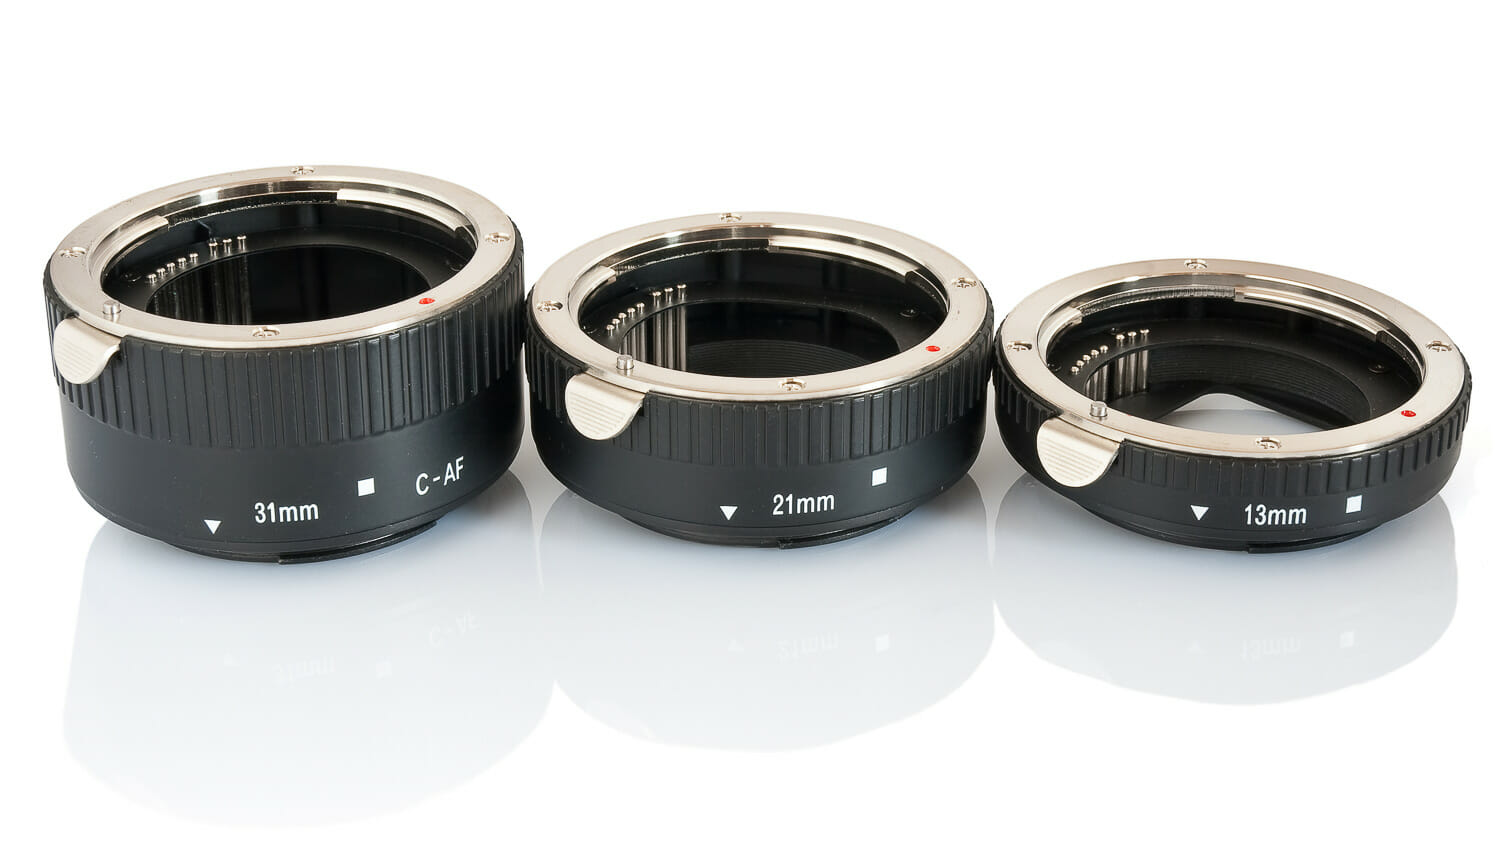
Extension tubes are a great way to turn a “regular” lens into something more suited for macro photography. If you're just dipping your toes into this niche, try this budget-friendly option and experiment before investing in dedicated macro lenses.
Extension Tubes
While a dedicated macro lens certainly eases and enhances your experience in creating macro images, they can be pricey.
Lens attachments like extension tubes are a cost-effective way to achieve higher magnification without a macro lens.
Extension tubes fit between your camera body and lens, increasing the distance between the lens and the sensor and allowing you to focus closer than your lens normally would.
Tripod
A sturdy tripod is vital for macro photography. Even the slightest movement can blur your image when you're working at such close distances.
Tripods provide stability, ensuring your intriguing images are sharp and clear.
Photo: pattara puttiwong/Shutterstock
A remote shutter release is handy if you want to eliminate camera shake. It's a great option for situations when you're using a slow shutter speed.
Remote Shutter Release
To further minimize camera shake, consider using a remote shutter release. This handy tool allows you to trigger the shutter without touching the camera. Remote shutter releases can be wired or wireless.
(🔥 Tip: If you're super worried about camera shake, go for a wireless shutter release like this one by Pixel. They're inexpensive and great to have in a pinch.)
Reflectors and Diffusers
These tools can help you manipulate natural light to your advantage.
Reflectors bounce light onto your subject, filling in shadows.
Diffusers soften harsh light, reducing contrast and creating more evenly lit images.
Photo: vetkit/Shutterstock
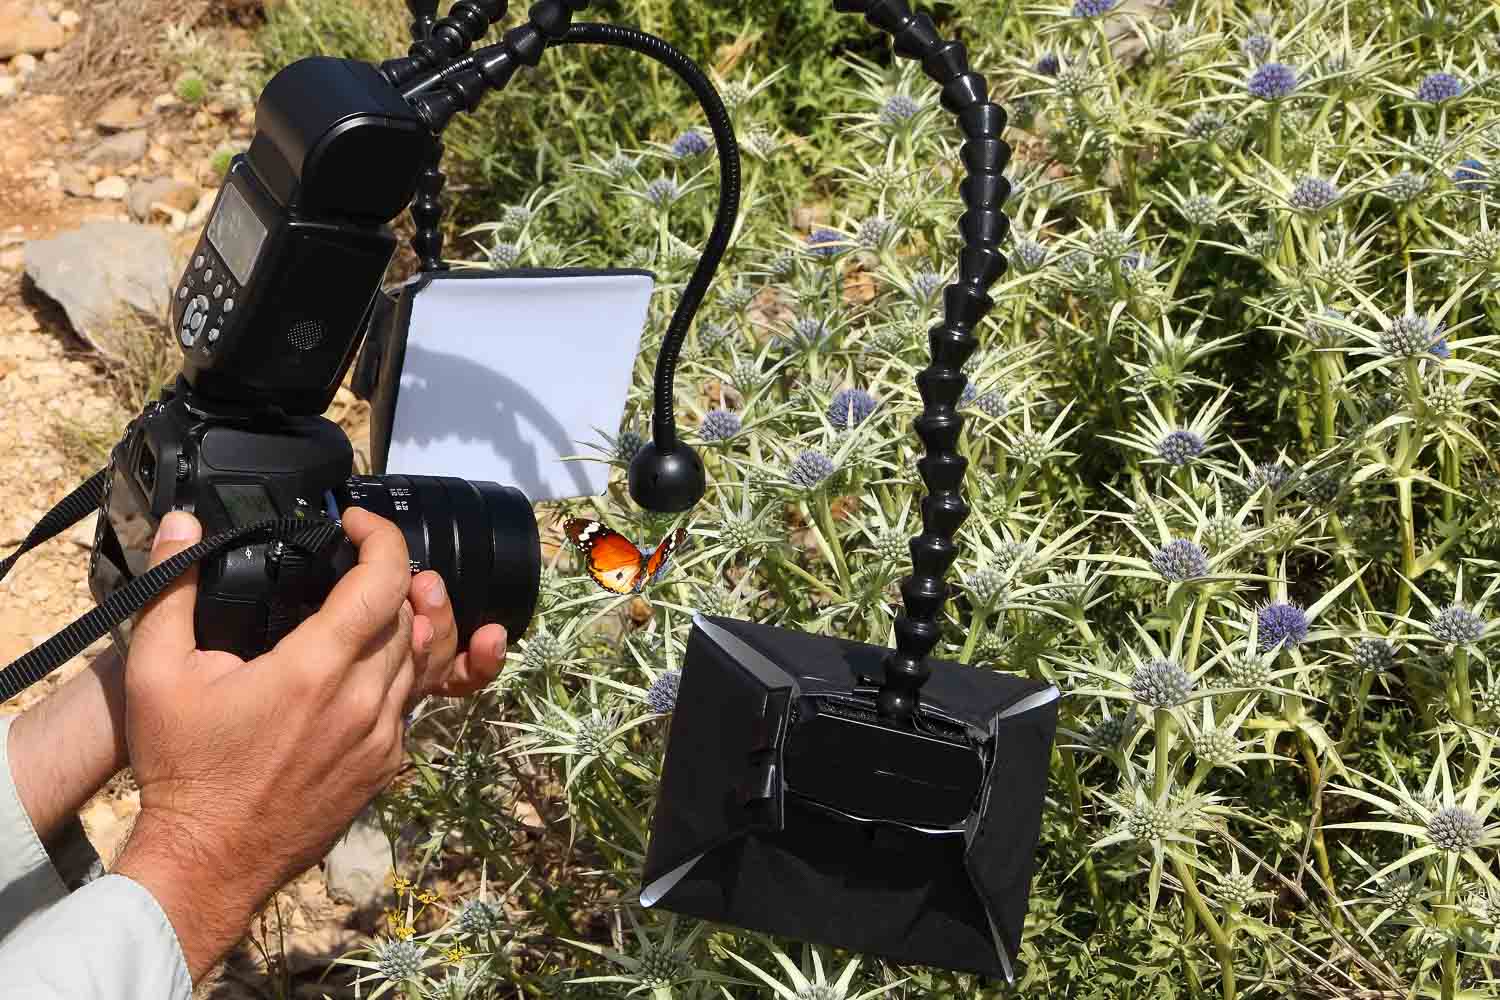
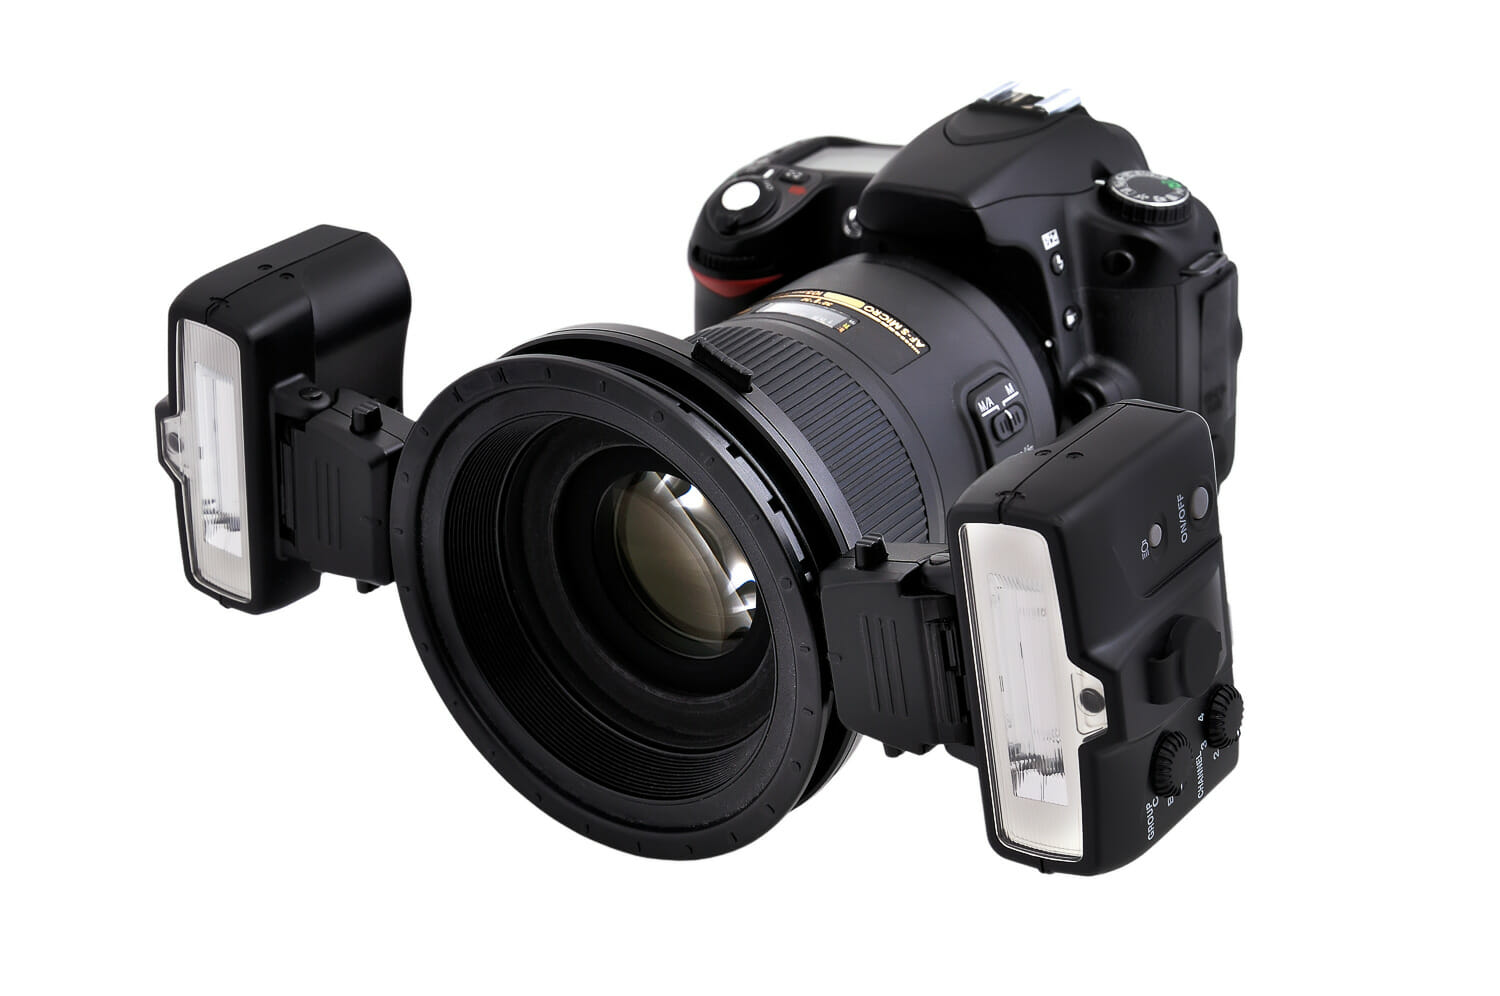
Macro photography often requires extra light, and flash brackets are helpful for attaching multiple flashes to your camera and adjusting the angle of the flashes.
Flash Brackets
Flash brackets are helpful for adding extra illumination and eliminating shadows, creating evenly lit images. They also allow you to move the flash around the lens to get creative with lighting angles and effects.
Flash brackets can be attached the camera or lens, be single or twin. Lots of customization is possible when it comes to lighting.
(🔥 Tip: If you're just getting started, don't worry about getting this level of complicated. Start simple with an LED light and grow from there.)
Ring Flash or LED Light
Lighting can be challenging in macro photography. A ring flash or LED light that attaches to the front of your lens can provide extra illumination when needed.
Photo: Billy Watkins/Shutterstock
If you're excited about trying out focus stacking for macro photography, a focus rail is a fantastic piece of equipment to add to your kit.
Focus Rail
This tool allows you to make precise adjustments to your camera's position, helping you achieve perfect focus.
Of course, macro photography isn't just about the gear – it's also about patience and a keen eye for detail.
With your mind in macro mode, you can shoot amazing shots of a tiny world while uncovering the hidden gems that lie within.
Photo: Jaymi Heimbuch
There are countless ways to photograph the tiny wonders of our world. Macro opens up creativity and encourages you to explore things like interesting lighting.
What settings do you use for macro photography?
Before we dive into some creative macro photography ideas, let's discuss the settings that help macro photographers achieve stunning images.
Aperture
One of the key factors in making a great macro shot is controlling the depth of field.
To ensure your subject is sharp and in focus while getting background blur, you'll want to use a smaller aperture, such as f/8 or f/11.
However, if you're aiming for a dreamy, ethereal effect with a shallow depth, feel free to experiment with wider apertures like f/2.8 or f/4.
Shutter Speed
With close-up photography, even the slightest movement can cause blur in your primary subject.
To combat this, opt for a fast shutter speed, such as 1/125s or faster. This will help freeze any motion and maintain the sharpness when you capture macro subjects.
If you're using a tripod and taking static shots, you can afford slower shutter speeds without worrying about camera shake.
ISO
Keep your ISO as low as possible (e.g., ISO 100 or 200) to minimize noise and maintain image quality.
Suppose you're shooting handheld or in low-light conditions. In that case, you may need to increase your ISO to compensate for the faster shutter speed or smaller aperture.
Just remember that higher ISO values can result in increased noise, so it's all about finding the right balance.
Focus Mode
Switch your camera to manual focus mode to fully control your focus point.
Macro photography often requires precise focusing, and autofocus may not always be reliable in close-up situations.
With manual focus, you can fine-tune the focus to ensure your subject is tack-sharp.
Image Stabilization
If your lens or camera body has image stabilization, make sure to turn it on – especially when shooting handheld – to provide you with sharper macro photographs.
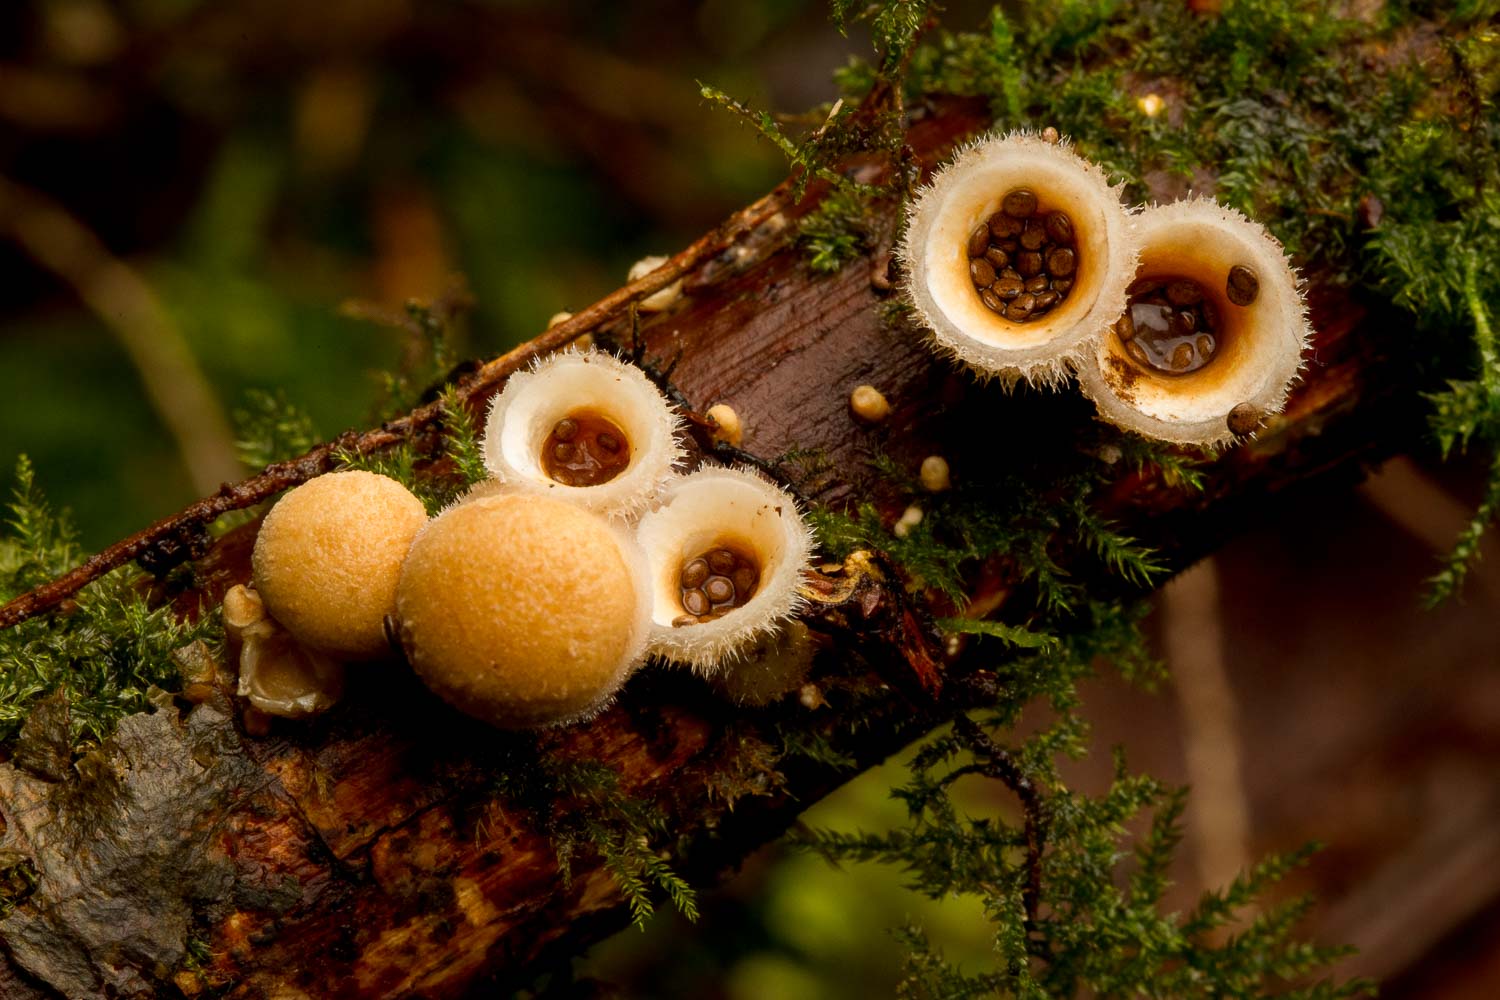
Photo: Jaymi Heimbuch
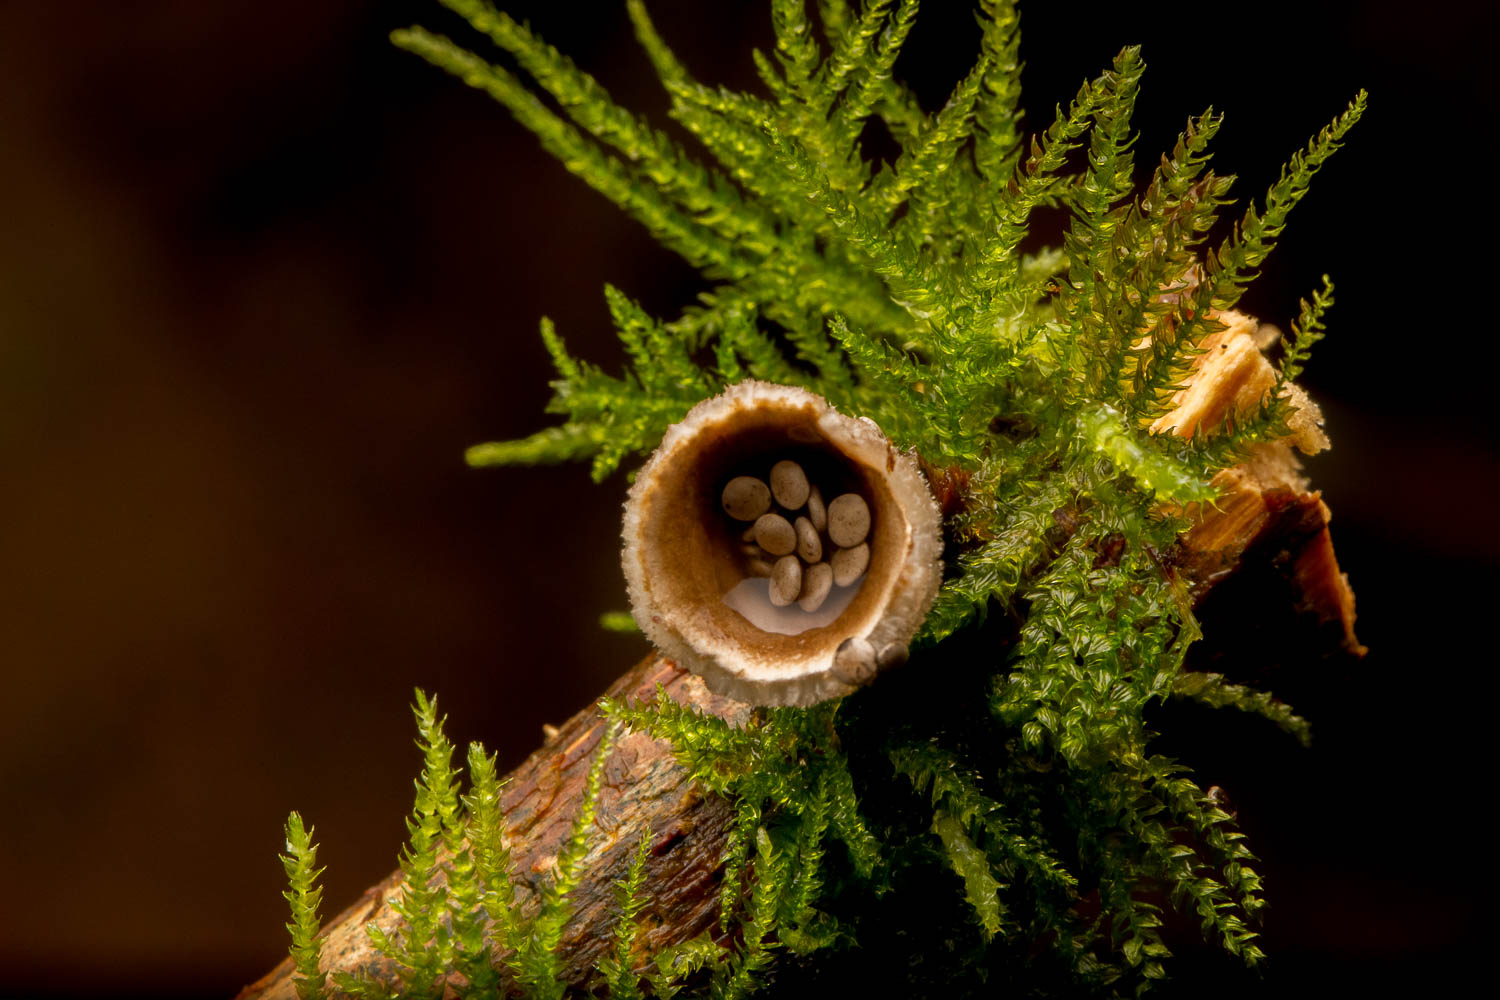
A birds nest fungus is something you might find in your own backyard! This cool fungus opens up to reveal seeds, and looks a whole lot like… yep, a teensy bird's nest. There are many species worldwide, and they make for a great macro subject!
25 unique ideas for amazing macro photography subjects
When it comes to amazing macro photo ideas, the possibilities are endless. From everyday subjects to see in a new way, to interesting patterns and textures that inspire abstract macro photography goodness, here are 25 of our best macro photography ideas for nature lovers that you can try close to home.
Photo: suthiphong yina/Shutterstock
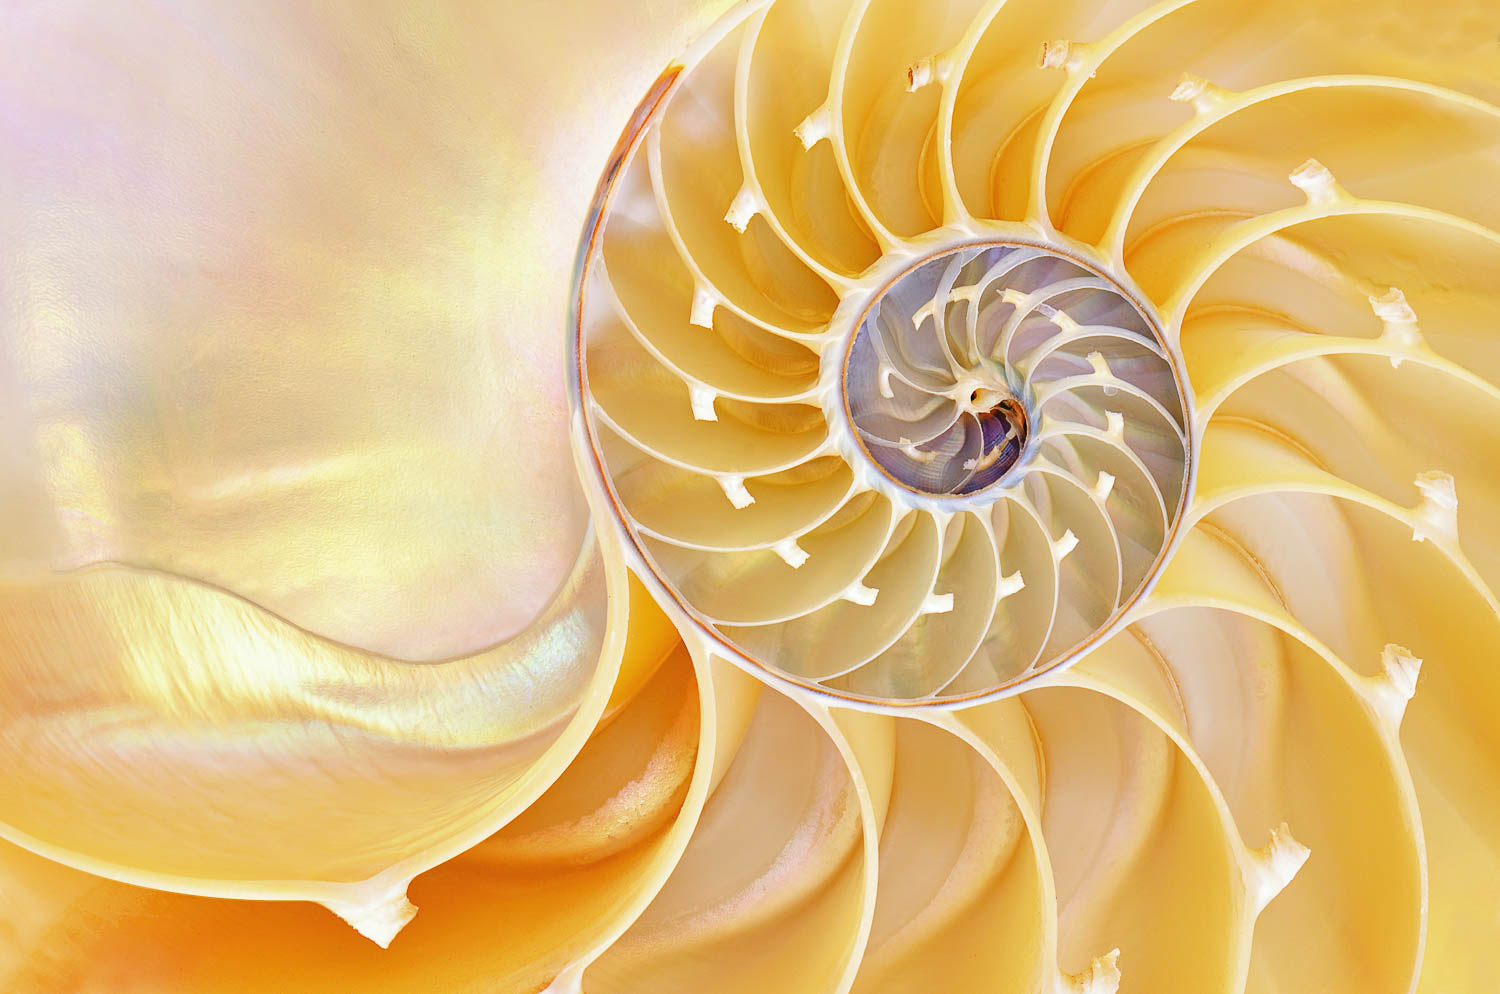
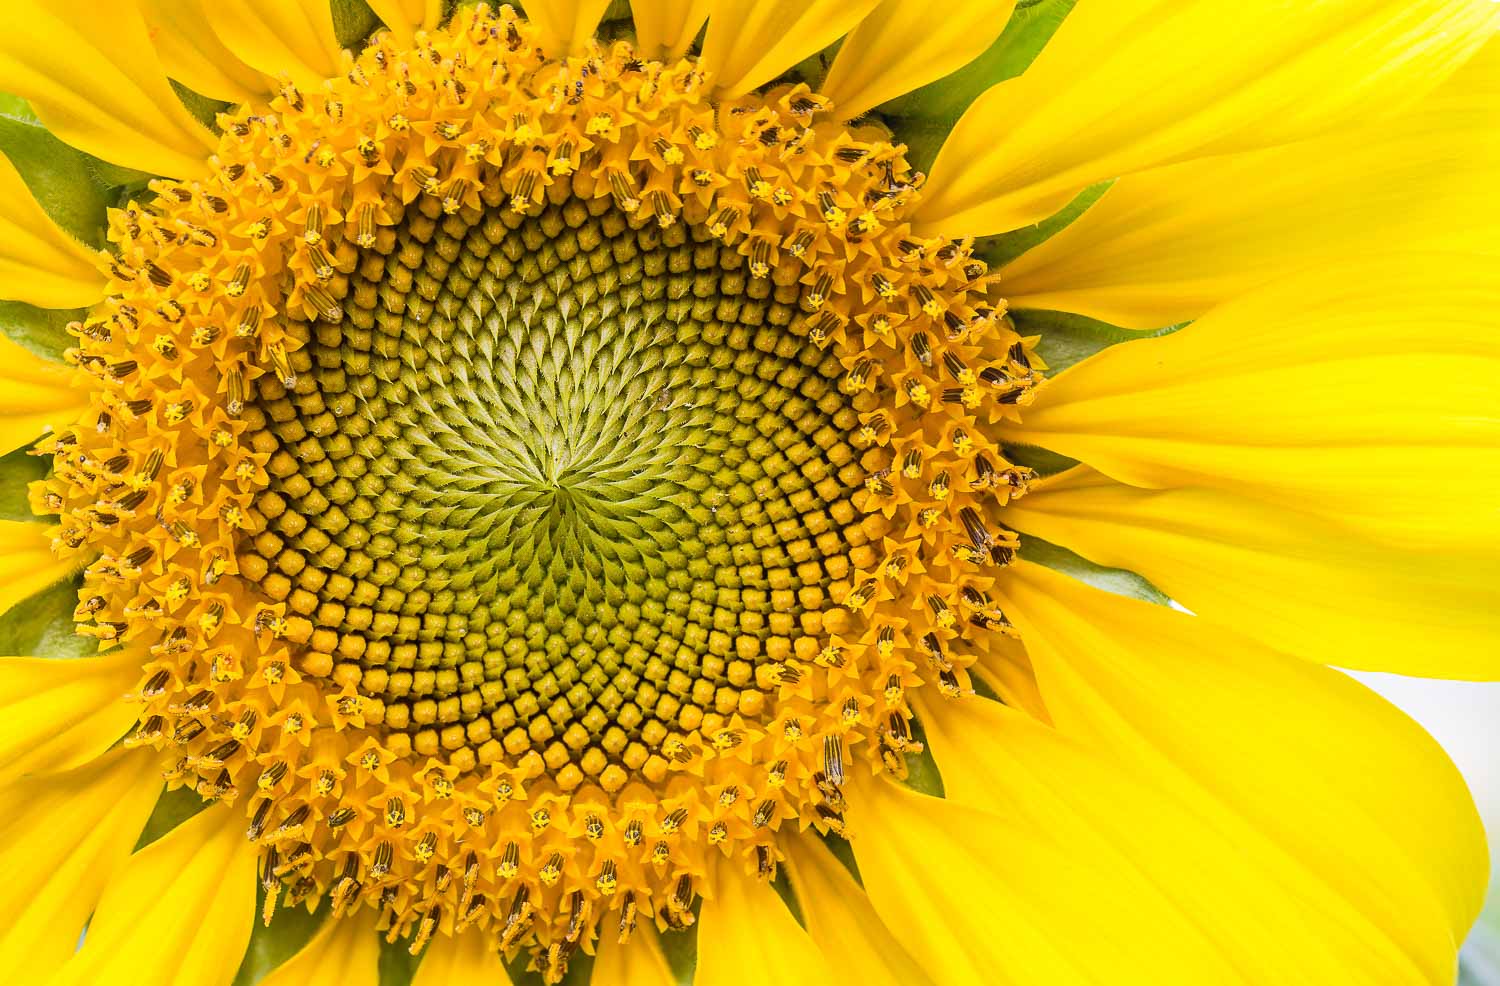
Golden spirals, the Fibonacci sequence, swirls, twirls, whorls… these are the miracles of nature that also lead to captivating macro photos. Check your yard for plants, shells and other spirals.
Nature's Spirals
Plants that grow in spiral patterns (think pinecones, succulents, or ferns) make interesting subjects for a macro photo. Keep the overall composition simple while focusing on the intricacies of the design.
- Dramatic Lighting: Side lighting, in particular, can emphasize the spiral patterns by casting shadows.
- Explore Aperture: Play around with your aperture settings. A shallow depth of field can isolate a part of the spiral, drawing the viewer's eye to that point, while a larger depth of field can keep more of the spiral in focus, showcasing its overall pattern.
- Mindful Composition: While focusing on the spiral, be mindful of the overall composition. Use the rule of thirds to position your spiral, or try placing it in the center for a symmetrical composition.
Pollen Trails
Springtime brings pollen. Capture the trails left by bees and other insects on the contrasting background of flowers and leaves, showing a roadmap of their activity.
- Get REALLY Close: A macro lens will best enable you to get close enough to capture the extremely fine details of pollen grains.
- Head Out Early: Morning is often best as bees and other pollinators are typically more active then, plus the soft light can bring out the colors and textures of the pollen.
- Color Contrast: Look for flowers or leaves that offer a strong color contrast with the pollen. This will make the pollen trails stand out.
Photo: Max Lewis 10/Shutterstock
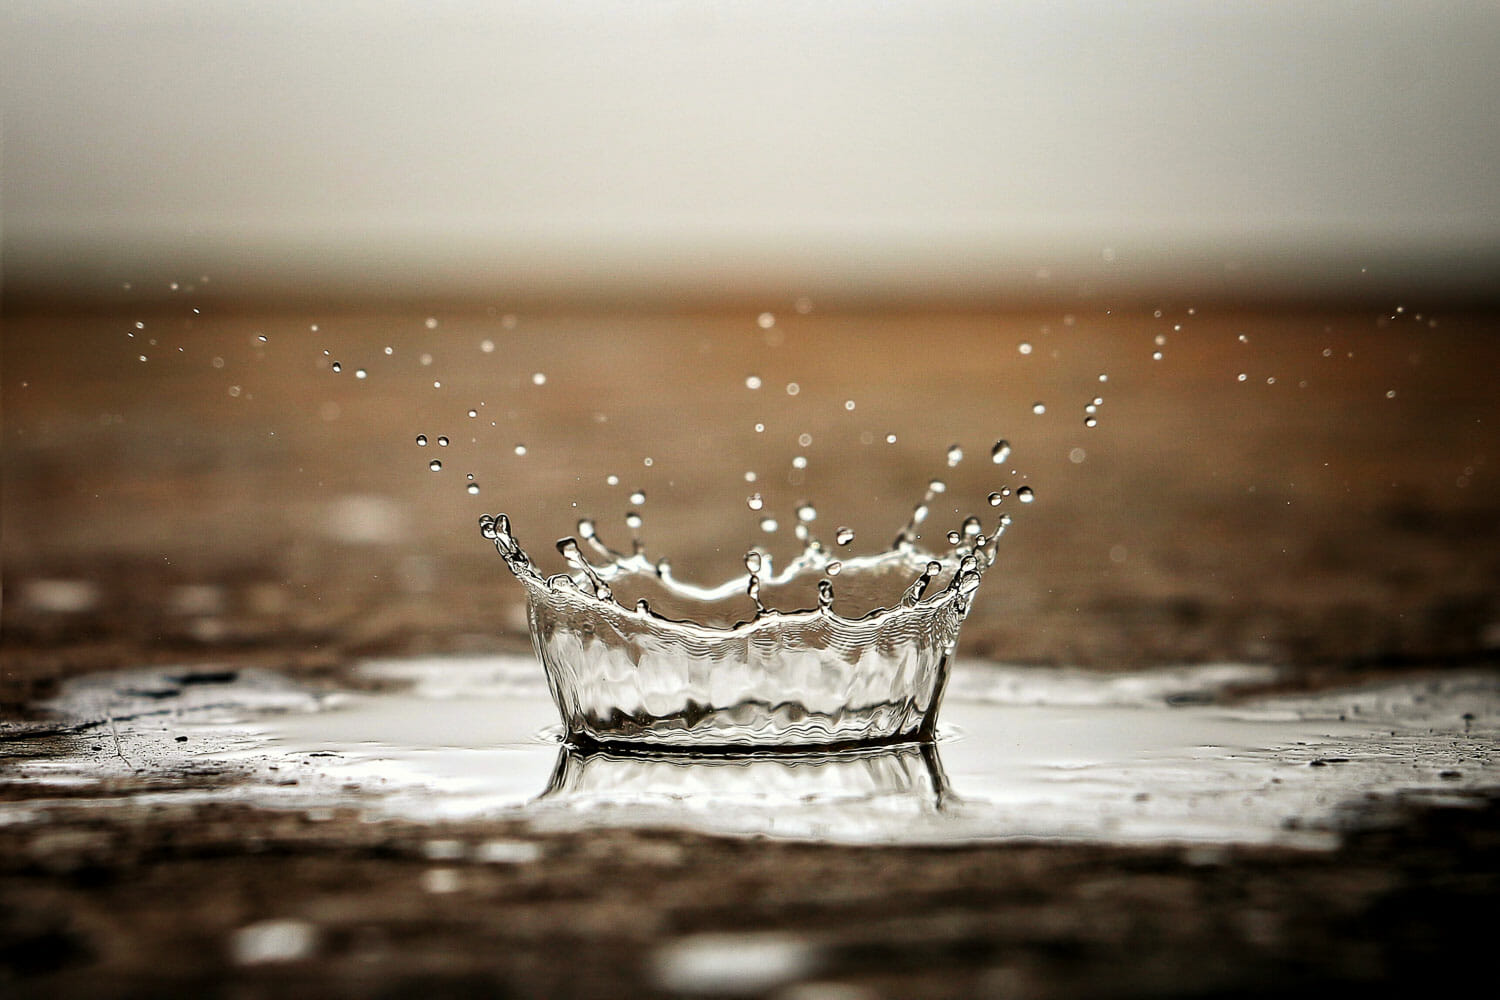
Macro photography can be action-packed! From ripples to splashes, pops to drops, get close to the tiny-but-powerful activity of water.
Raindrop Ripples
During a rain shower, try capturing the ripples created by water droplets hitting a puddle or pond. These circular patterns can be quite captivating.
- Shutter Speed: The key to freezing the motion of a water droplet is a fast shutter speed. Start with something around 1/500th of a second and adjust as needed. An even faster shutter speed, such as 1/1000th or more, will likely give you the best results.
- Manual Focus: Autofocus can struggle with fast, small subjects like water droplets. Use manual focus for complete control.
- Change Perspective: Try getting down to the water level or shooting from the side. This can add depth to your images and make the ripples look more dramatic.
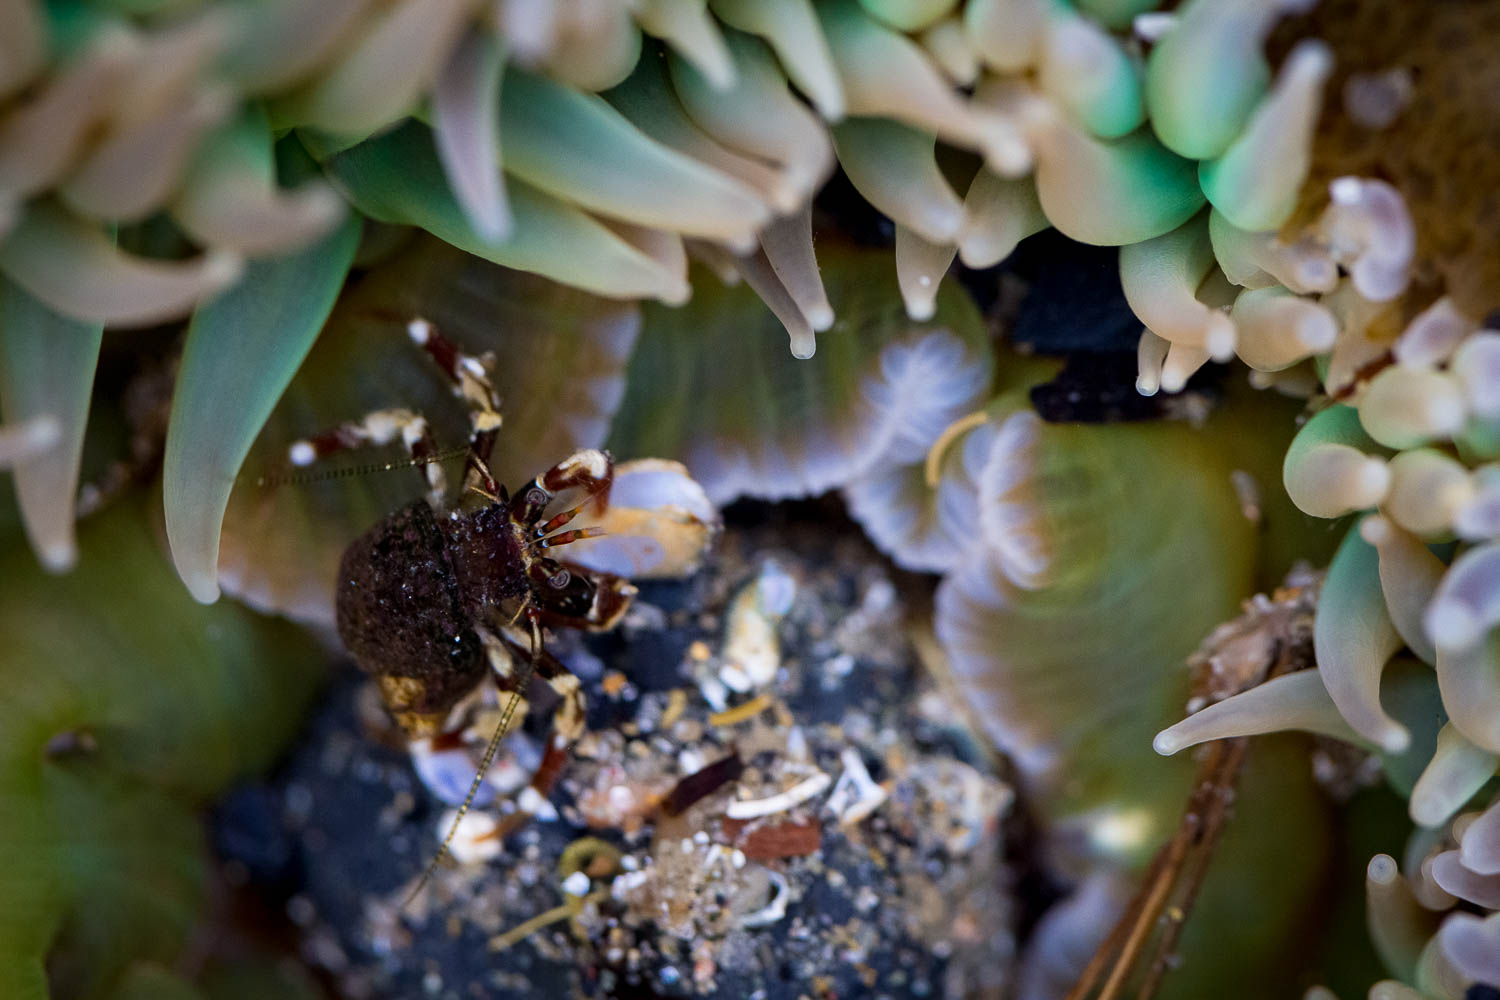
Photo: Jaymi Heimbuch
The underwater world is waiting! Capture surprising details under the surface, from insect larvae to fish, plants, egg deposits, and more. Here, a tiny hermit crab explores an anemone in a tide pool.
Underwater Miniatures
If you have access to a waterproof camera or housing, explore the tiny underwater world. Submerged pebbles, aquatic plants, or even bubbles trapped under the water's surface can make compelling subjects.
- Water-Proofing: Ensure your camera is suitable for underwater use. If your camera isn't waterproof, invest in waterproof housing to protect it.
- External Lighting: Underwater lighting can be tricky. Natural light is often diffused, and colors can appear muted. Using an external flash or underwater lights can help bring out the vibrant colors and details in your subjects.
- Safety First: Safety should always be your first priority when shooting underwater, even if you're sticking to the shoreline. Ensure you're comfortable with the environment and never put yourself at risk for a shot.
Sand Grains
A handful of sand contains thousands of unique grains – that's wild! Each grain of sand, unique in its shape and color, can become a subject of its own in the frame of macro photography.
- Dedicated Macro Lens: To capture the individual shapes and colors of sand grains, you'll need a macro lens that allows close-up focus.
- Side Light: Side lighting can emphasize the texture and shape of each sand grain, while backlighting can create a glow around the grains.
- Stabilization: A tripod is essential for keeping your camera stable, especially when working with such small subjects and shallow depth of field.
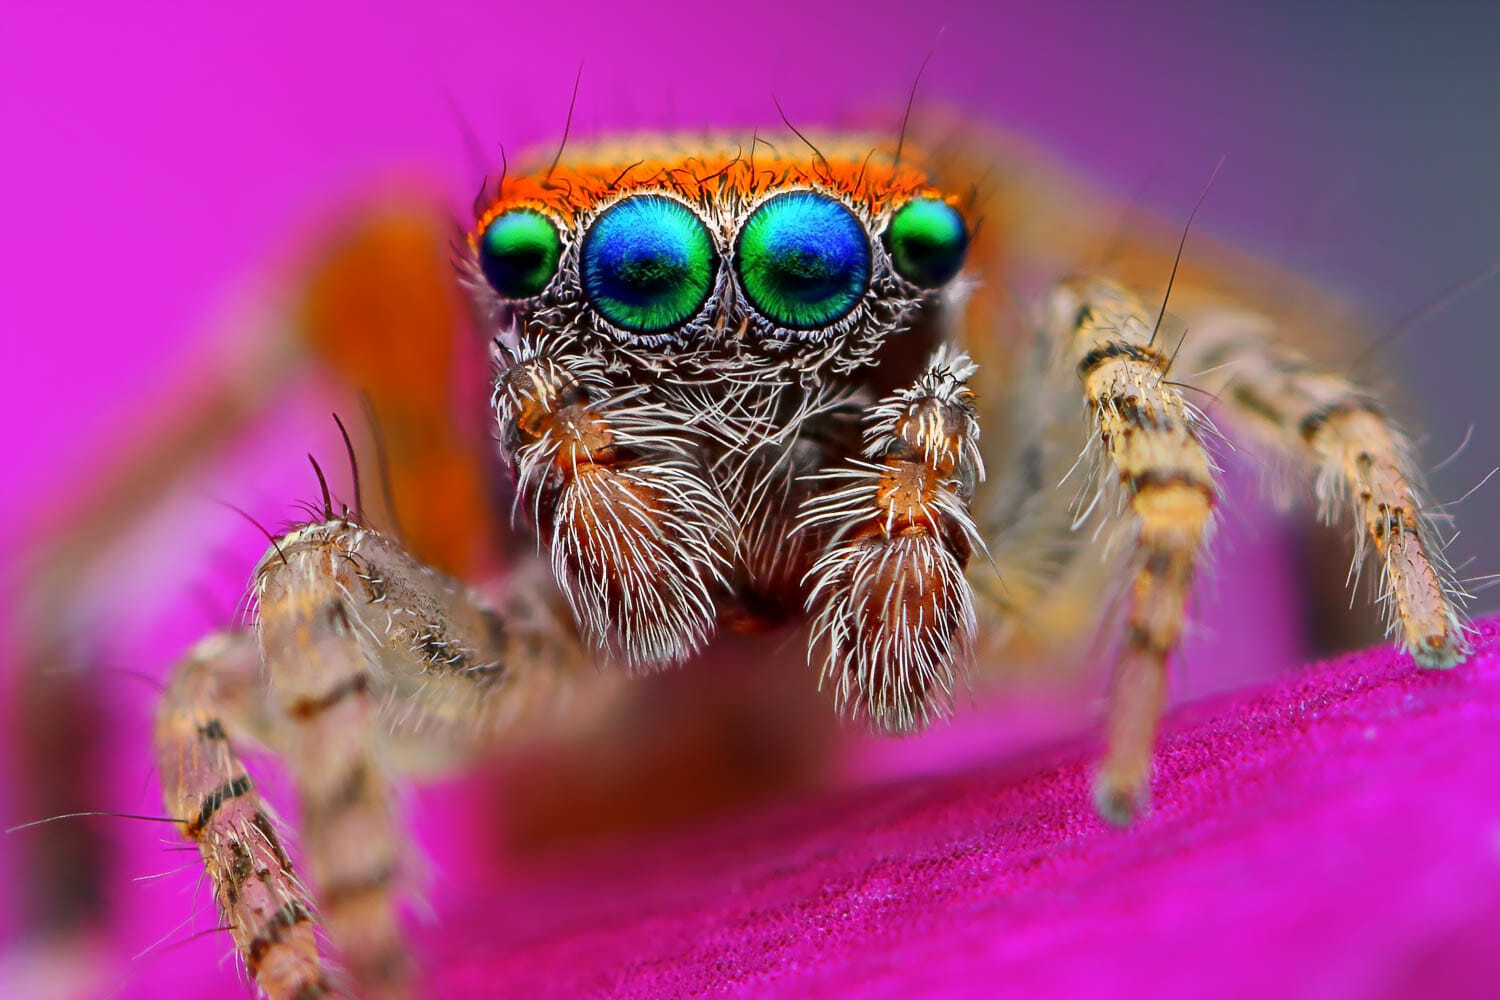
Photo: Tomatito/Shutterstock
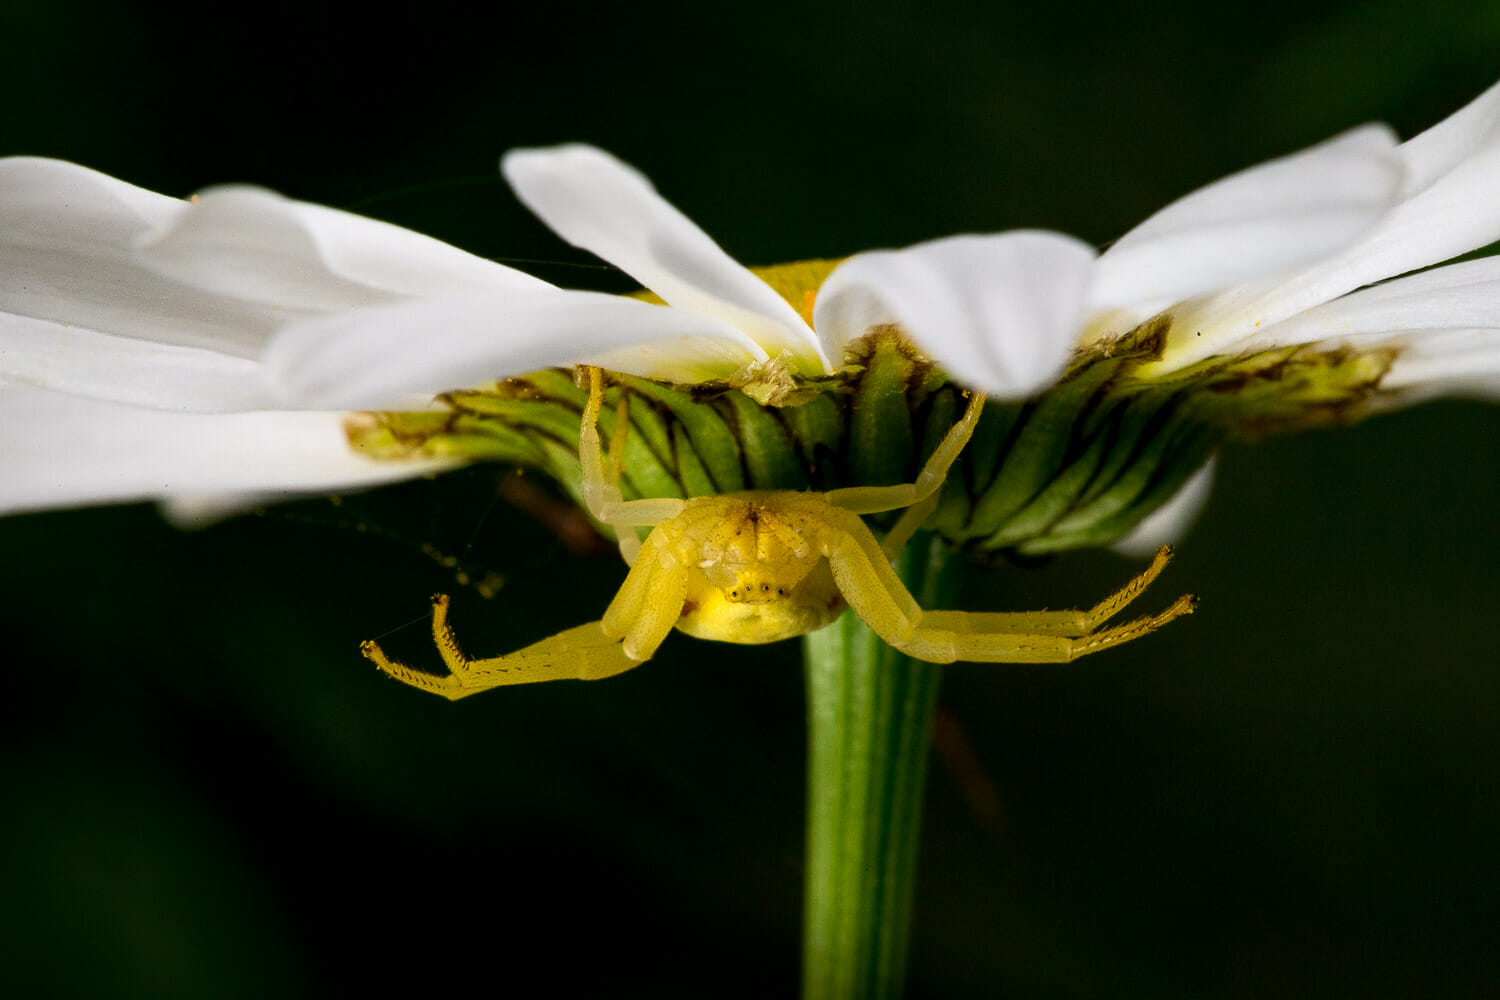
Not only insects but arachnids like this tiny jumping spider also make amazing macro subjects. Also consider mollusks (such as garden snails), crustaceans (like roly-poly bugs), and other garden dwellers. For insights on ethically photographic critters, check out this guide.
Insect Portraits
Get up close and personal with the world's smallest creatures in their natural environment. Try to capture the personality of a dragonfly in your macro photos, or find a butterfly model to capture the tiny details of their wing patterns and color combinations for stunning macro shots.
- Patience is Key: Insects are often in constant motion, so wait for the right moment when they've settled before taking your shot. Early morning when insects are less active, can be a perfect time.
- Focus on Eyes: For a compelling photo, try to focus on the eyes. They often hold the most expression (yes, insects can absolutely be expressive!) and give character to your subject.
- Watch and Learn: Spend time observing the insects' behavior. Notice where they land frequently and focus on those areas to capture the most detailed shots.
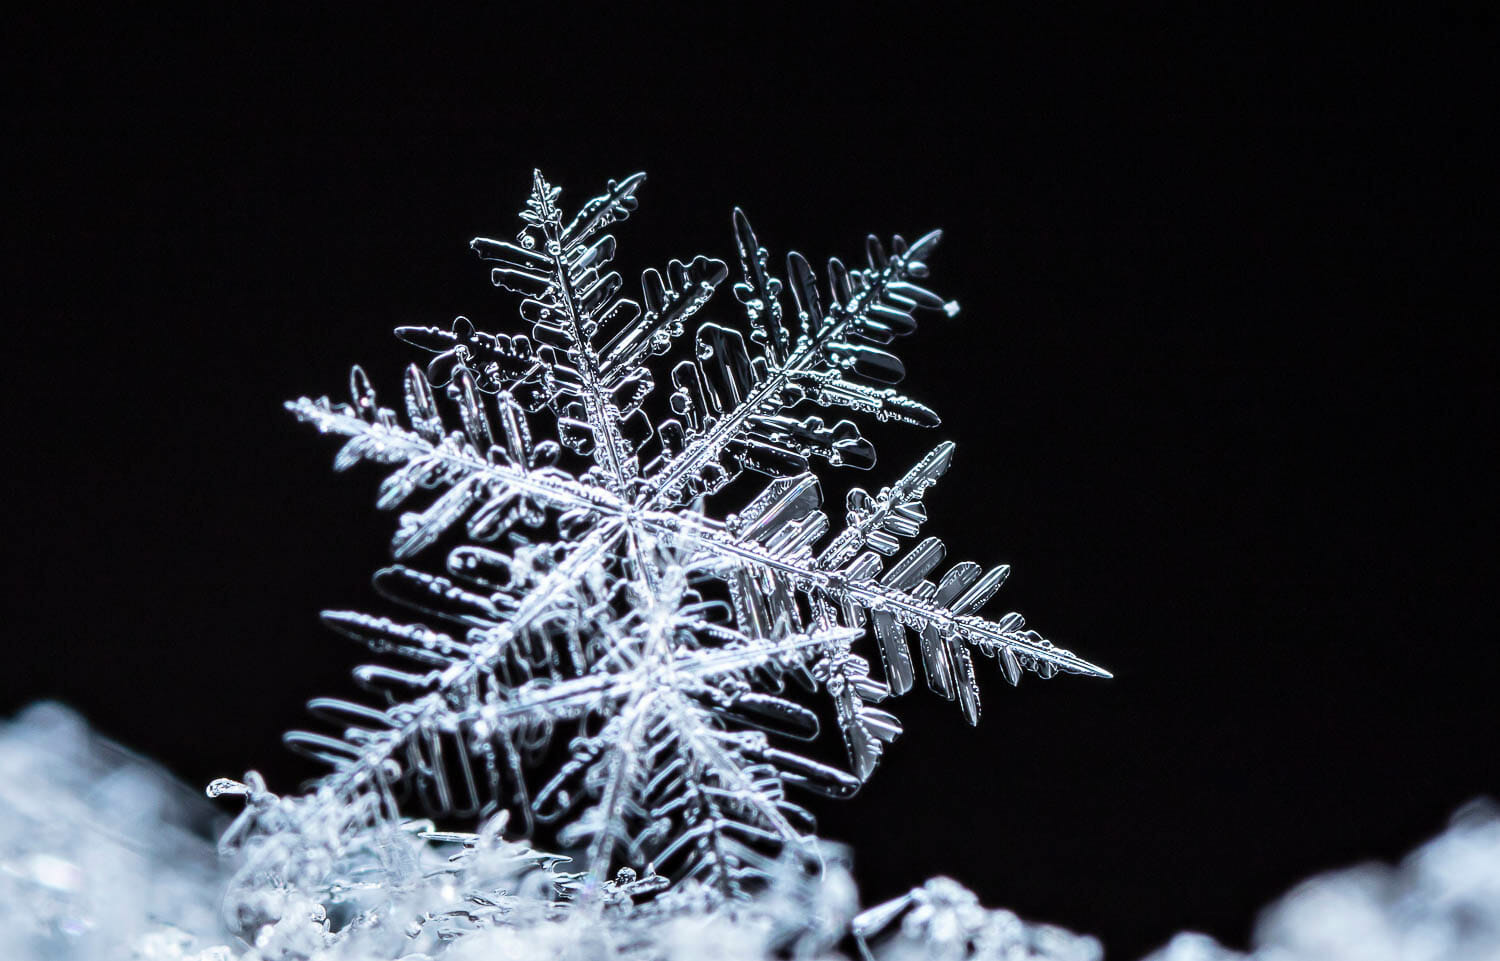
Photo: ch123/Shutterstock
If you want your mind blown and your skills challenged, try your hand at snowflakes! The always unique subjects are fun to explore while figuring out how to photograph them before they melt.
Snowflakes
Capturing the intricate beauty of snowflakes under a macro lens is a rewarding challenge. Every snowflake is unique, with delicate patterns that are truly a marvel of nature.
- Manual Focus: Use manual focus as autofocus might have trouble locking onto such a small, transparent subject.
- Explore Backlight: Backlighting can illuminate the snowflake, highlighting its structure and making it stand out against the background. A small LED light or even a flashlight can work perfectly for this.
- Work Fast: Snowflakes melt quickly, so you need to work fast. As soon as you catch a snowflake, start shooting immediately.
Lichen Landscapes
Lichens growing on rocks or tree bark can provide an otherworldly landscape when viewed up close. Look for hidden beauty in their vibrant colors and intricate textures.
- Close Focus: Using a macro lens or a lens with close focusing capabilities will give you the ability to capture minute details of lichens.
- Explore Species: Lichens come in various colors and textures. Some might be bright oranges and yellows; others could be subtle grays and whites. Their textures can range from flat and crusty to leafy and bushy. Explore different types to add variety to your images.
- Quiet Time: Lichens grow slowly and are often found in quiet, undisturbed places. Take your time to observe their growth patterns and interactions with their environment.
Photo: Jaymi Heimbuch
Macro gives us fresh perspectives, like what it's like to be tiny in a big, big world. Get low and look up to explore your yard from a bug's point of view.
Insect's Perspective
Don't just use insects as a subject; capture the world from an insect's point of view! Using low angles, you can create a whole new world through your lens.
- Get Low: Capture low-angle shots by getting down on the ground and shooting upwards. This angle will help you emulate the view from an insect's eye level and give grandeur to everyday objects like grass blades or small flowers.
- Wide-Angle Lenses: Use a wide-angle macro lens to capture close-up details while also including more of the background, giving a sense of the insect's environment.
- Creative Timing: Early morning or late afternoon light will cast long shadows and possibly create an interesting silhouette effect, enhancing the ‘giant world' feel.
Photo: Leslie Rogers Ross/Shutterstock
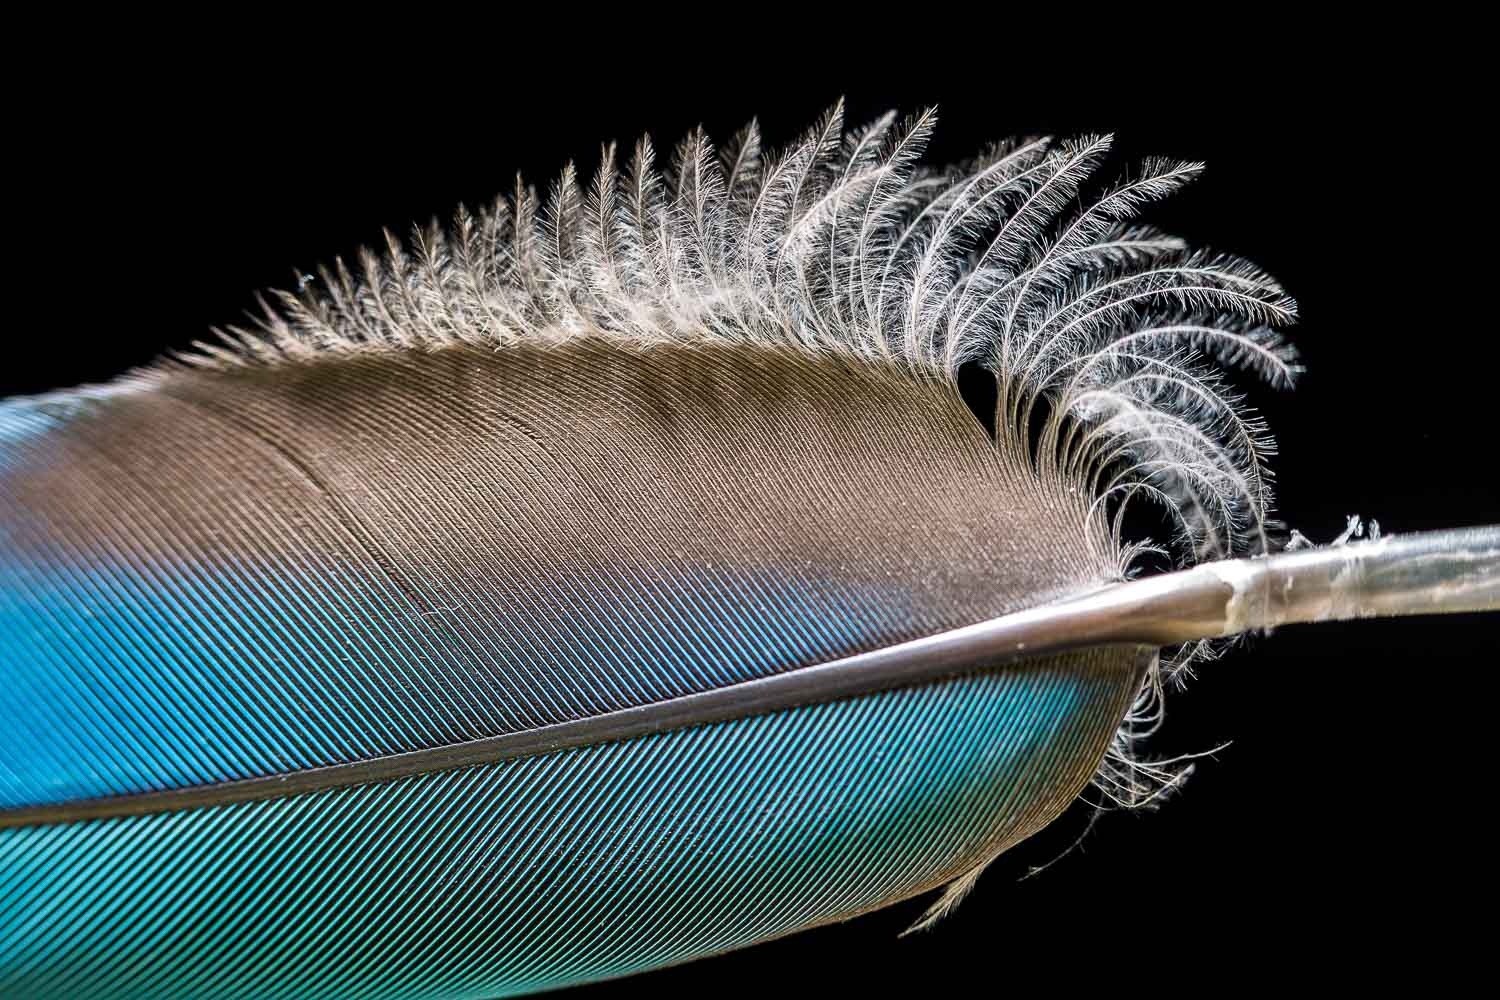
Feathers are complex, beautiful, and intricate – all perfect characteristics for an endlessly interesting macro photography project.
Feather Details
The world of feathers provides an intriguing subject for macro photography. Take some time to capture their unique shapes and colors in detail.
- An Interesting Detail: Try focusing on a specific area of the feather rather than the entire feather. This could be the fluffy down at the base of the shiny barbs of a peacock feather.
- Simple Backgrounds: A plain background can help your subject stand out. Consider using a lightbox or a simple piece of white paper to isolate the feather from any distracting elements.
- Follow the Law: Remember that it's illegal to possess certain types of feathers in some places due to conservation laws, such as the Migratory Bird Treaty Act of 1918. So always ensure the feathers you use are photographing are photographed in situ (and leave them where you found them) or that they're feathers you can legally possess.
Dead Plants
Dead plants, with their intricate textures and muted colors, make for great macro photography subjects. The world of dead plants offers a treasure trove of photographic opportunities waiting to be discovered.
- Find Patterns: Look for patterns in the way leaves have curled or the intricacy of bare branches.
- Simple Backgrounds: A simple, uncluttered background will keep the focus on the plant and its unique characteristics. You can accomplish this by using a wide aperture – such as an aperture between f/2.8 and f/5.6 – to create a soft, blurred background.
- Play With Monochrome: Converting your images to black and white can enhance the textures and shapes of dead plants, giving your photos a timeless, abstract quality.
Photo: Jaymi Heimbuch
How do seeds get dispursed? And can you capture that in a frame? Head to your yard or a nearby park to look for seeds in different states of dispersal.
Seed Journeys
These small objects come in all shapes and textures that are difficult to fully comprehend with the naked eye. Their intricate structures make for fascinating macro subjects.
- Tell A Story: Photo-document the journey of seeds – from being attached to the plant to their travels on the wind, and finally, where they land and start to grow.
- Textures and Patterns: Focus on the intricate textures and patterns of seeds. Using a smaller aperture can help keep more of the seed in focus.
- Backgrounds That Pop: Place seeds against contrasting backgrounds to help the colors stand out.
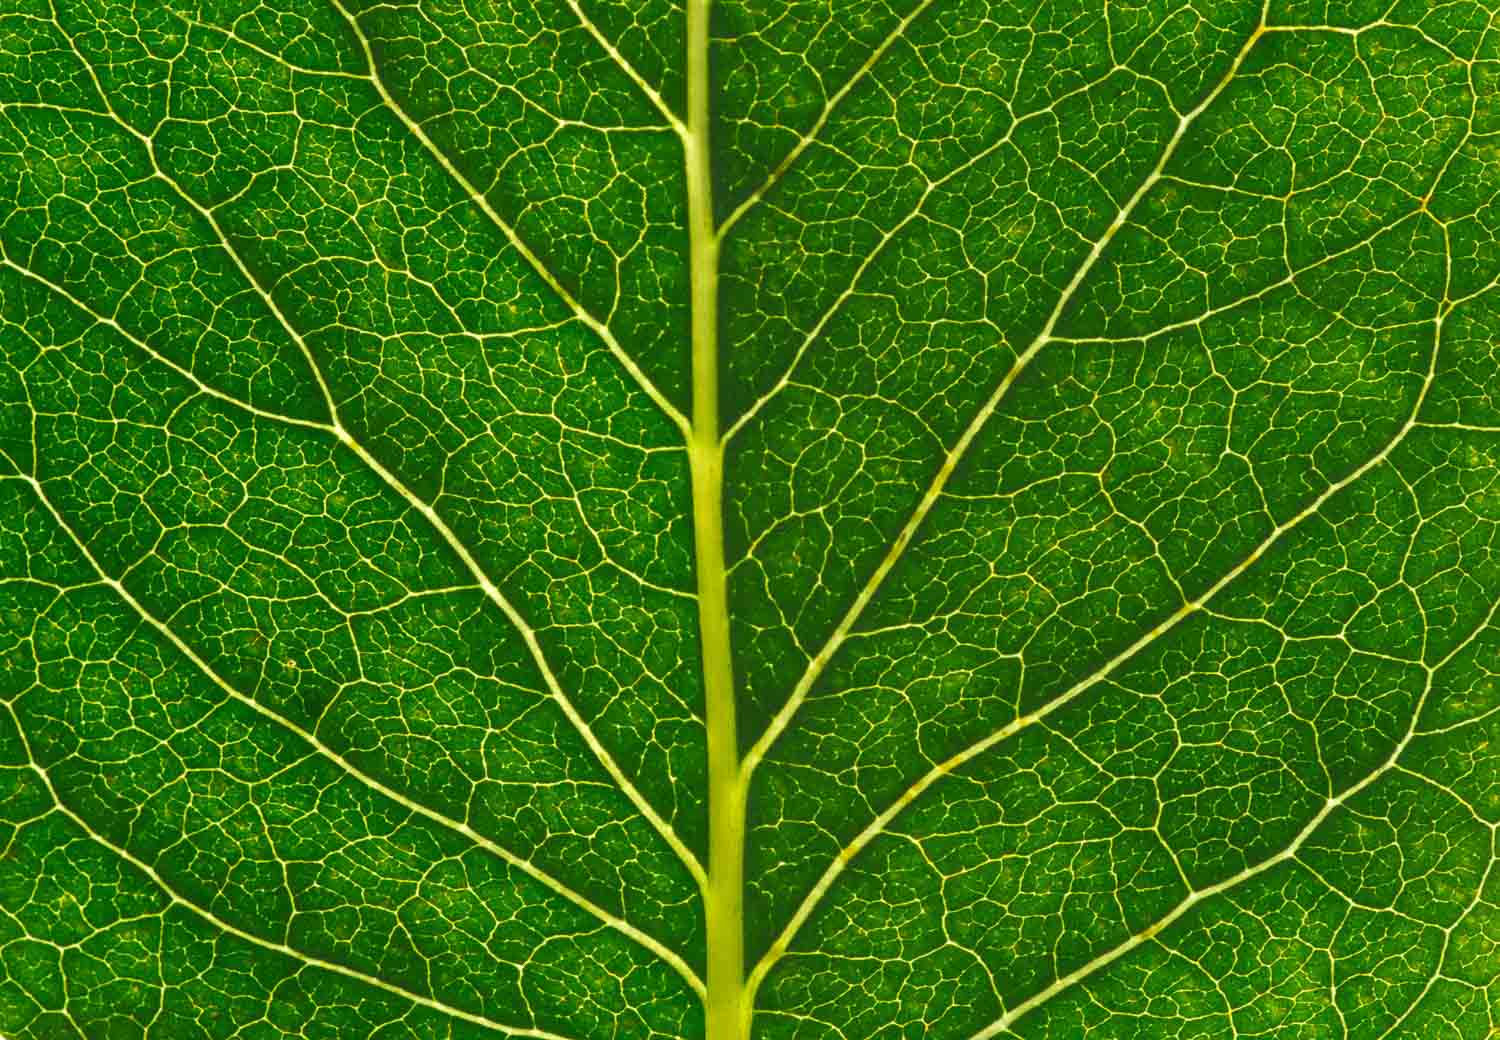
Photo: photolinc/Shutterstock
Trees and shrubs right outside your door (or maybe even the potted plant in your kitchen window!) offers unique patterns to explore and create frames that celebrate symmetry or abstract ideas.
Leaf Veins
Leaves might seem like ordinary objects, but up close, they offer a whole world of ideas for breathtaking macro images! For starters, capture the intricate vein patterns of leaves as if they were sprawling landscapes.
- Use the Sun: Positioning a leaf between your camera and the sun can illuminate the veins, creating a radiant glow. This backlighting can reveal details that might be missed in regular lighting.
- Stages Of Life: Experiment with different leaves at different stages of growth as each offers a unique ‘terrain.' Broad leaves may provide wide, branching patterns, while smaller or compound leaves might offer more complex, delicate patterns.
- Focus Stacking: Try focus stacking (taking multiple images at different focus distances and combining them) to help keep the entire network of veins in focus.
Ice Crystals
When winter arrives, the formation of ice crystals on surfaces like leaves or windows can provide fascinating macro subjects. Each crystal is unique and offers a world of detail.
- Surface Level: Look for ice crystals on surfaces where they're likely to form, such as on leaves, blades of grass, or the surface of a frozen pond. The larger and more isolated the crystal, the easier it will be to photograph.
- Reflect and Refract: Ice crystals can create fascinating reflections and refractions of light. Experiment with different angles to capture these effects.
- Dull Day Goodness: Ice crystals can easily become overexposed in direct sunlight. Shooting on an overcast day or in the shade can help you capture more detail.
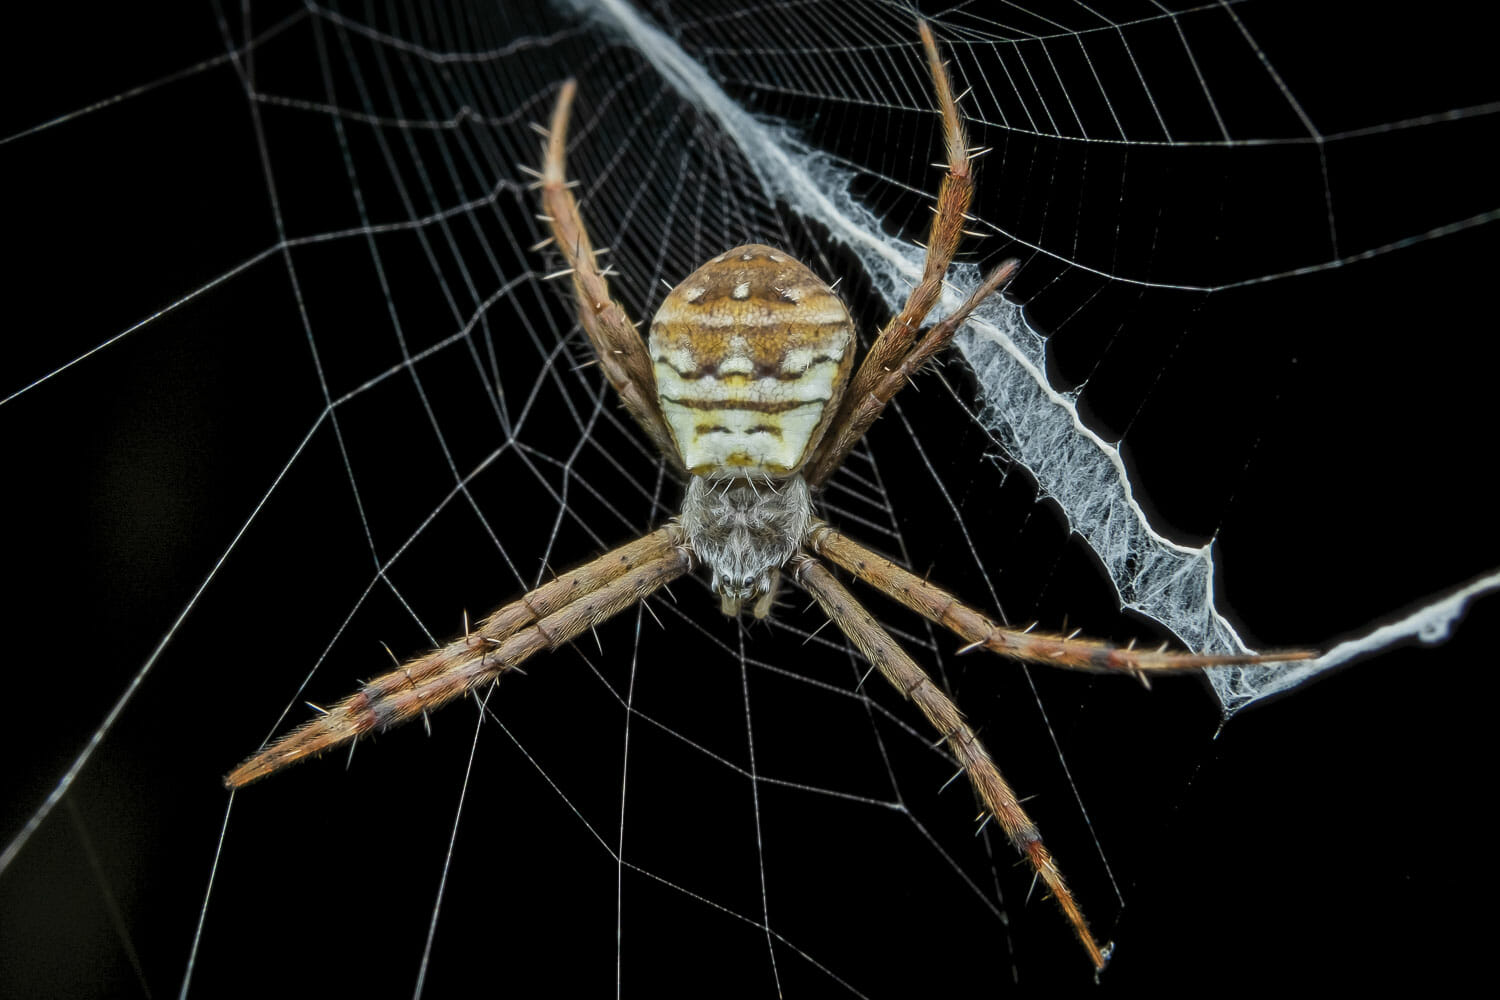
Photo: Rahmat A.Rahman/Shutterstock
If spiders give you the heebie-jeebies, then focus on abandoned webs and the amazing shapes they take. Notice how different spider species create different patterns for their silky nets.
Spider Web Symphony
- Dew and Rain: After a light rain or in the early morning, spider webs often shimmer with dew in the natural light. Capture this spectacle close-up, focusing on the way the water droplets hang on the delicate threads.
- Go at Golden Hour: Early morning or late afternoon light can give your image a warm, golden glow. Backlighting the web can illuminate the dew drops and make them sparkle.
- Pick Out Patterns: Instead of trying to capture the entire web, focus on a section where the pattern of water droplets is particularly beautiful or interesting.
Night Sky in Water Drops
- Clear Skies: You'll need a clear night with visible celestial bodies and freshly formed dewdrops or raindrops. The best times are often just after dusk or before dawn.
- Use a Tripod: With long exposure times needed to capture the stars or moon, a sturdy tripod and remote shutter release will help eliminate camera shake.
- Push Your ISO: Use a high ISO setting which will make your camera more sensitive to light, which is crucial when shooting in low-light conditions.
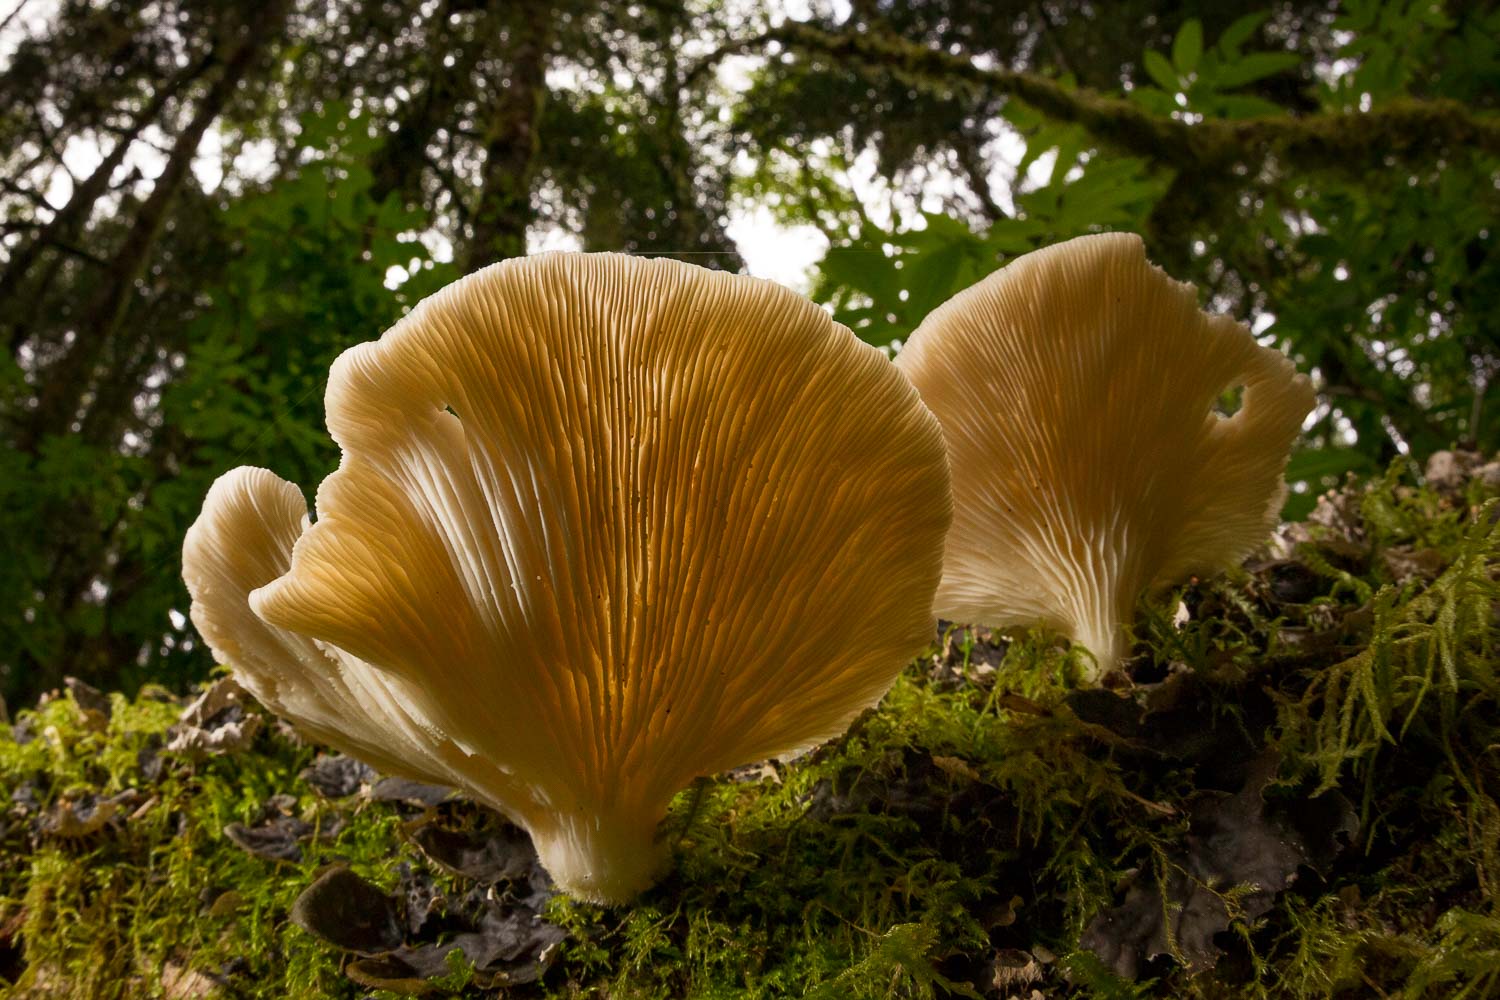
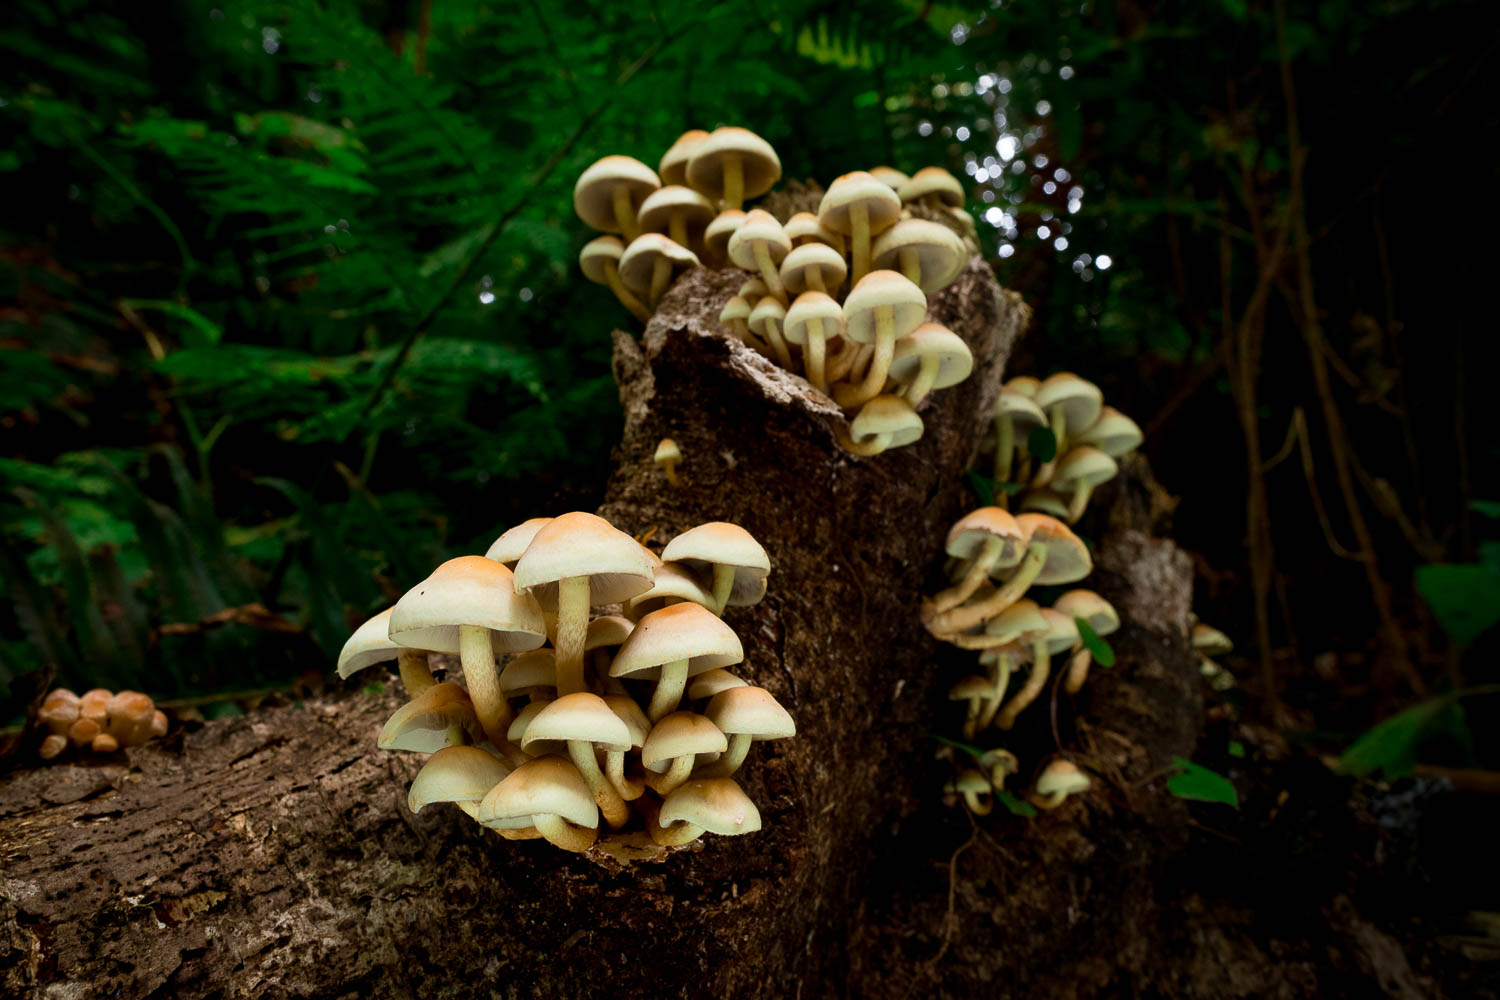
Photo: Jaymi Heimbuch
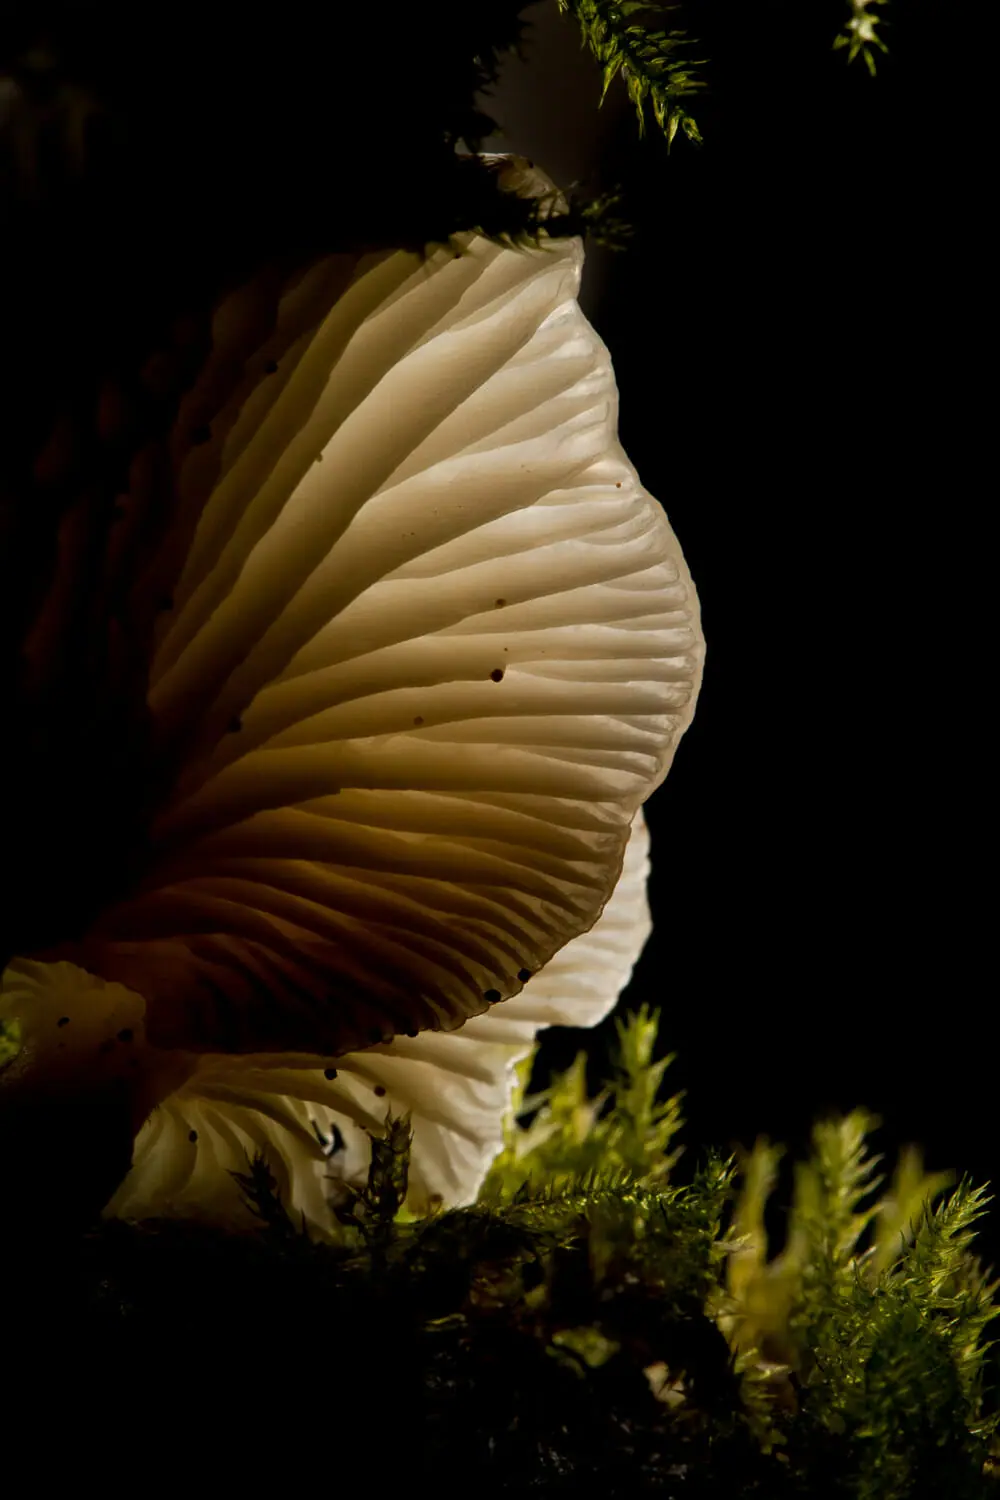
Mushrooms always have a touch of a magical wonderland feel to them. Hunt for interesting clusters or even single mushrooms to turn into beautiful macro photos.
Mushroom Villages
- Ground Level: A low angle can give your image a unique perspective, making the mushroom appear larger and more majestic or make clusters of small mushrooms look like a whimsical fairy village.
- Light From Below: Try using a small flashlight or reflector to illuminate the mushroom from underneath and reveal its gill structure.
- Tread Lightly: Remember, mushrooms play a vital role in the ecosystem. Be careful not to damage them or their habitat.
Pebbles & Stones
The world is filled with potential subjects for great macro photos, and one of the most overlooked is stones. The natural world's pebbles and rocks, with their varied textures, colors, and patterns, can make for striking macro images.
- Use Water for Shine: Placing stones in water or photographing them just after a rain can create interesting effects. The water can bring out the color of the stone, and droplets on the surface can add an extra dimension to your image.
- Stones with Detail: Pebbles and stones come in an array of colors, shapes, and sizes. Look for interesting features, like patterns, textures, or veins.
- Leading Lines: Arrange the stones in a way that leads the viewer's eye through the image. Look for lines or patterns that can guide your composition.
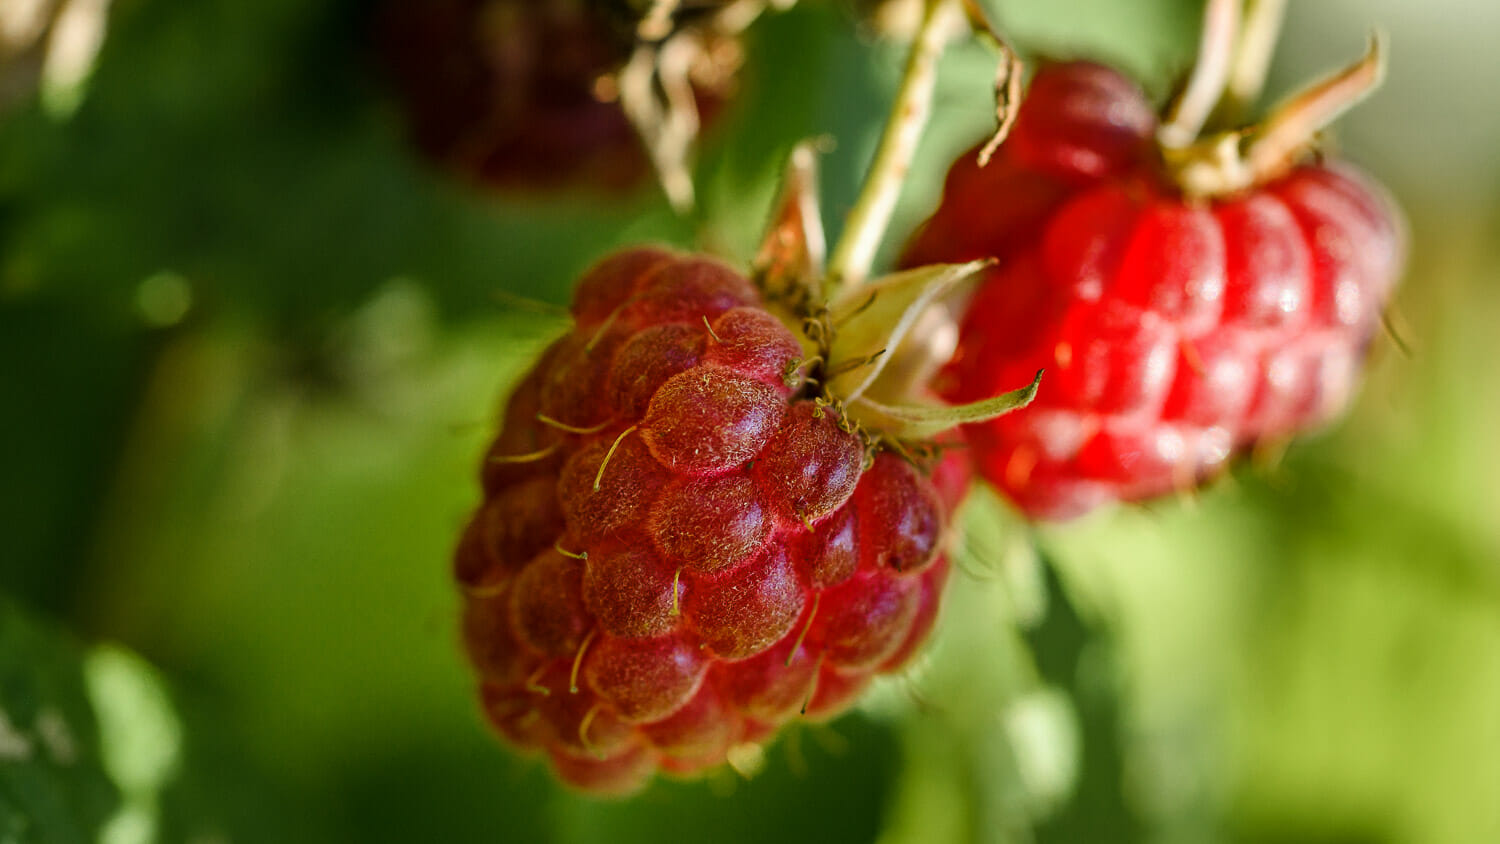
Photo: Neveshkin Nikolay/Shutterstock
Every summertime hike offers an opportunity for macro photography. From wild blackberries and salmonberries to shiny huckleberries and currants, keep an eye out for these delicious subjects.
Wild Berries
As a nature photographer, capturing the vibrant colors and intricate details of wild berries can create stunning macro images.
- Color Contrast: Wild berries often stand out against their surroundings due to their vibrant colors. Look for ways to use this natural contrast to your advantage.
- Wide Aperture: A wide aperture helps blur the background and ensures that the berries are the main focus of the image.
- Touch-Up In Post-Processing: Enhance the colors, contrast, and sharpness in post-processing to make your berry images pop.
Bark Textures
The beauty of macro photography lies in revealing the details that often go unnoticed. With its rich textures and patterns, a detail as simple as tree bark can offer some incredible macro photography opportunities.
- Unique Textures: Tree bark comes in a variety of textures and patterns. Look for unique characteristics that make your macro photo stand out.
- Directional Light: The direction and quality of light can dramatically affect the texture of the bark. Try shooting at different times of the day and under various weather conditions to see how the light changes the appearance of the bark.
- Lead with Patterns: Consider how the lines and patterns of the bark can lead the viewer's eye through the image.
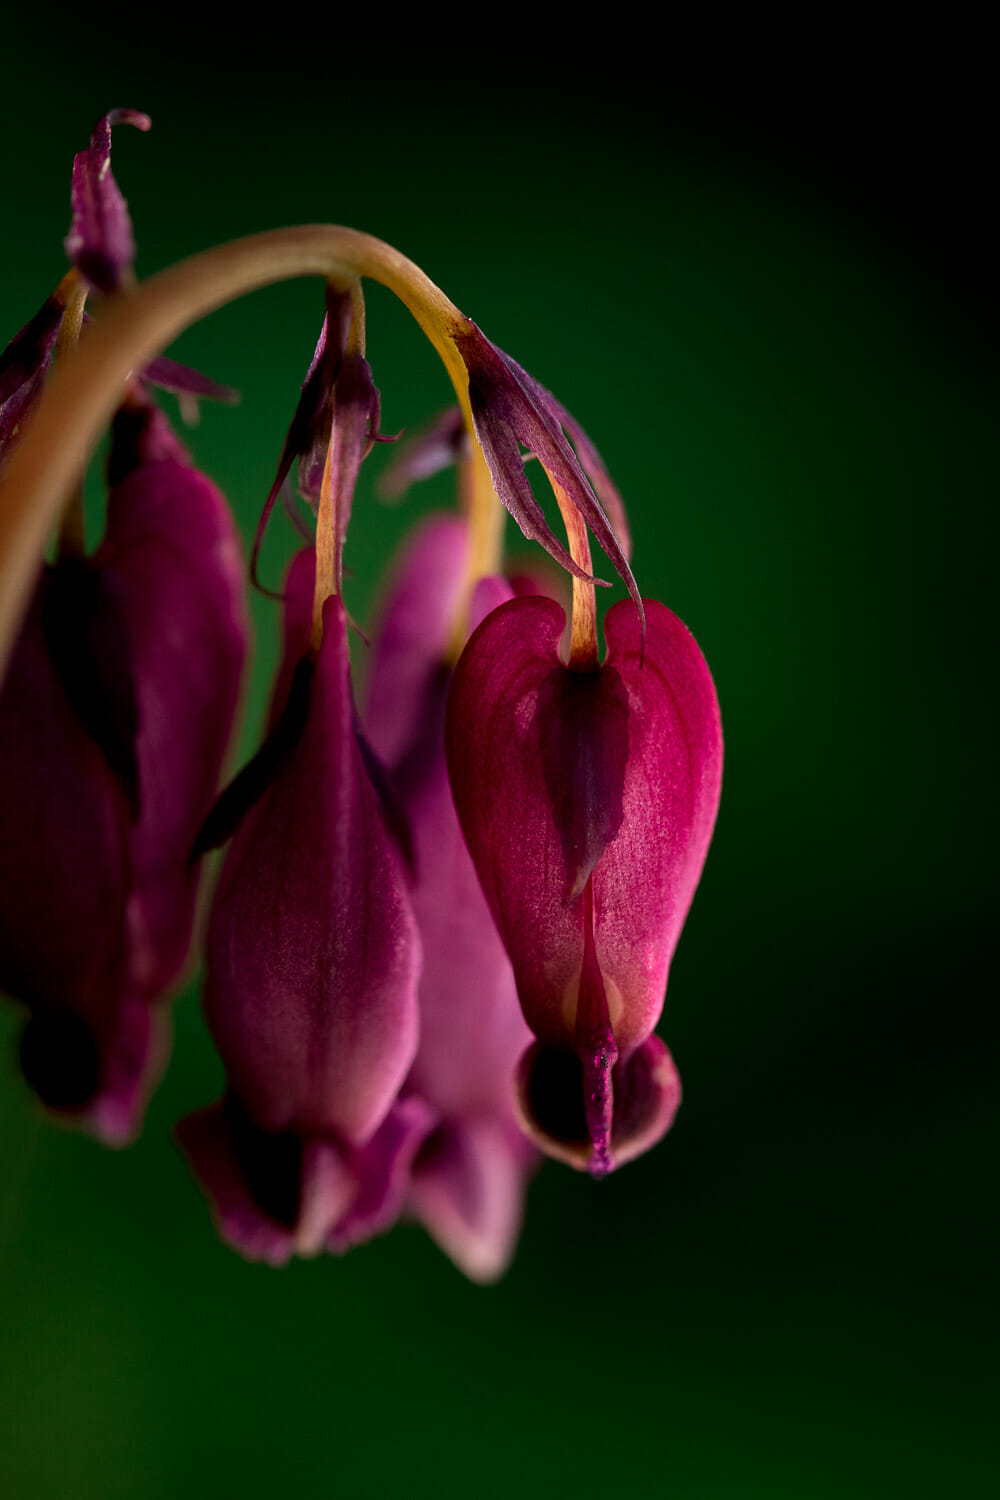
Photo: Jaymi Heimbuch
Springtime brings wildflowers like these Pacific bleeding hearts. Notice what's growing at the edges of your yard, in local parks, or along hiking trails that can be floral-centric macro shots.
Floral Fascination
Flowers are undoubtedly one of the most popular macro photography subjects. Their vibrant colors, intricate structures, and variety make them perfect for macro photography.
- Welcome Characters: If there's a pollinator like a bee or a butterfly on the flower, include it in your shot. It'll add a fun, dynamic element to your photo.
- Pick a Petal (Figuratively!): You don't always have to photograph the entire flower. Focusing on a single petal, the texture of the flower's center, or the curve of a stem can yield compelling abstract images.
- Bounce Light: If the natural light is too harsh, use a reflector to bounce some light onto the shadow areas of the flower. A diffuser can be used to soften harsh sunlight.
Hair & Fur
The textures, patterns, and colors of animal hair and fur can create intriguing, if not fascinatingly peculiar, macro images. Hidden within those tufts are intricate patterns and textures that create a whole new world when viewed up close.
- Zoom for Comfort: Use a telephoto lens to maintain a safe and respectful distance from animals while allowing you to get close-ups of the intricate details of their coats.
- Fast Shutter: If the animal is moving, use a fast shutter speed to freeze the action and maintain sharpness in the fur.
- Bold Contrast: Enhance the contrast and sharpness in post-processing to further bring out the details in the fur.
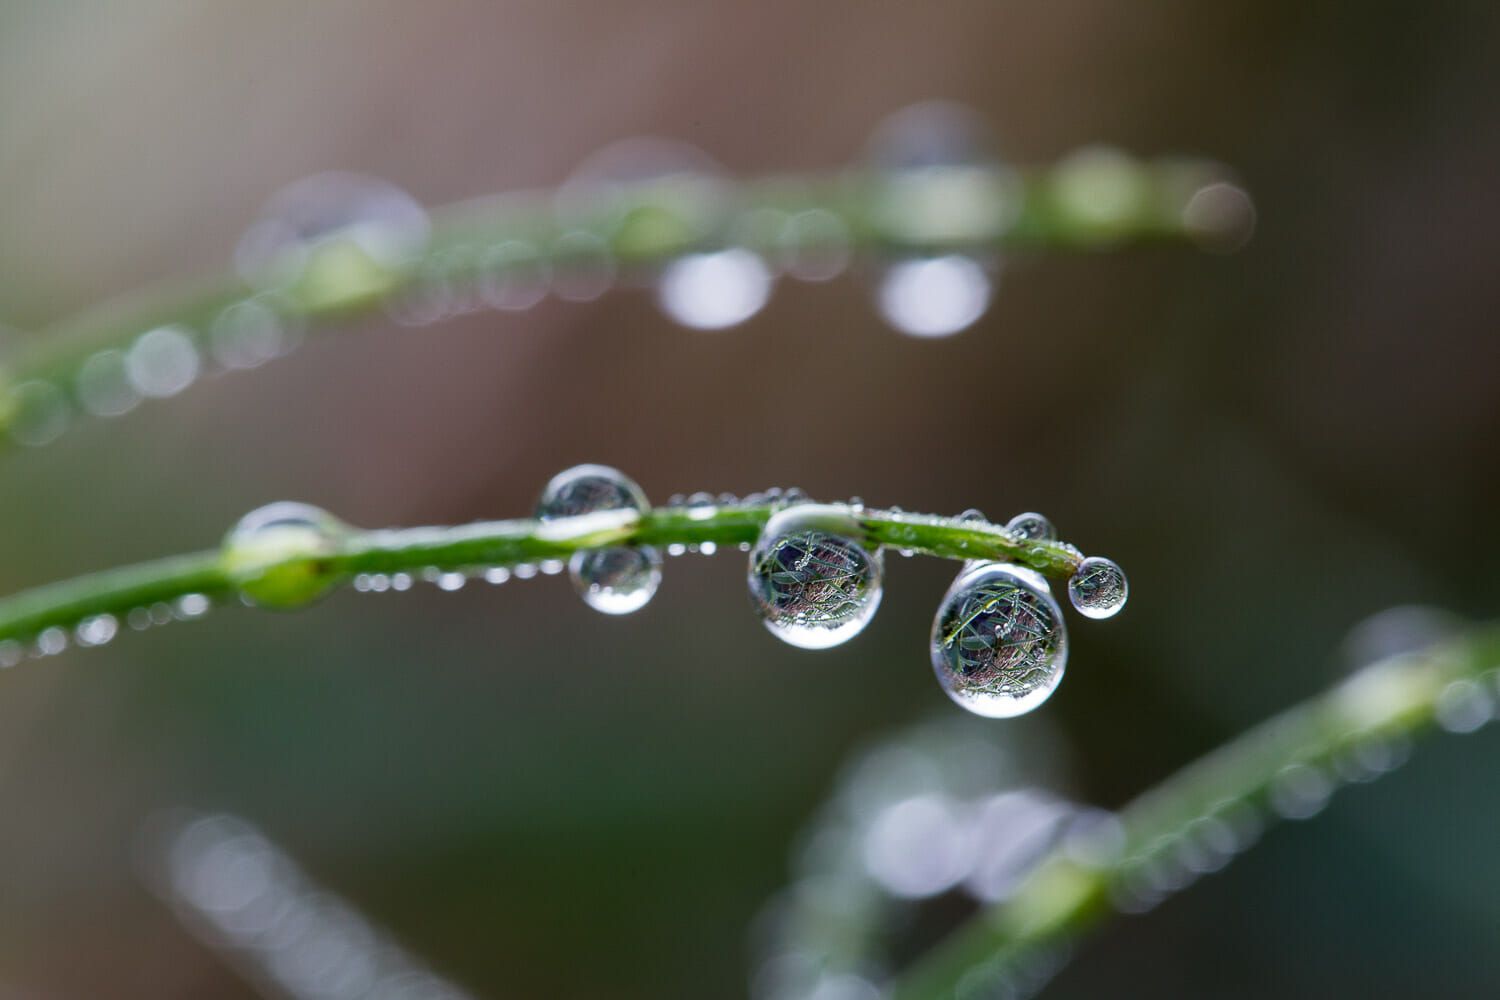
Photo: Kuzmin Mikhail/Shutterstock
You can wait for the morning to bring dew drops naturally… or make your own dew drops with a misting spray bottle.
Dewdrop Dimensions
One of the most enchanting sights to behold is dew drops on a fresh morning. These tiny droplets of water can transform ordinary subjects into magical scenes when viewed up close.
- Early Morning: Dew forms overnight and is usually at its best in the early morning. Plus, the soft, diffused light at sunrise can enhance the beauty of your images.
- Reflections That Rock: Dewdrops can act like tiny lenses, refracting and reflecting the world around them. Try capturing these miniature reflections within the drops or position yourself so that the light is shining through the dewdrops, enhancing their refractive qualities.
- Lead Into The Frame: Frame your shot so that the dewdrops lead the viewer's eye towards the flower or focus solely on the dewdrops themselves.
Photo: Josef Kust/Shutterstock
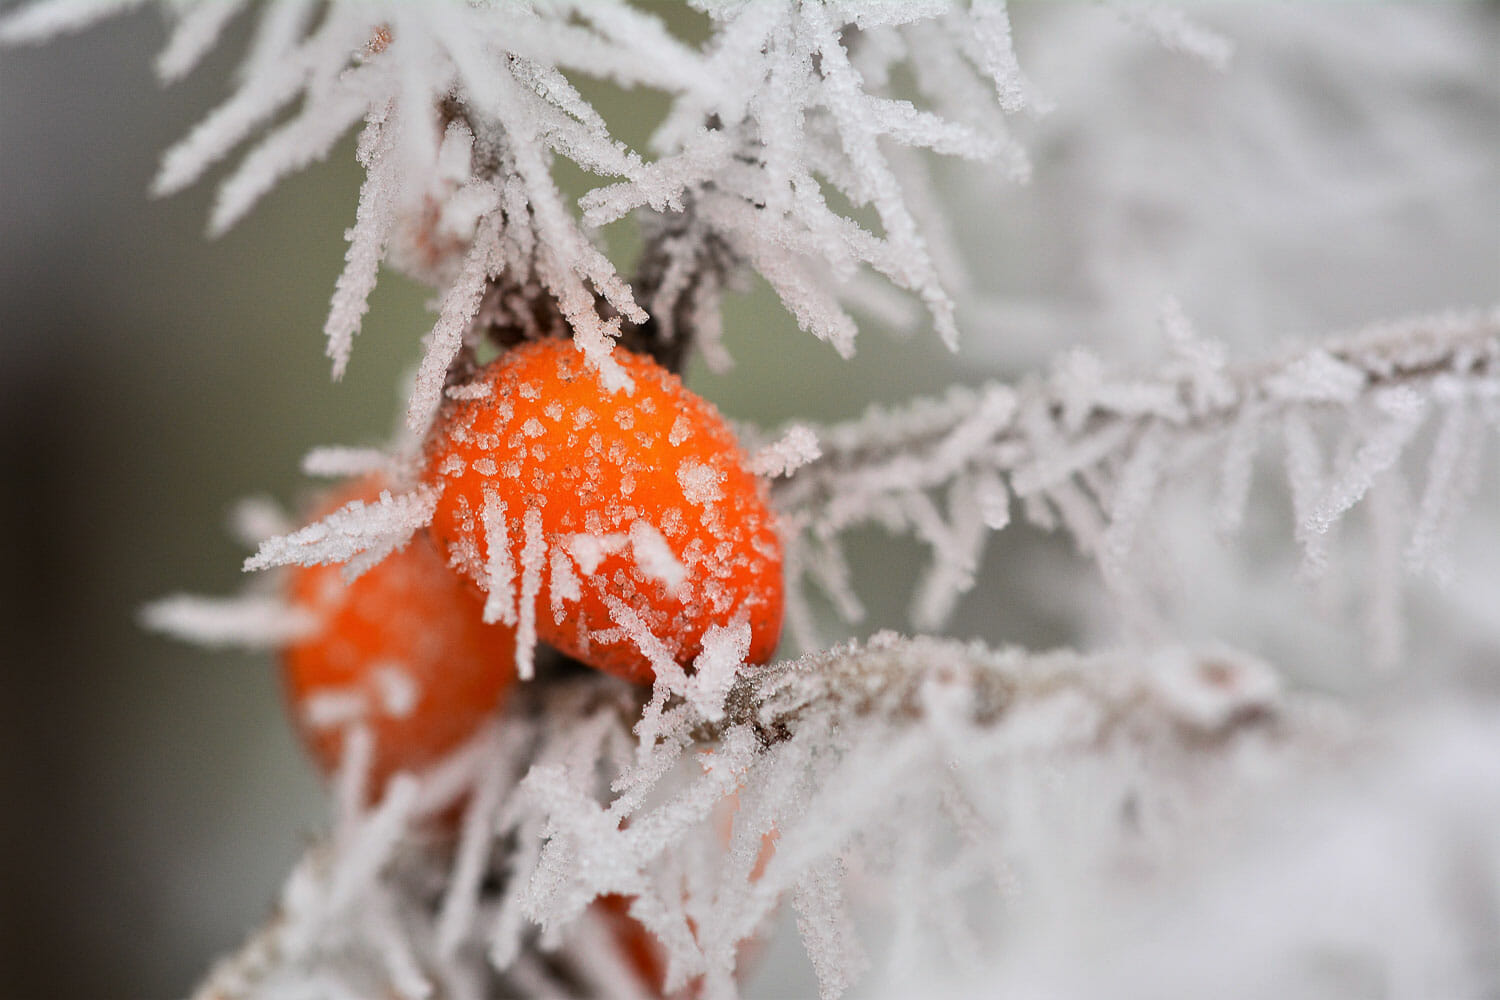
Winter can be a macro photographer's dreamland. Put on a warm pair of gloves and head out to look for interesting designs made by frost.
Frosty Designs
The allure of frost formations is hard to resist. These delicate icy structures can create a mesmerizing macro landscape that's both challenging and rewarding to capture.
- Early Morning Outings: Frost formations are typically at their best in the early morning before the sun has had a chance to melt them. The soft morning light can also enhance the beauty of the frost.
- Go for Patterns: Frost creates beautiful and intricate patterns. Look for unique formations that catch your eye.
- Boost the Contrast: Enhance the contrast and sharpness in post-processing to bring out the intricate details of the frost. You might also want to adjust the white balance to accurately reflect the cool tones of the frost.
Ice Features
Ice presents an intriguing subject for macro photography. Its ever-changing forms, rich textures, and the play of light within it can create truly stunning shots. Whenever the cooler seasons roll around, look to ice to spark good macro photography ideas.
- Play with Light: Experiment with different lighting situations as ice refracts light in fascinating ways. Backlighting, for instance, can illuminate the ice from within, highlighting its structure and creating a beautiful glow. You can practice this any time of year with ice cubes.
- Capture Inclusions: Small elements like air bubbles, leaves, or even insects trapped in the ice. These can add an extra point of interest to your image.
- Safety First: Safety is paramount when photographing ice. Always ensure the area you're working in is safe and stable.
Photo: Jaymi Heimbuch
Macro photography trains you to look more closely and carefully at nature, and you'll be amazed at how much more you discover while in familiar places, like your own backyard.
Amazing nature conservation photographers with mad macro skills to inspire you
Macro photography has a crucial role to play in conservation efforts. By bringing the smaller wonders of nature into focus, it allows us to appreciate the complexity and beauty of ecosystems on a micro-scale.
The conservation photographers listed below are not only capturing stunning images through macro photography but are also using their work to highlight the importance of biodiversity and conservation.
- Clay Bolt
- Steven David Johnson
- Joseph Ferraro
- Danae Wolfe
- Javier Aznar
- Cynthia Bandurek
- Joseph Saunders
- Pitor Nazreki
- Katie Waddington
These photographers' work underscores the fact that conservation is not just about preserving vast landscapes or charismatic megafauna. It's also about protecting the myriad of tiny creatures that inhabit every layer of those ecosystems.
Their stunning images serve as powerful reminders of what we stand to lose if we don't take action to protect our planet.
As you delve deeper into macro photography, you'll discover that it's not just about snapping a photo; it's about telling a story. With each image, you have the opportunity to unveil the secrets of nature, inspire curiosity, and foster a deeper appreciation for the environment around us.
The more you try out these macro photography ideas, the more you'll come up with your own concepts for cool close-up photography! Have fun out there!
