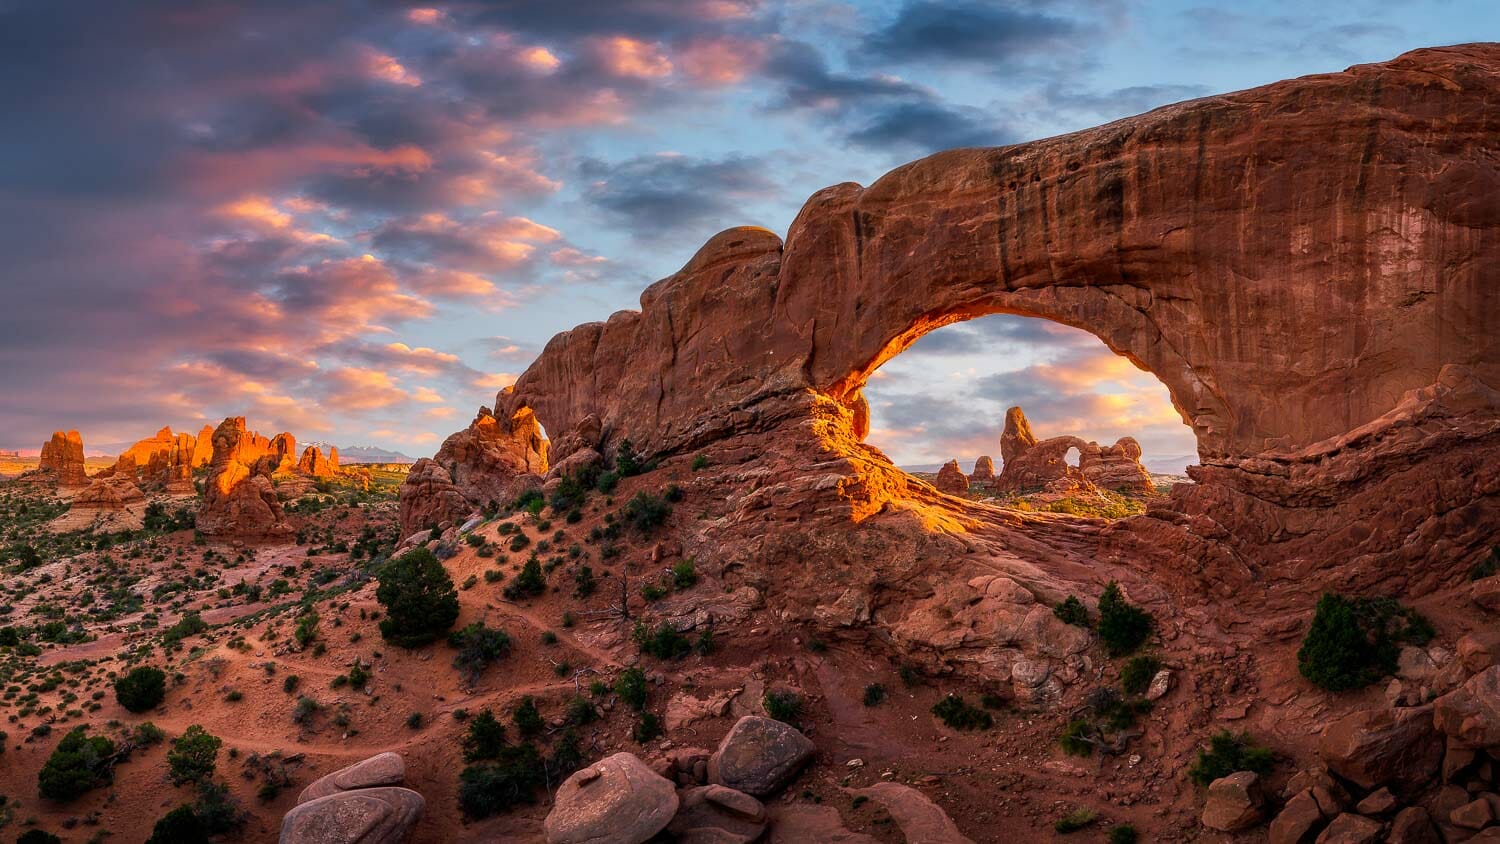
Contents
- How the atmosphere affects light
- Best weather conditions
- Camera settings
- 9 easy ways to improve your photos
- Focal lengths
- Tripod and shutter release
- Neutral-density filters
- Creative compositions
- Mist and low-hanging fog
- Silhouettes
- Starbursts
- Bracketing
- Fill light
- Must-have tools
- Using these tips for sunrise photography
Read Time: 14 minutes
There's nothing quite like capturing the perfect golden hour moment when the sky transforms into a canvas of vibrant hues.
But let's be honest; sometimes, our sunset pictures don't live up to the breathtaking spectacle unfolding before our eyes.
Ready to learn how to take better sunset photos? In this article, we'll share some tried-and-true tips to elevate your sunset photography game.
Contents
- How the atmosphere affects light and color at sunset
- Best weather conditions for sunset photography
- Camera settings for sunset photography
- 9 easy ways to improve your sunset (and sunrise!) photos
- Experiment with different wide-angle lenses and focal lengths
- Use a tripod and shutter release
- Explore graduated neutral-density filters
- Get creative with compositions
- Use mist and low-hanging fog to your advantage
- Have fun with silhouettes
- Lean into starbursts (but avoid lens flare)
- Bracket your shots for multiple exposures
- Use fill light for your foreground elements
- Must-have tools for planning your sunset photos
- Using these tips for sunrise photography
Photo: Jarred Decker/Shutterstock
Particles in the atmosphere play a big role in how colorful the sky is at sunrise and sunset.
How the atmosphere affects light and color at sunset
First, we need to get into the nitty gritty, the nuts and bolts, the S.C.I.E.N.C.E. – dun dun duuun!
Okay, maybe that's a bit dramatic, but by understanding the science behind the role atmosphere plays in sunrise and sunset photography, you'll be better equipped to anticipate and capture a glorious golden hour shot.
The atmosphere is like a prism, bending and scattering sunlight to create mesmerizing color combinations. When the sun sets, its rays travel through a thicker slice of the atmosphere, which filters and scatters light. The shorter blue and violet wavelengths scatter first, leaving the sky awash with warm reds, oranges, and yellows.
Atmospheric conditions significantly influence the intensity and range of colors we witness during sunsets (and at sunrise). Particles such as dust, smoke, and water droplets can amplify the scattering effect, leading to more vibrant hues.
So, if you've ever wondered why some of your sunset shots look like fiery masterpieces while other photos of sunsets seem a bit lackluster, you can thank – or blame – the atmosphere!
Photo: Sean Xu/Shutterstock
Clouds and stormy skies add drama and color to sunset photos, so be sure to have your camera ready even when the weather forecast looks “dismal”.
Best weather conditions for sunset photography
To best take advantage of those atmospheric effects, pay attention to the weather patterns and local conditions.
For example, shooting a sunset during the calm after a rain storm often results in vibrant colors and clearer images. Meanwhile, hazy days create a captivating soft glow.
Here are some of the best weather scenarios for sunset photography.
Partly cloudy skies
We may assume a sky free of clouds may be ideal, but a sky dotted with clouds can be a sunset photographer's dream! Acting as giant reflectors, clouds bounce light to create a dazzling array of colors. Plus, they add depth and visual interest to your compositions.
Post-storm
The calm after a storm can bring some of the most vibrant sunsets you'll ever witness. As the storm clears, it leaves the air more free of particulates, allowing the sunlight to pass through with less scattering. This often results in more intense colors and clearer images. So, if you see storm clouds dispersing, grab your camera and head out for a spectacular show!
Hazy days
Haze may not sound like an ideal condition for sunset photography, but it can enhance the colors of a sunset. The suspended particles in the air scatter the sunlight even more, creating a soft, glowing effect that can be captivating. Just be mindful that haze can also reduce the sharpness of your images, so you may need to make some adjustments in post-processing.
High altitude
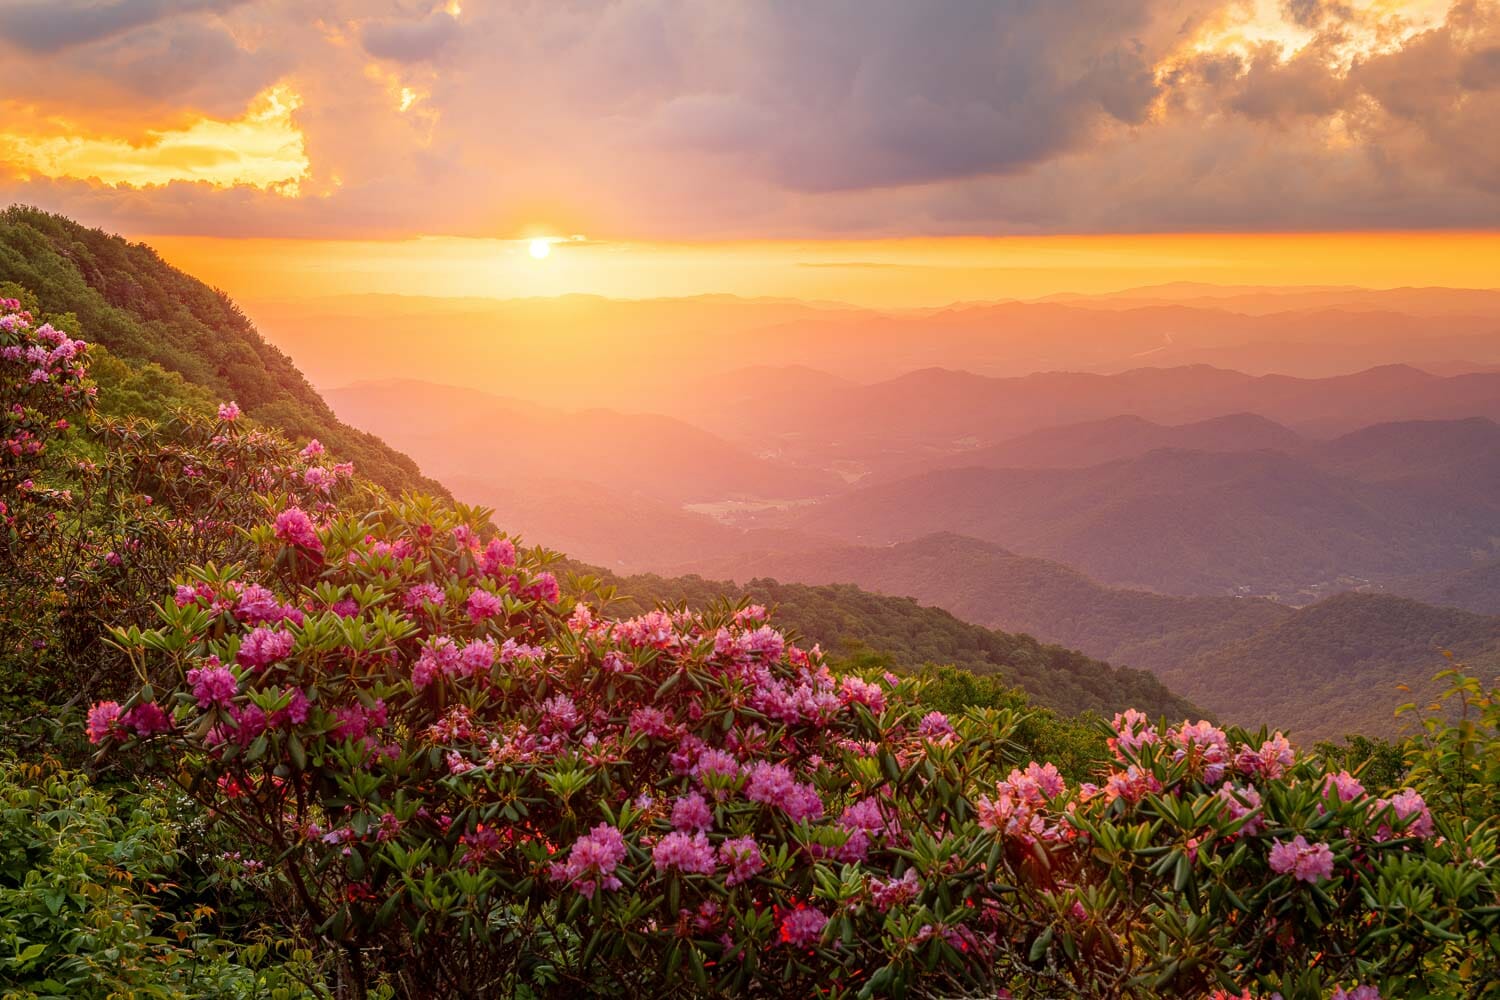
Not necessarily a weather condition, but if you have the opportunity to capture a sunset or sunrise from the peaks of mountains or even just up a hillside a bit, you're in for a treat.
At higher altitudes, the atmosphere is thinner, which can result in more vivid colors and sharper images. Plus, you'll have a unique perspective that can add an intriguing twist to sunset photographs.
Understanding how weather conditions interact with the atmosphere to create those awe-inspiring sunset colors will help you choose the best opportunities for sunset photography.
Photo: Roman Khomlyak/Shutterstock
You'll change your settings frequently as the light shifts at sunset. It's helpful to get crystal clear on how aperture, shutter speed and ISO affect your exposure so you can make swift adjustments.
Camera settings for sunset photography
If you're on a quest for the perfect sunset photograph, understanding how to adjust camera settings for golden hour photography is crucial. Here are tips for your camera settings:
ISO
The ISO setting controls your camera's sensitivity to light.
Generally, you'll want to keep your ISO as low as possible – typically between 100 and 200. This ensures that your images have minimal noise or grain, preserving the smooth, dreamy quality of the fading sunlight.
However, if you're chasing the last sliver of light and need a little extra sensitivity boost, don't hesitate to bump up the ISO.
Just remember, with great ISO comes great responsibility (and potential noise).
Aperture
Your aperture, measured in f-stops, controls the amount of light entering your camera and affects the depth of field.
For sunset photography, we generally recommend using a smaller aperture (higher f-stop number) to achieve a greater depth of field. This ensures that both the awe-inspiring sky and the intricate details of the landscape are in focus.
Try starting with an aperture of f/11 or f/16, then adjust according to your creative vision.
Shutter speed
Shutter speed is how quickly your camera's shutter opens and closes, helping to control how much light hits the sensor.
Faster shutter speeds (e.g., 1/250) freeze motion, while slower shutter speeds (e.g., 1/30) allow more light in. Play with different shutter speeds to capture the best exposure or to play with the perception of movement by clouds or water in the scene.
Remember that using a long shutter speed may require a tripod to prevent camera shake and maintain sharpness.
White balance
White balance helps set the overall color temperature and can dramatically affect the emotion your image conveys.
Although many cameras offer an “Auto White Balance” mode, sunset photography is a perfect opportunity to take control.
To capture a sunset's warm, golden hues, try setting your white balance to “Shade” or “Cloudy.” These settings will enhance the reds and oranges, creating a cozy, inviting atmosphere in your images. If you prefer a cooler, more serene look, experiment with the “Daylight” or “Tungsten” settings.
9 easy ways to improve your sunset (and sunrise!) photos
There's something truly magical about sunsets, but it's tough to translate that magic onto film (or laptop screen). But, with creative thinking, a little technical know-how, and some luck, you'll be a master of sunsets. Below are some surefire ways to take your sunset photography from “meh” to “marvelous.”
Photo: Nuchylee/Shutterstock
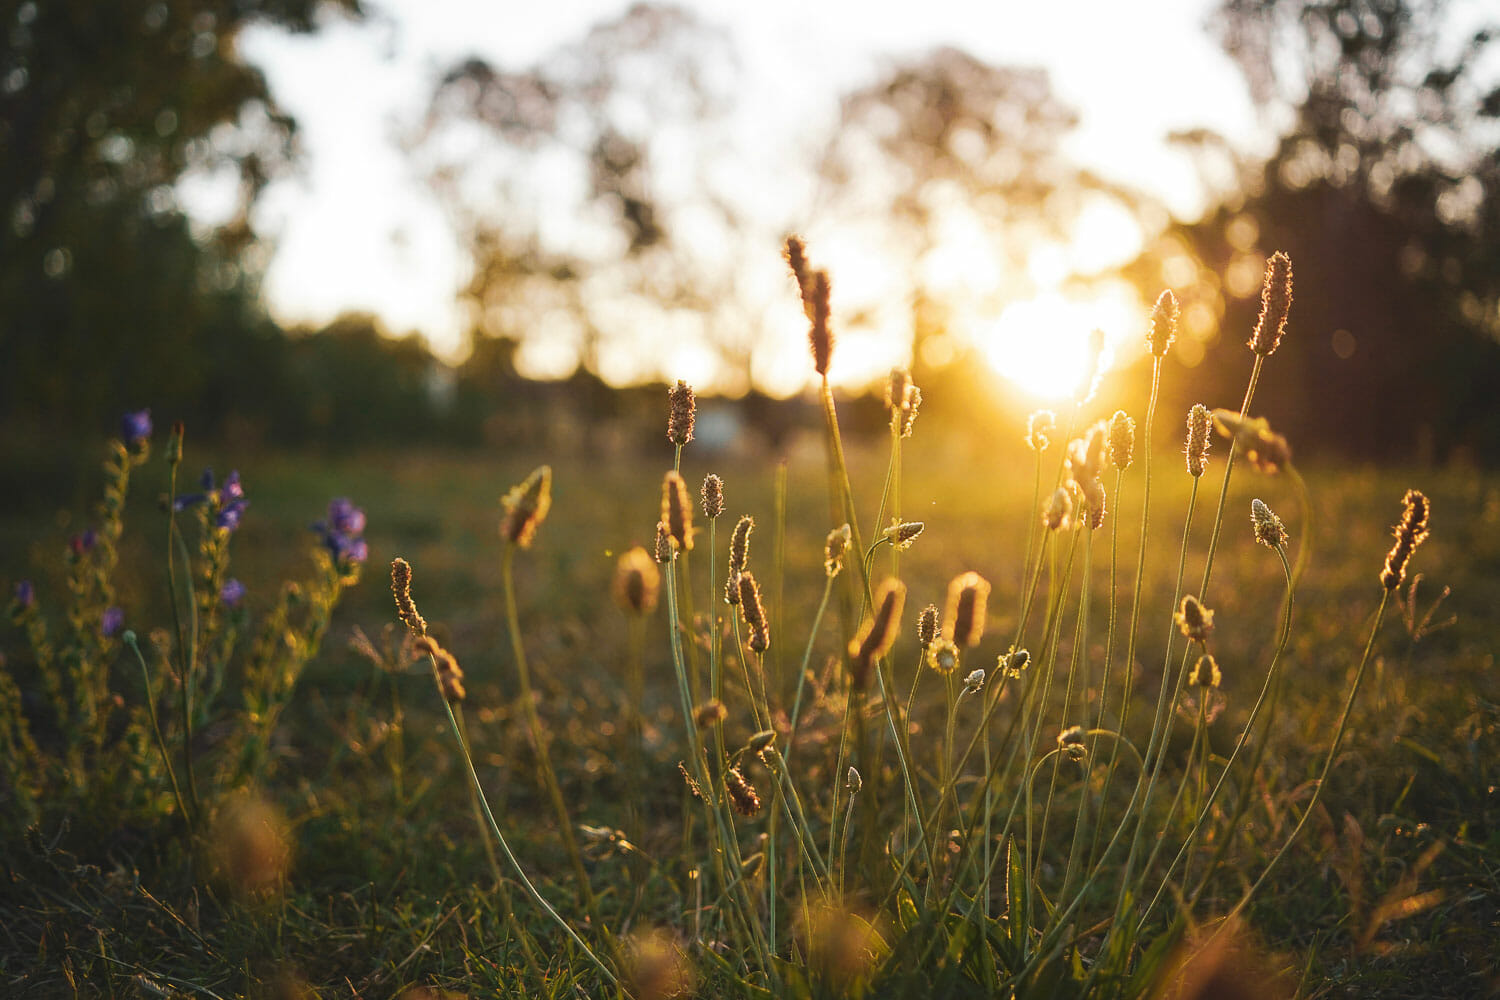
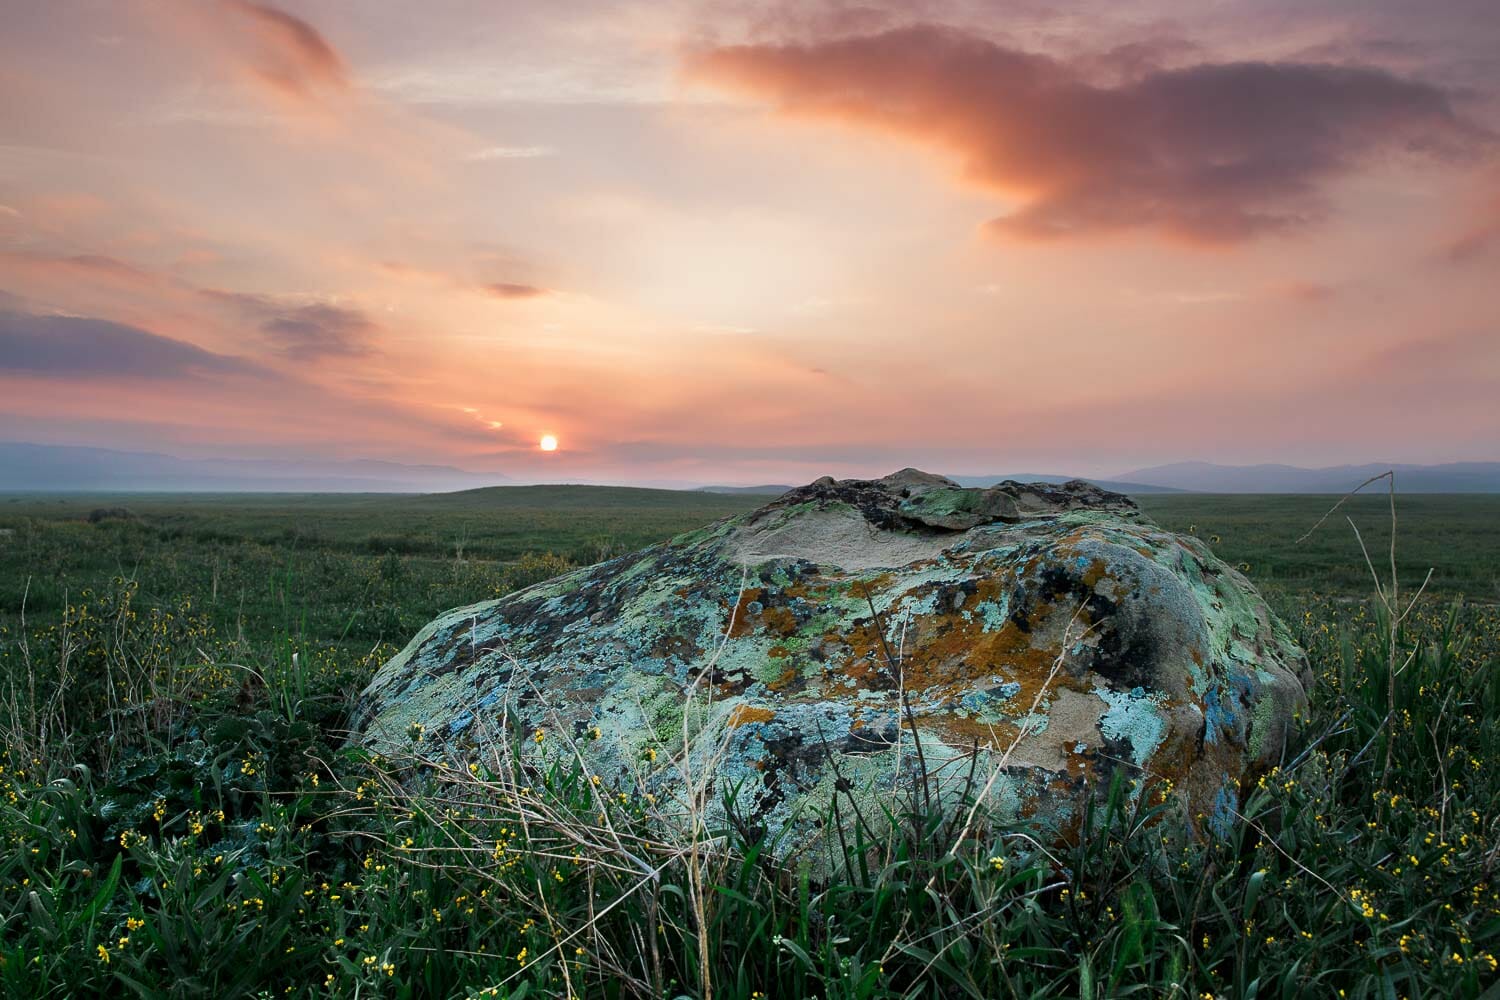
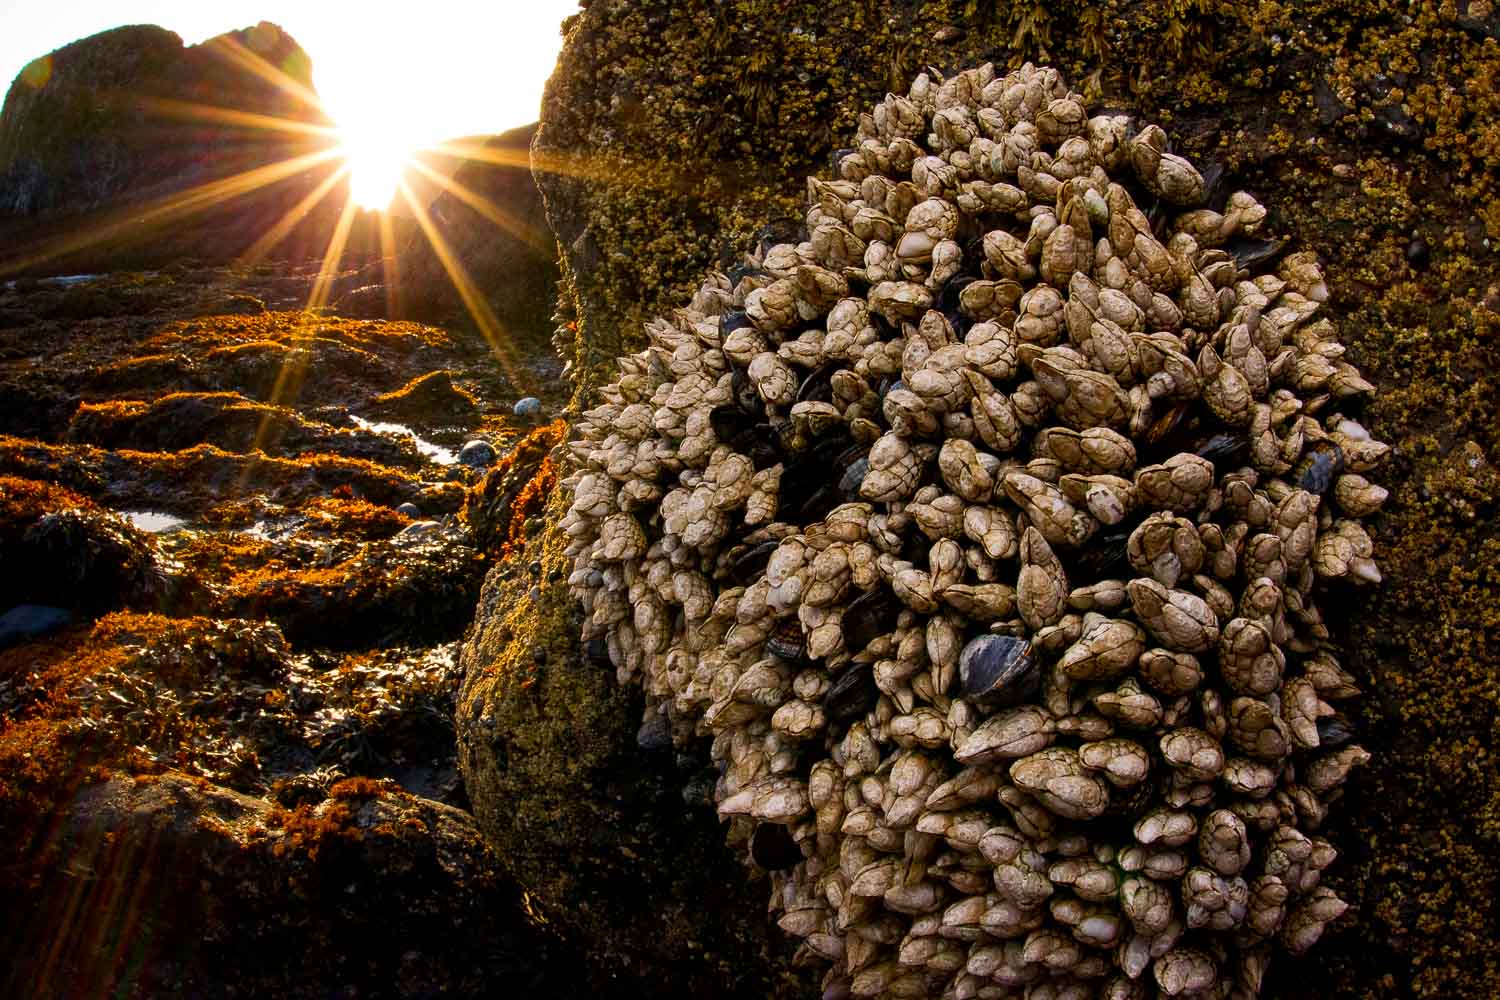
The sky doesn't need to be the leading character in sunset shots. Play with zooming in on plants, interesting rocks, animals and other characters in the landscape.
1. Experiment with different wide-angle lenses and focal lengths
The golden hour is a playground for lens experimentation! Switch up your glass and get creative with focal lengths and lens options.
Wide-angle lens
Wide-angle lenses are perfect for fitting the entire sunset scene into one epic shot and creating unique compositions with exaggerated perspectives. Get up close and personal with interesting foreground elements. This technique adds depth and scale to your images, making your sunsets stand out.
Focal lengths
Increase your focal length to zoom in on those magical sun-kissed details, such as distant mountain peaks, the caps of rolling waves, or capture dreamy close-ups of back-lit trees and other foliage with long lenses.
On the flip side, using shorter focal lengths lets you play with negative space, emphasizing the vastness of the sky or the tiny silhouettes of people enjoying the sunset.
Photo: David P Baileys/Shutterstock
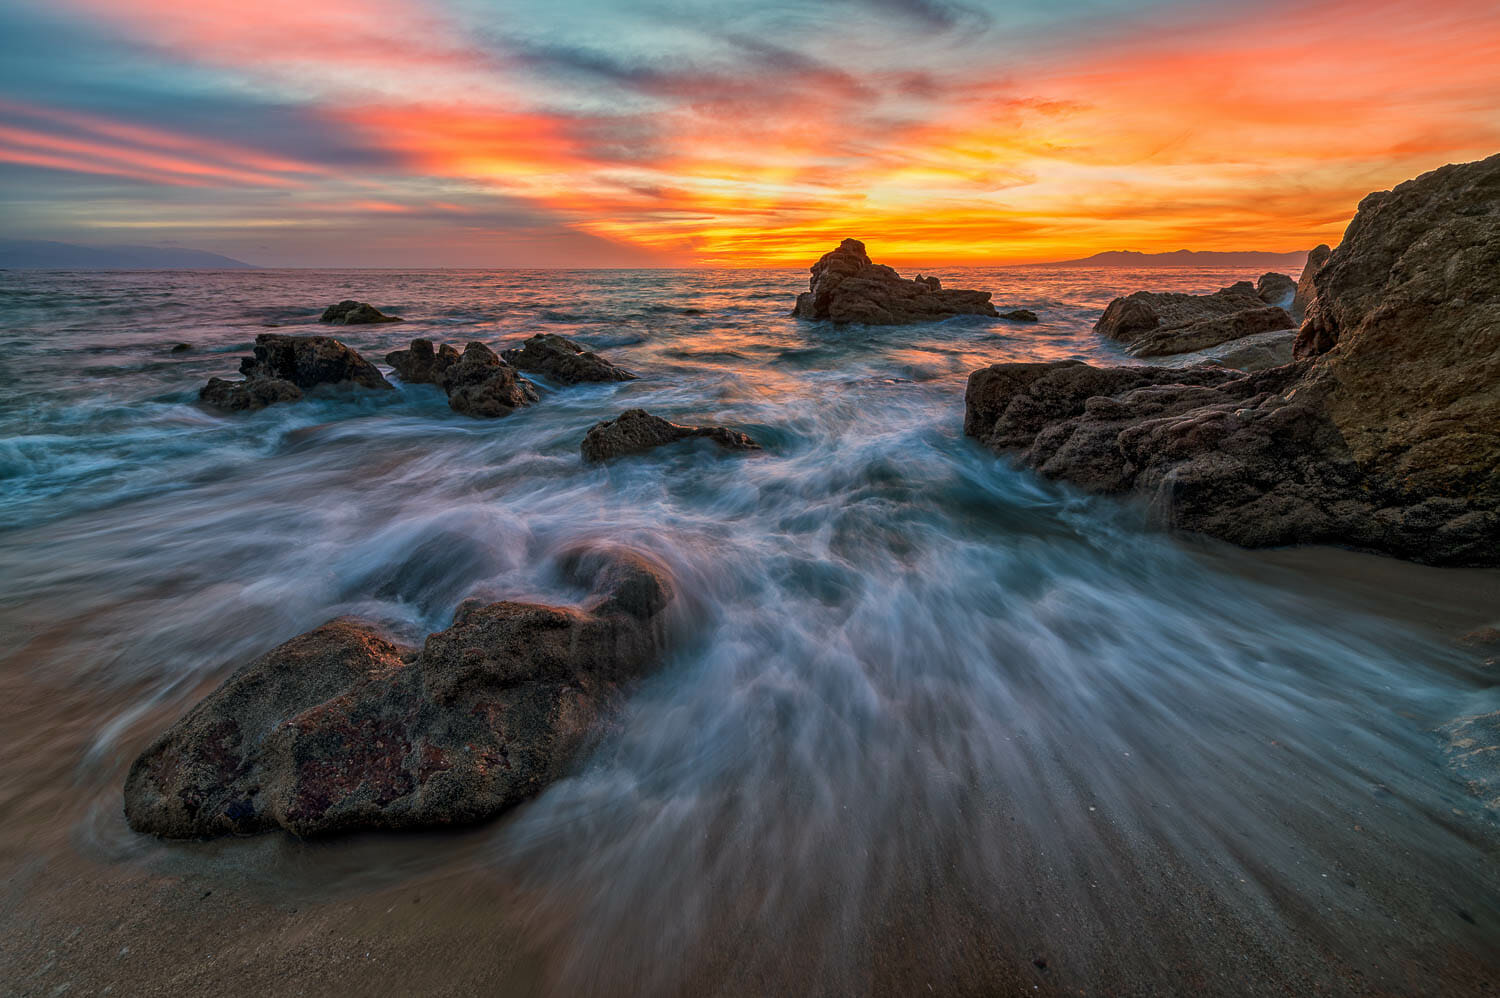
A tripod and shutter release help to keep the camera steady so you can capture sharp photos even when using a slower shutter speed.
2. Use a tripod and shutter release
You've found the perfect spot, the sky is ablaze with color, and you're ready to capture a sunset photo that will make your Instagram followers swoon. But you realize your ideal camera settings require a slow shutter speed. This is where tripods and shutter releases become your best friend.
Tripods
Think of a tripod as your trusty sidekick, always there to lend a helping hand (or three) when you need it most. A tripod ensures that your sunset shots are crisp and clear while allowing for precise composition and framing, giving you the freedom to fine-tune your shots.
Shutter release
A shutter release lets you trigger your camera's shutter without physically touching the camera, eliminating any chance of camera movement. It's particularly useful when shooting at slower shutter speeds or getting extra long exposures as golden hour turns into blue hour.
Photo: Jaymi Heimbuch
Graduated neutral density filters help you balance the exposure between a bright sky and dark foreground, so you can properly expose for different parts of the scene.
3. Explore graduated neutral-density filters
Graduated neutral-density (GND) filters help balance the exposure between the bright sky and the darker foreground so you can capture the full range of colors and detail in your scene.
Like sunglasses for your camera lens, GND filters come in various strengths and types, so choosing the right one for your specific needs is essential. Here's a quick rundown of the most common options:
Soft-edge GND filters
These filters have a smooth, gradual transition and are perfect for scenes with uneven horizons, such as mountains or cityscapes.
Hard-edge GND filters
With a more abrupt transition, hard-edge GND filters are ideal for situations with a clearly defined horizon, like seascapes or open plains.
Reverse GND filters
These filters are darkest in the middle and gradually lighten towards the edges, making them well-suited for sunrises and sunsets when the brightest part of the scene is near the horizon.
Experiment with different GND filters to find the one that works best for your style and your shooting conditions.
Photo: Checubus/Shutterstock
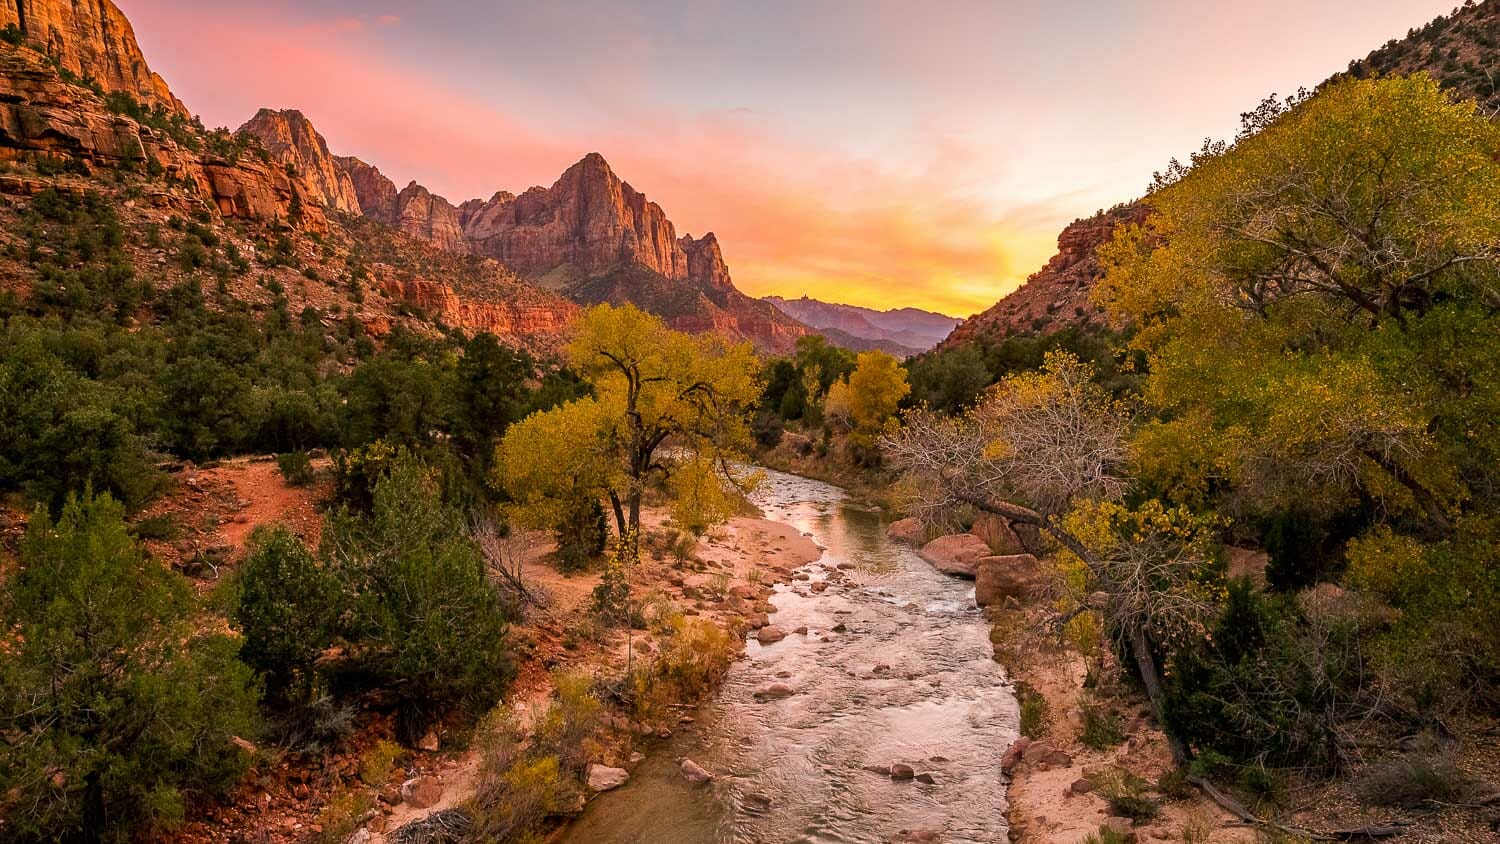
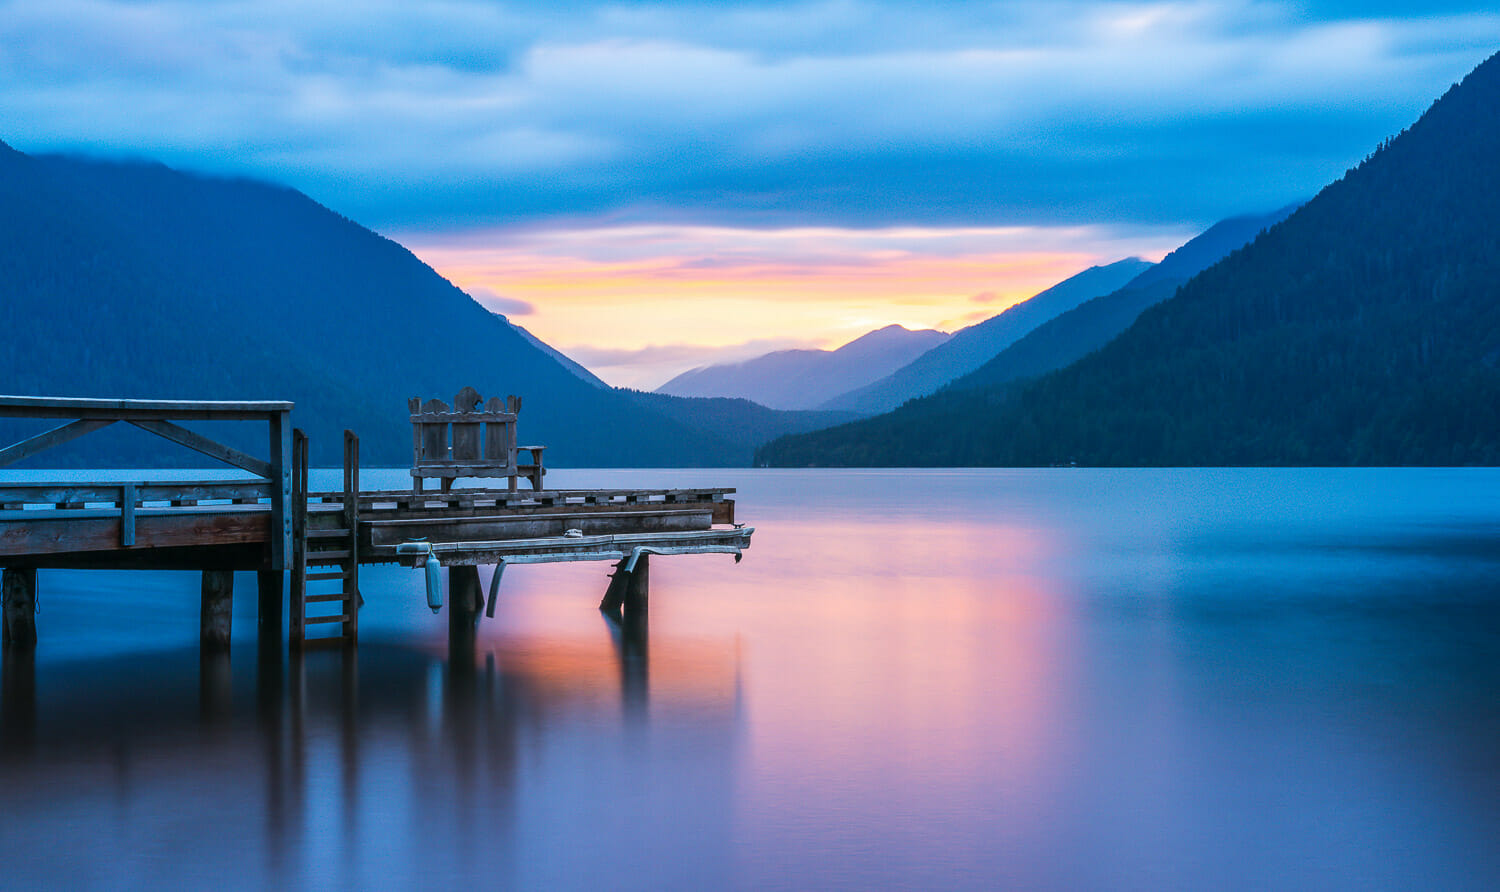
Leading lines and lots of negative space shift the attention to color and a sense of calm simplicity.
4. Get creative with compositions
Capturing a breathtaking sunset is only half the battle. To truly make your images stand out in a sea of sunset photos, unleash your inner artist. Whether shooting through foliage for a natural frame or taking a shot from a low angle to emphasize the foreground, there are countless ways to make your sunset photos stand out. A few ideas:
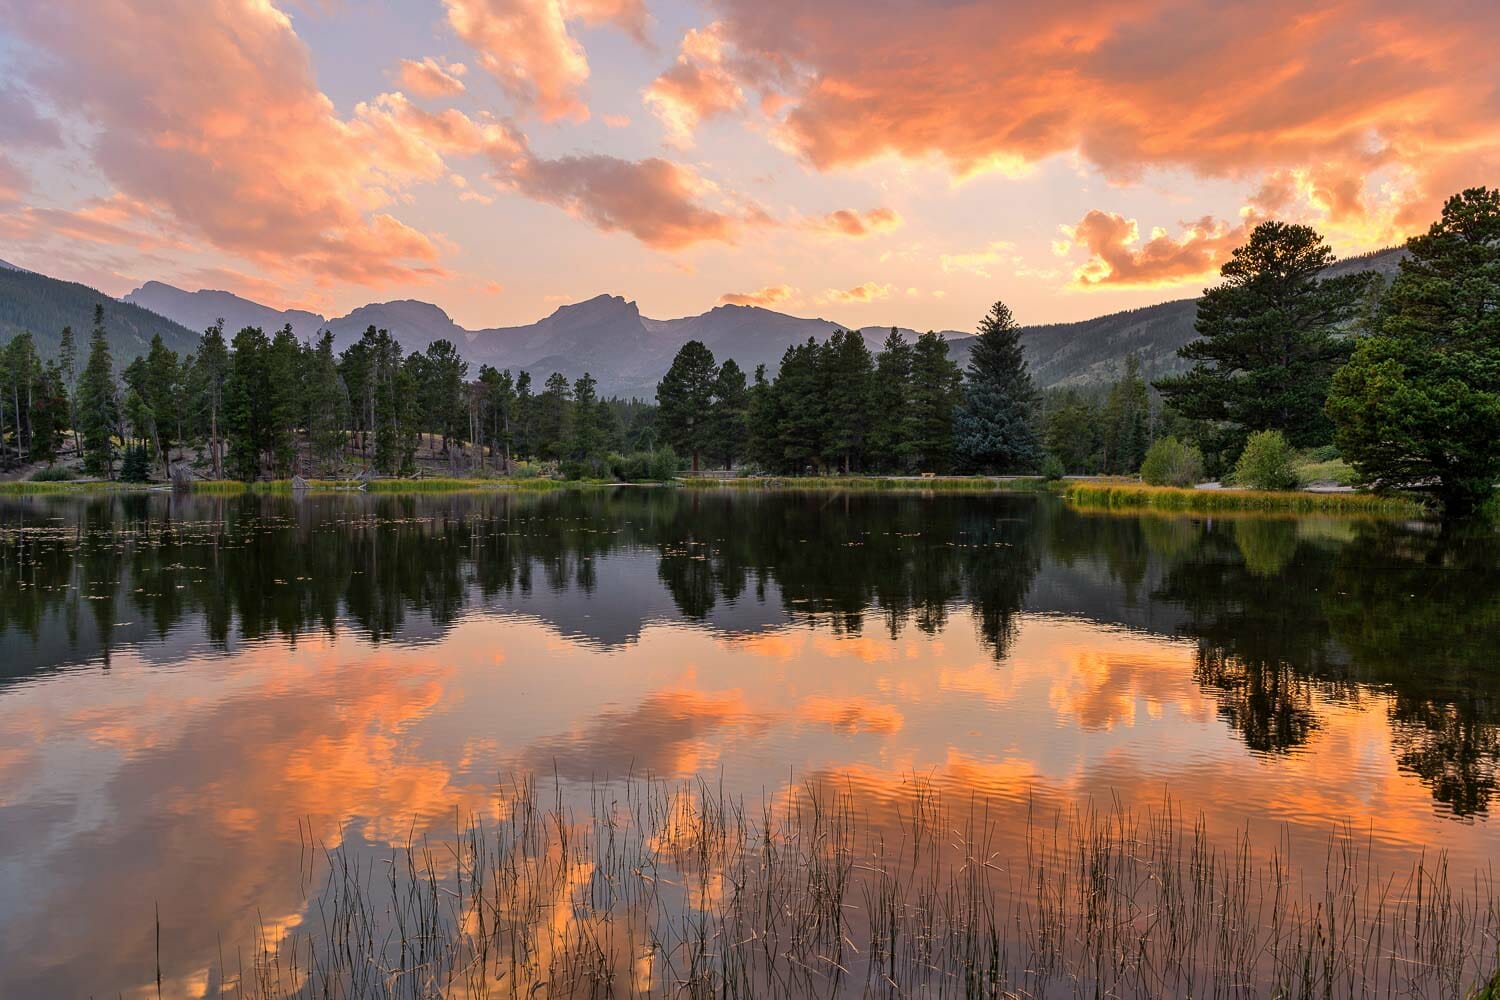
Use reflections
Make the most of nature's mirrors by incorporating reflections into your compositions to add depth and symmetry to your sunset shots. Plus, they're a great way to double the impact of the vibrant sky above.
Embrace negative space
By using negative space, you can emphasize the vastness of the sky or draw attention to a lone subject in the scene.
This is especially helpful when you're photographing in unique landscapes like sand dunes, lakes, deserts, or other spots perfect for minimalist landscapes.
Experiment with placing your main subject off-center or near the edge of the frame to add extra negative space to the composition.
Look for leading lines
Leading lines are a classic composition technique that can help guide the viewer's eye through your image – from foreground to background – creating a sense of depth and movement. Look for natural or man-made elements that can serve as leading lines.
Change your perspective
Sometimes, all it takes to create a unique composition is a change of perspective. Try shooting from a low angle to emphasize the foreground or climb to a higher vantage point or use a drone for a bird's-eye view of the landscape.
Photo: Denis Belitsky/Shutterstock
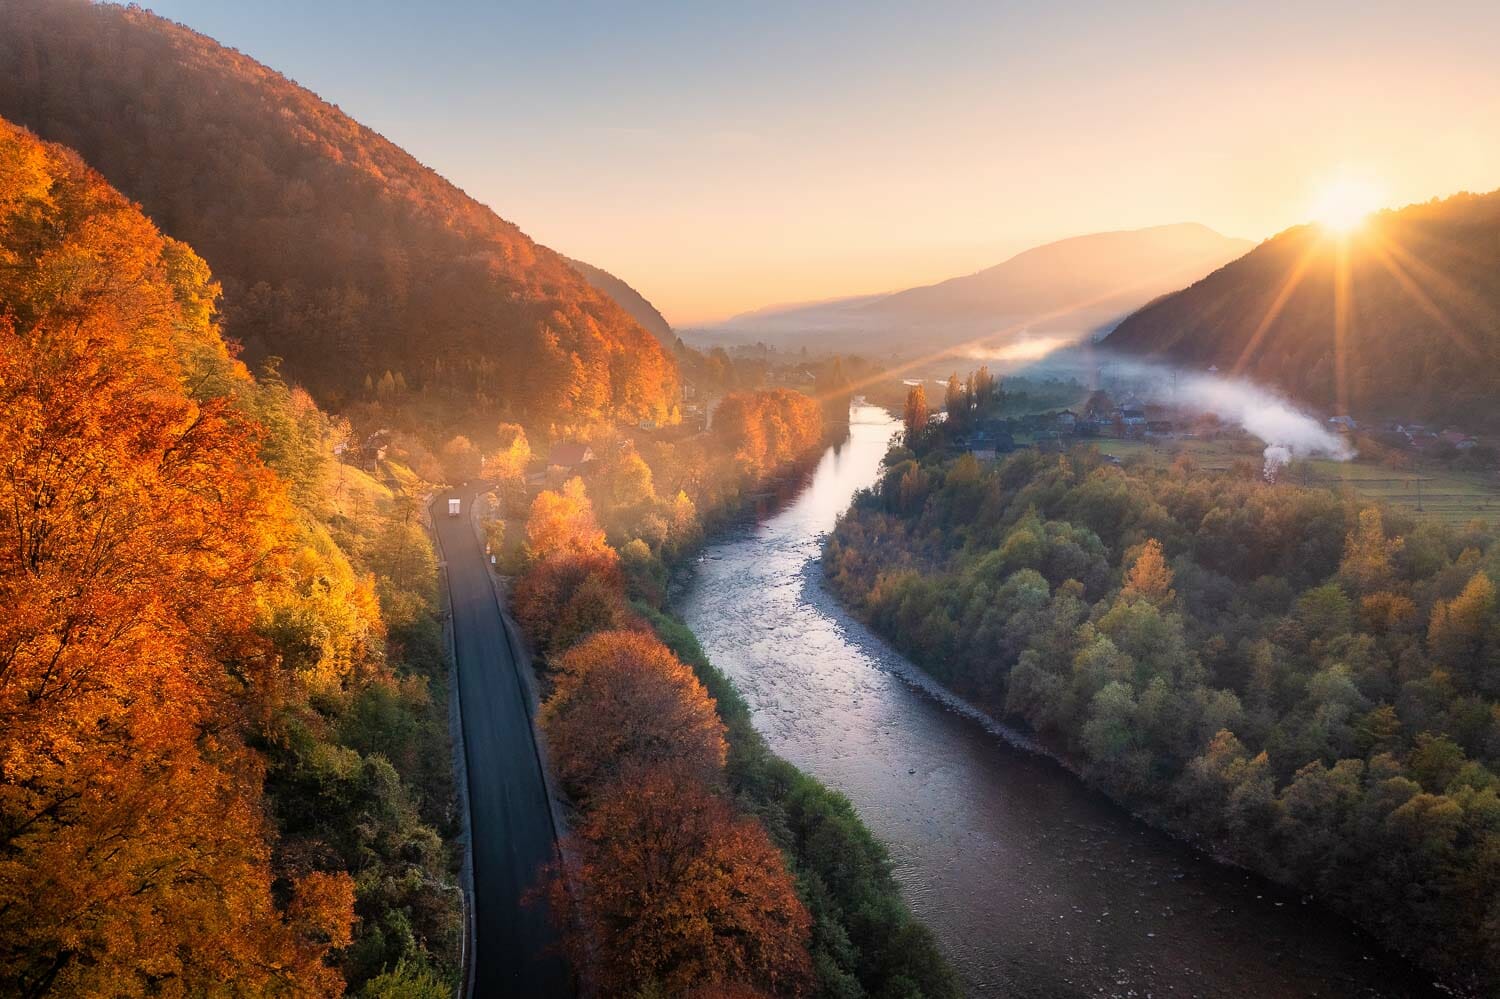
Haze, mist, and low-hanging fog can be a wonderful way to add mood to your sunset shots. Use them to your advantage as you plan out composition and exposure.
5. Use mist and low-hanging fog to your advantage
That mist and low-hanging fog—often seen as photographic adversaries—can be a secret weapon for creating enchanting sunset images. Here's how:
Embrace the mood
Use the diffused light and soft focus of mist and fog to your advantage, creating moody and evocative images that capture the essence of the scene. Not every sunset needs to be a riot of colors – sometimes, a touch of melancholy can evoke just as strong of an emotional response.
Play with layers
Mist and fog can transform landscapes into dreamy, layered works of art. As these elements soften distant objects, you can create a sense of depth and dimension in your images by focusing on the layers of hills, trees, or buildings that gradually fade into the mist.
Experiment with light
When the sun begins to set amidst mist and fog, the interplay of light and shadow can produce some truly spectacular effects.
Capture the sun's rays as they filter through the fog, creating natural spotlights and luminous halos around your subjects. Or, wait for the moment when the sun dips below the horizon, casting a warm, golden glow that seems to emanate from within the mist itself.
Photo: Sazid Rezwan/Shutterstock
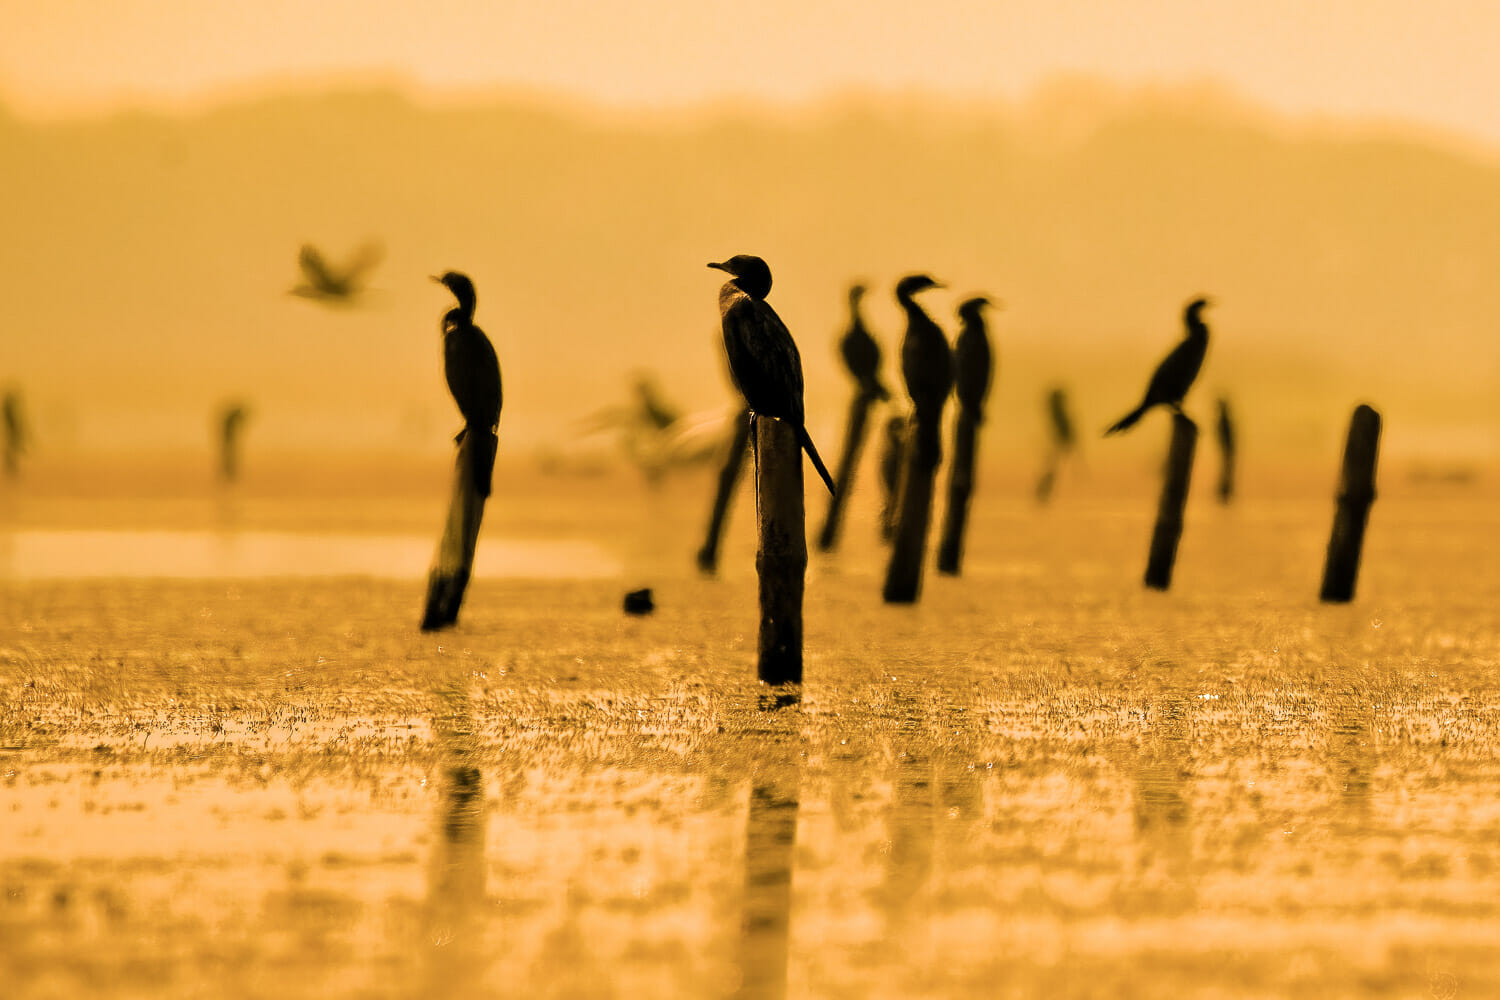
Silhouettes captivate the imagination. Have fun underexposing shots to get crisp silhouettes surrounded by vivid colors.
6. Have fun with silhouettes
Silhouettes can bring your sunset stories to life in a simple yet powerful way. Use them to create a sense of drama, romance, or adventure, depending on your chosen subjects and how you frame your shots. A few considerations:
Experiment with shapes and forms
When working with silhouettes, the focus shifts from colors and textures to shapes and forms. This opens up a world of creative possibilities, as you can play with different subjects against the vibrant backdrop of the setting sun.
Capture action and movement
One of the benefits of working with silhouettes is that they lend themselves perfectly to capturing action and movement. For example, you can freeze a moment in time as a bird takes flight against the backdrop of a fiery sunset. These dynamic shots add energy and excitement to your images.
Play with perspective
Get down low or climb up high to find unique angles for your silhouette shots. By changing your perspective, you can create intriguing compositions that challenge the viewer's perception of scale and distance.
Photo: daniturphoto/Shutterstock
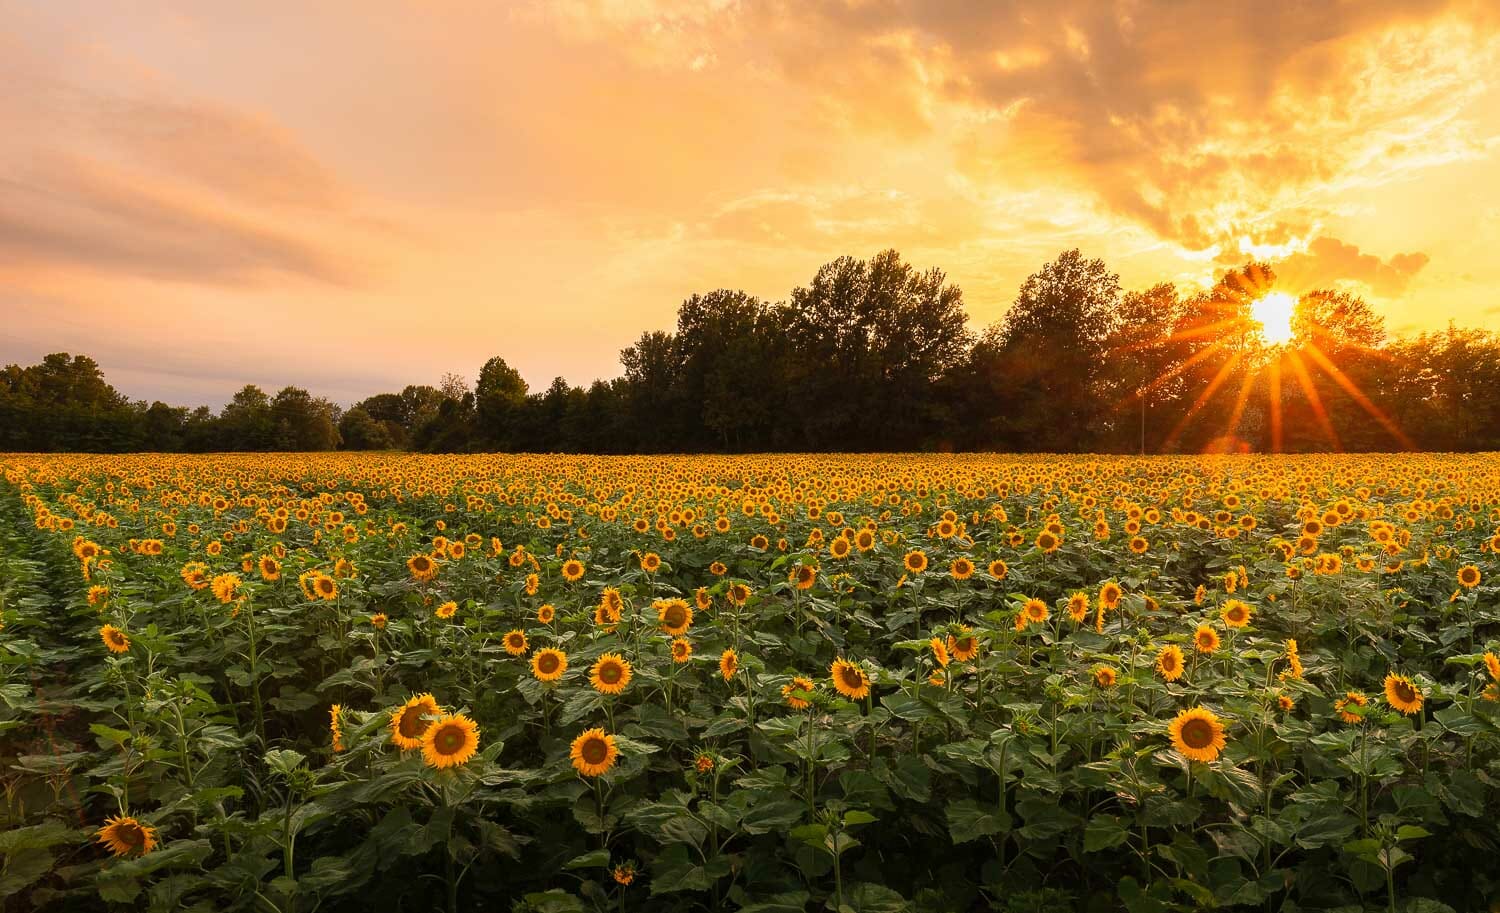
A little bit of star burst adds a lot of interest to a sunset photo. Use this technique as a compositional element in your scene.
7. Lean into starbursts (but avoid lens flare)
Twinkling starbursts can add a touch of magic to your sunset photos. However, be mindful of lens flare, which can distract from the scene's beauty. To best incorporate starbursts, try these tips:
Embrace small apertures
To capture starbursts, you'll need to trade in your wide apertures for smaller ones. Set your camera to a narrow aperture like f/16 or f/22 to help diffract the light, creating that magical starburst effect. Keep in mind that using a small aperture might also mean slower shutter speeds.
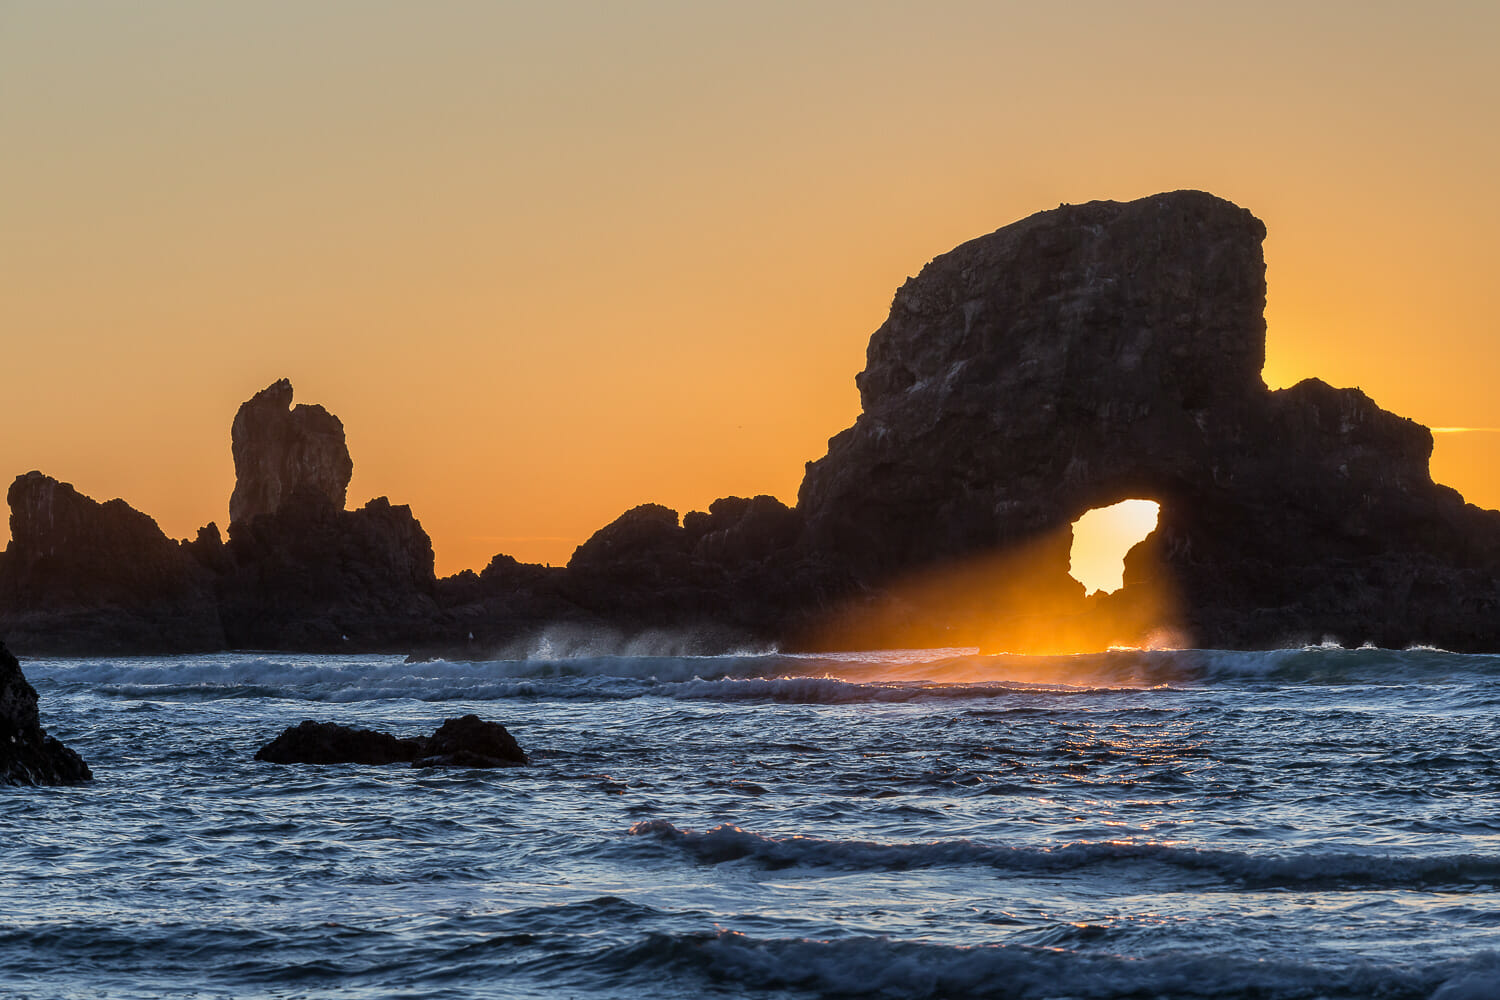
Peek-a-boo with the sun
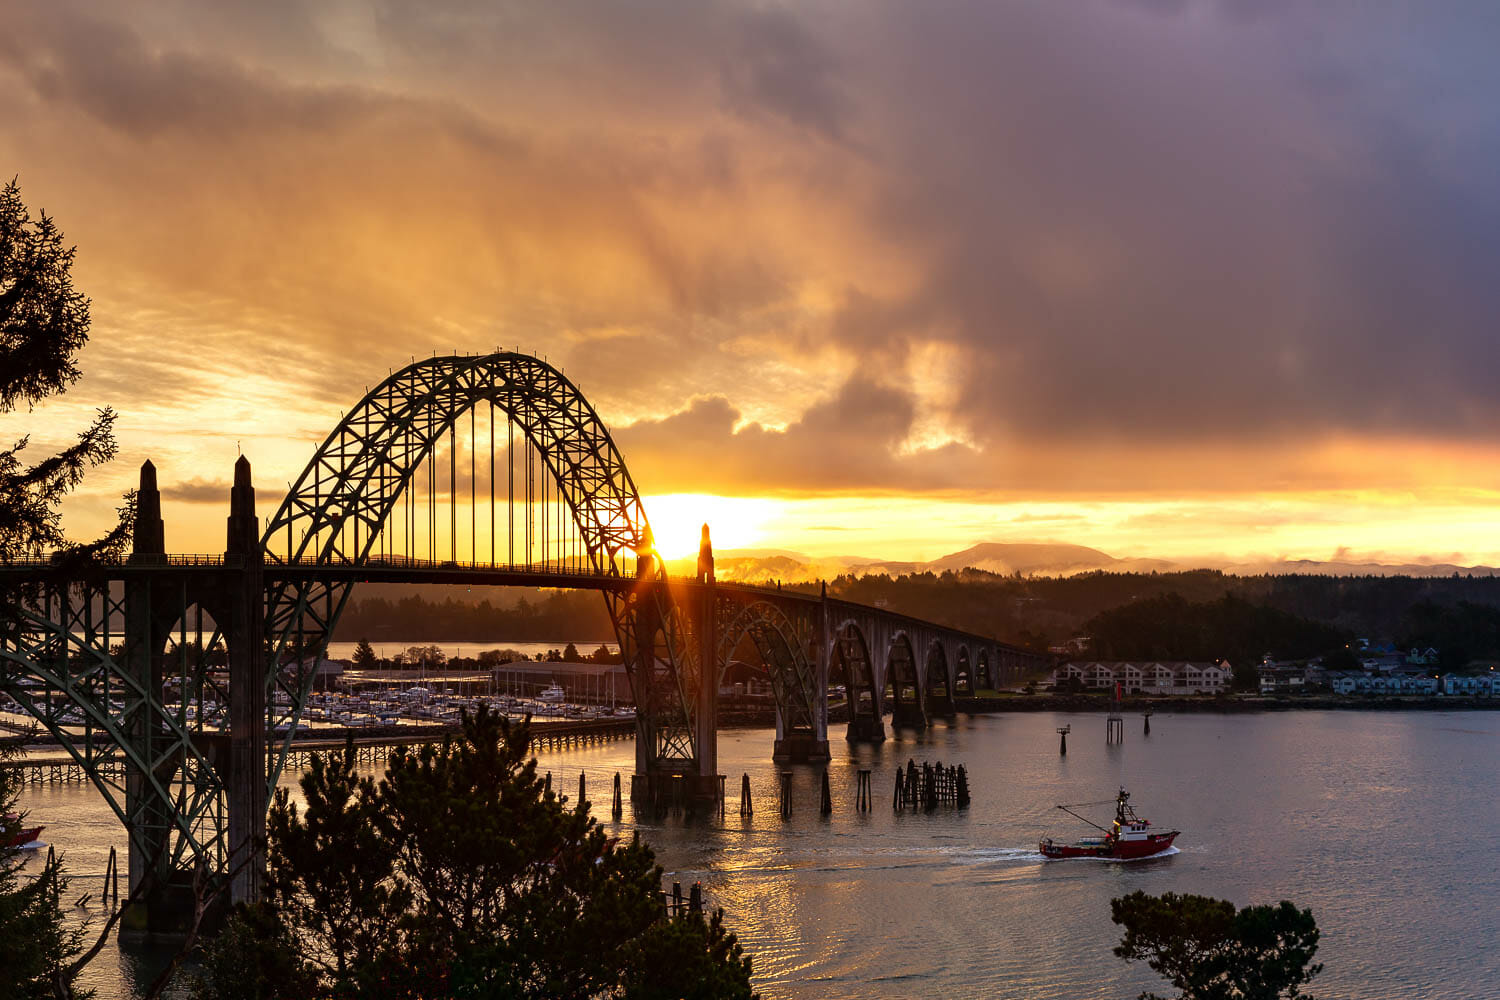
One of the best ways to capture starbursts in your sunset images is to partially hide the sun behind an object, such as a tree or building. This technique creates a stunning starburst effect while minimizing lens flare by blocking direct sunlight from hitting your lens. This is also where a camera lens hood comes in extra handy.
Use a prime lens
While zoom lenses are versatile, prime lenses often produce cleaner and more defined starbursts due to their simpler optical design. So, if you're serious about capturing those sparkling starbursts, consider investing in or renting a quality prime lens.
Experiment with filters
Use a high-quality polarizing or multi-coated UV filter to minimize flare and enhance the overall quality of your sunset images. Be sure not to stack too many filters, which could lead to vignetting or other unwanted side effects.
Photo: anthony heflin/Shutterstock
Sometimes the best way to get proper exposure in a final image of a contrasty scene is to create multiple frames, each exposed for a different part of the scene, and layer them together in post-processing. Bracketing helps you accomplish this quickly and easily.
8. Bracket your shots for multiple exposures
Navigating the extremes of highlights and shadows during sunset can make it difficult to pinpoint the ideal combination of settings to capture the entire scene. As the sun sets swiftly, you're scrambling to adjust your settings for the perfect exposure from second to second.
This is where exposure bracketing comes in and saves the hour.
Exposure bracketing involves taking several shots of the same scene at different exposure levels, typically one underexposed, one correctly exposed, and one overexposed.
This technique ensures that you capture a wide range of tonal values, giving you the flexibility to choose the best exposure or even combine them in post-processing for a perfectly balanced image.
To try this strategy, first, get familiar with your camera's particular settings. Most modern cameras come equipped with a bracketing feature, which allows you to set the number of bracketed shots and the exposure increment between them.
Next, when setting your exposure increment for bracketing, strike the right balance between capturing enough tonal range and minimizing the number of shots you take.
Generally, an increment of 1 to 2 stops should suffice for most sunset scenes, but experiment with different increments to find what works best for your specific conditions.
Photo: Jaymi Heimbuch
Bring a speedlight or flashlight along so you can use it to shine a little light on foreground elements. This helps them pop with color and adds depth to your composition.
9. Use fill light for your foreground elements
Capturing the perfect sunset is often a balancing act between the vibrant colors of the sky and the darker tones of the foreground. But there's a way to bring harmony to this delicate dance of light and shadow. Enter fill light—one way to breathe life into your foreground elements. Here are a few lighting options:
Reflectors
A simple way to add fill light to your sunset images is by using a reflector. These nifty tools capture the warm, golden glow of the setting sun and bounce it back onto your foreground subjects, adding depth and dimension to your images.
Flashes
While it may seem counterintuitive to use flash during a sunset photoshoot, a gentle burst of light can work wonders for illuminating your foreground elements. By using an off-camera flash or a speedlight with a diffuser, you can add just the right amount of fill light without overpowering the sunset.
Continuous lighting
If you prefer a more hands-on approach to fill light, consider using continuous lighting sources like LED panels or even a simple flashlight. These tools allow you to fine-tune your lighting setup in real time, giving you complete control over the intensity and direction of the fill light.
Photo: Mohamed Selim/Shutterstock
There are fantastic apps and websites that will help you plan out the perfect sunset outing.
Must-have tools for planning your sunset photos
Whether shooting from home or taking a trip to your favorite national park, capturing the perfect sunset is about being in the right place at the right time. To ensure you're prepared and don't miss out on a magical moment, check out these must-have tools to help plan your sunset photoshoot.
Photopills
This powerful app helps you plan your shoot by providing essential information on not only sunrise, sunset, golden hour, blue hour, and twilight times for any location and date, but also includes an augmented reality feature, a Milky Way planner, a depth of field calculator, a time-lapse calculator, and an exposure calculator!
Weather apps
As much as we'd love to control the weather, Mother Nature has other plans. Stay one step ahead with free, reliable weather apps like Weather Underground, AccuWeather, or The Weather Channel. These apps provide accurate forecasts, radar maps, and real-time updates so that you can plan your shoot accordingly.
⤑ WeatherUnderground
⤑ AccuWeather
The Photographer's Ephemeris (TPE)
TPE is another fantastic app for outdoor photographers. It shows you how light will fall on the landscape, day or night, for any location on Earth. Its easy-to-use interface lets you quickly find the best time and place to capture those breathtaking sunsets.
Sun Surveyor
Sun Surveyor is an app that combines 3D maps with augmented reality to show you the solar path, the sun's direction, and elevation at any given time and location. This handy tool helps you determine the optimal position for your camera and plan your shoot around the sun's movements.
Google Maps
Use the satellite view to scout potential shooting locations, explore the terrain, and even find hidden gems like lakes or forests that could be the perfect backdrop for your sunset masterpiece.
With these tools in your arsenal, you'll be well-equipped to capture those moments as the sun dips below the horizon.
Keep practicing, experimenting, and, most importantly, enjoying the process.
After all, the beauty of a sunset is not just about the perfect shot but also about savoring the beautiful moments as the day fades into the evening.
Photo: Jaymi Heimbuch
Everything we've covered in this sunset photography tutorial can be applied to sunrise photography as well!
Using these tips for sunrise photography
The flip side of the golden hour coin – sunrise photography – offers a chance to capture the earth as it awakens from its slumber. Here are a few quick tips to get your sunrise shoot planned:
1. Scout your location
As with sunset photography, finding the perfect spot for your sunrise shoot is crucial. Research your location beforehand, and visit the site during the day to familiarize yourself with the terrain and potential compositions.
Remember, you'll be navigating in the pre-dawn darkness, so having a clear idea of where you're going will save you precious time and energy.
2. Get out extra, extra early
The early bird catches the worm—or, in this case, the perfect sunrise shot. Be sure to arrive at your location well before the sun has passed over the horizon, giving yourself ample time to set up your gear and settle into your chosen spot.
Trust us; there's nothing quite like the thrill of watching the sky transform from inky black to a kaleidoscope of colors as the sun makes its grand entrance.
3. Embrace the blue hour
While the golden hour rightfully steals the show, don't overlook the beauty of the blue hour that precedes it. This brief window of time, when the sky takes on a deep, rich blue hue, offers a unique opportunity to capture serene, moody images that contrast beautifully with the vibrant colors of the sunrise. Plus, it's a great excuse to squeeze in extra photography time!
4. Adjust your settings
As the light changes rapidly during sunrise, staying on top of your camera settings is essential. Be prepared to adjust your ISO, shutter speed, and aperture to capture the scene's full range of tones and colors.
And don't forget to bracket your shots for multiple exposures—just like with sunsets, this technique can be a lifesaver in the ever-changing world of sunrise photography.
5. Revel in the serenity
One of the greatest joys of sunrise photography is the sense of peace and tranquility that comes with being one of the few souls awake to witness the planet come to life. So take a moment to breathe in the crisp morning air, listen to the gentle rustle of leaves, and revel in the beauty of nature's most spectacular light show.
While sunset photography may be the star of our article, sunrise photography offers its own unique charm and challenges that are well worth exploring. So rise and shine, fellow photographers, and discover the delights of capturing the break of day!

