Read Time: 14 minutes
White Sands National Park is a geological masterpiece, sculpted over millions of years.
Around 250 million years ago, the area was covered by a shallow sea. As the sea evaporated, it left behind a thick layer of gypsum. This mineral forms the park's iconic white sands.
In 1933, the area was designated as White Sands National Monument and designated as a national park in 2019.
At 275 square miles, White Sands National Park might seem small when compared to behemoths like Yellowstone National Park, but it's home to the largest collection of white gypsum sand dunes in the entire world.
So, even though it might not be the biggest kid on the block, White Sands National Park punches above its weight when it comes to its unique beauty.
This guide is packed with tips, tricks, and insider info to help you take stunning shots of one of the most unique landscapes on earth.
Regardless of whether you're a seasoned professional or a budding enthusiast, there's something here for everyone.
So, strap on your camera bag, and let's dive into the unique world of capturing White Sands National Park photos!
Photo: Rosemary Woller/Shutterstock
A desert moonscape with other-wordly plants… it's no woder that this national park is a beloved destination for nature photographers.
When to visit White Sands National Park
White Sands National Park is characterized by low rainfall, high evaporation rates, and a somewhat significant daily temperature range.
While it is a desert climate, there are variations over the course of the year, so you'll need to plan and pack accordingly.
Dressing appropriately is crucial for a comfortable and safe photography adventure.
No matter the season at White Sands National Park, you'll need to pack sturdy, comfortable hiking boots and serious sun protection – a wide-brimmed hat, UV-protection sunglasses, and high-SPF, sweat-resistant sunscreen.
The operating hours differ seasonally, so check the park's official website for the most up-to-date information.
And, keep in mind that the park closes occasionally for missile tests on the adjacent White Sands Missile Range.
Here's an overview of what to expect during each season:
Spring (March through May)
With average temperatures ranging from chilly but above freezing at night and into the 80s (°F) during the day, spring offers a pleasant climate for long photo sessions.
Spring has relatively low visitor traffic, which means more opportunities to snap photos of pristine, untouched dunes sans footprints and people.
During the spring, the brilliant white sand dunes contrast with clear blue skies, while blooming plant life like the soaptree yucca can add a touch of green to your shots.
Capture the delicate movement of the sand dunes and the subtle patterns created by gentle spring winds.
Pros:
- Experience the quiet that gives you more opportunities to explore uninterrupted
- Photograph vibrant spring blooms that add pops of color and visual interest to your photographs
- Witness wildlife in action as species become more active
Cons:
- Unlike the intense light and shadows of summer or the striking sunsets of autumn, spring's light can be less intense
- As peak travel season approaches towards the end of spring, there can be an increase in visitor numbers – and temperatures
What to pack:
We'll cover camera gear shortly, but, clothing-wise, dressing in layers is key when visiting White Sands National Park in the spring.
Bring along the following:
- Moisture-wicking base layer to keep you dry when temperatures rise during the day
- Lightweight, breathable, long-sleeved shirt to protect your skin from the sun's rays
- Warm fleece or down jacket for the chilly mornings and evenings
Summer (June through August)
The summer season heralds hot temperatures throughout White Sands National Park with daytime temperatures often above 90°F, while the nights cool off considerably, sometimes dipping in the low 60s (°F).
With the sun is at its brightest, the intensity of the sunlight illuminates the gypsum sand to an almost blinding degree of brilliance.
It's not uncommon for afternoon thunderstorms to roll in during the summer months, bringing dark clouds that contrast beautifully against the bright white sands.
The thunderstorms can also result in ephemeral pools of water on the dunes, providing a chance to capture rare reflections of the sky on the white sands.
Pros:
- Chance to capture the contrast of dark storm clouds against brilliant white sand dunes
- Long summer days mean more daylight hours for trying out various lighting conditions
- Unparalleled summer sunsets
Cons:
- The intense summer heat can be challenging. Bring plenty of water and stay hydrated
- Surprise afternoon thunderstorms may disrupt photo sessions
What to pack:
Summer days are long and hot at White Sands National Park, so plan accordingly with lightweight, breathable clothing. Here are some essentials to pack:
- Quick-drying shorts or pants and a moisture-wicking top
- Light-colored, long-sleeved shirt for sun protection
- Rain gear in case of thunderstorms
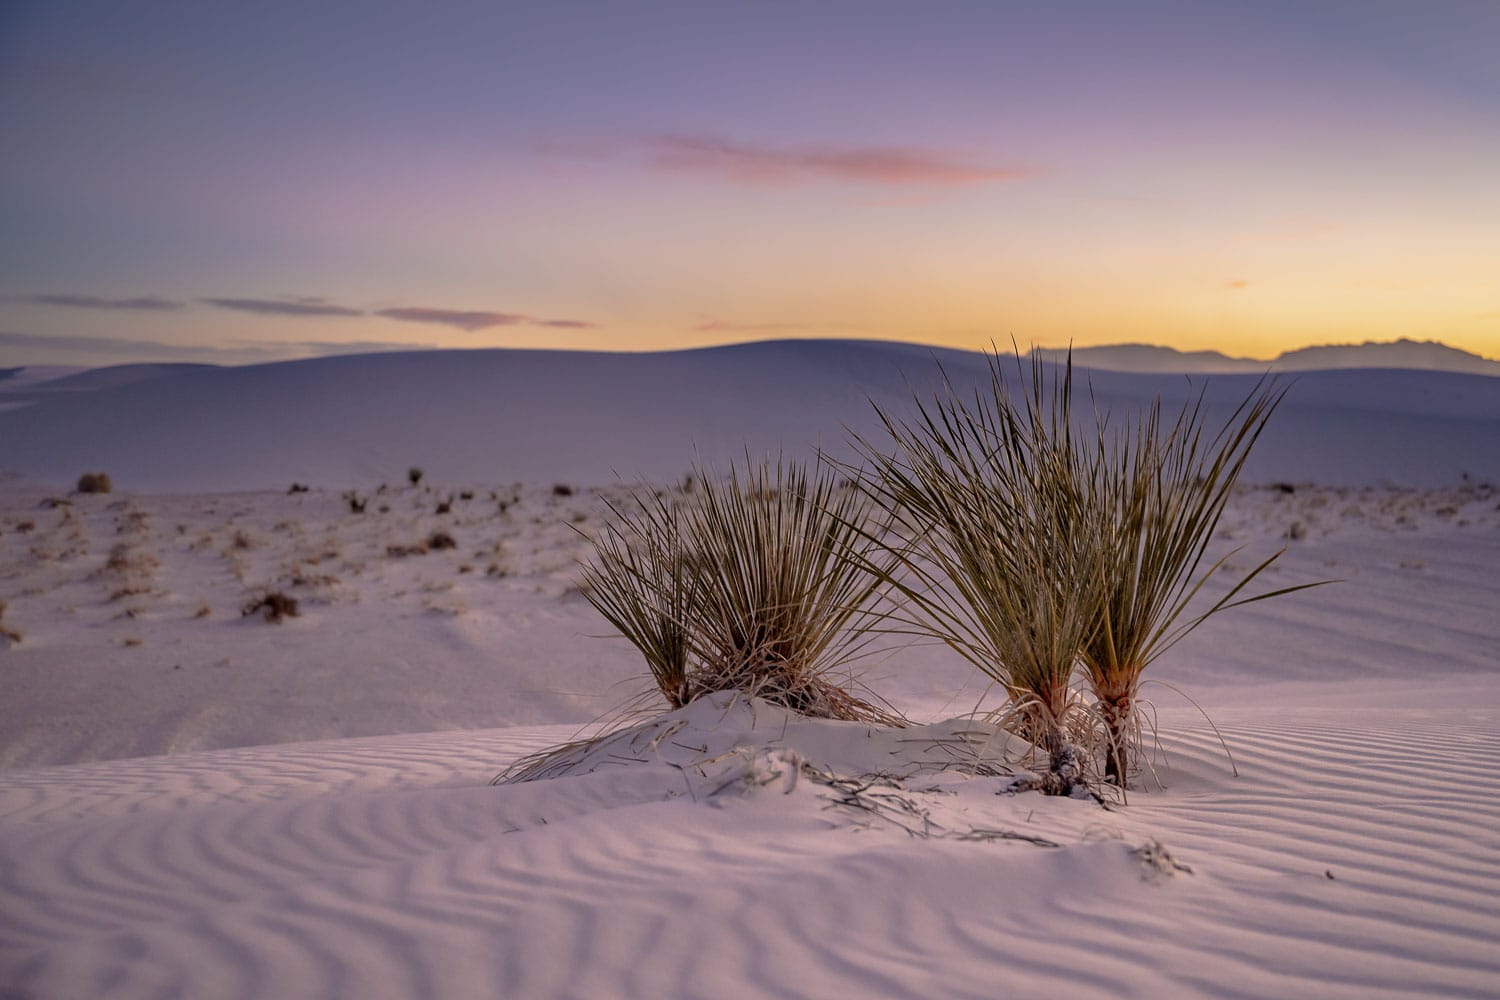
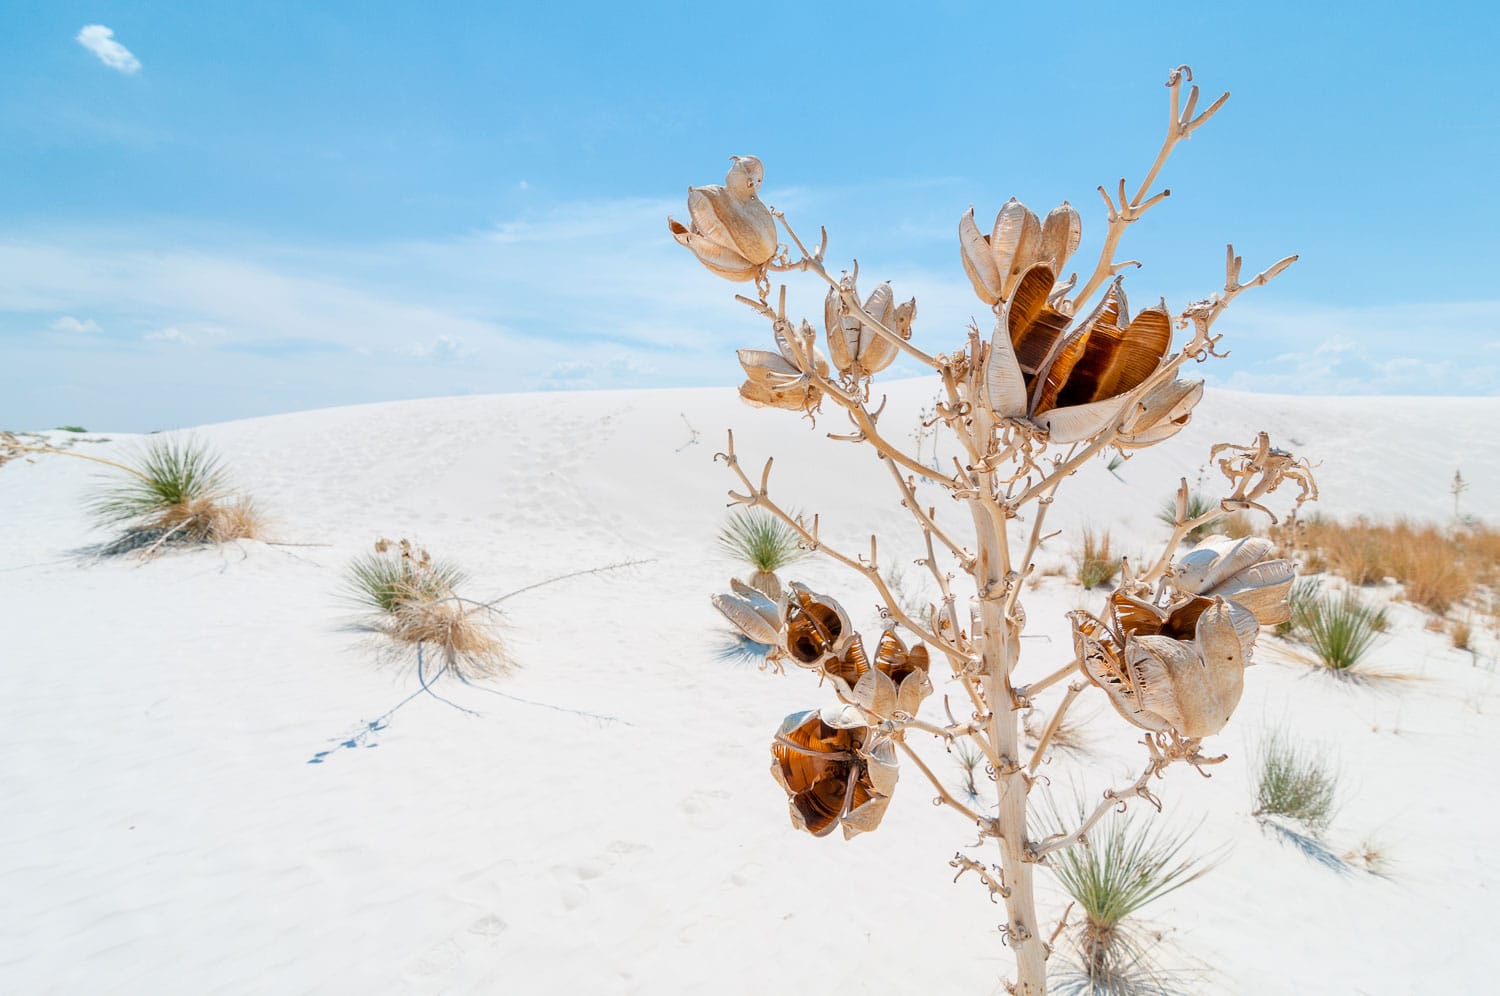
Photo: Kelly vanDellen/Shutterstock
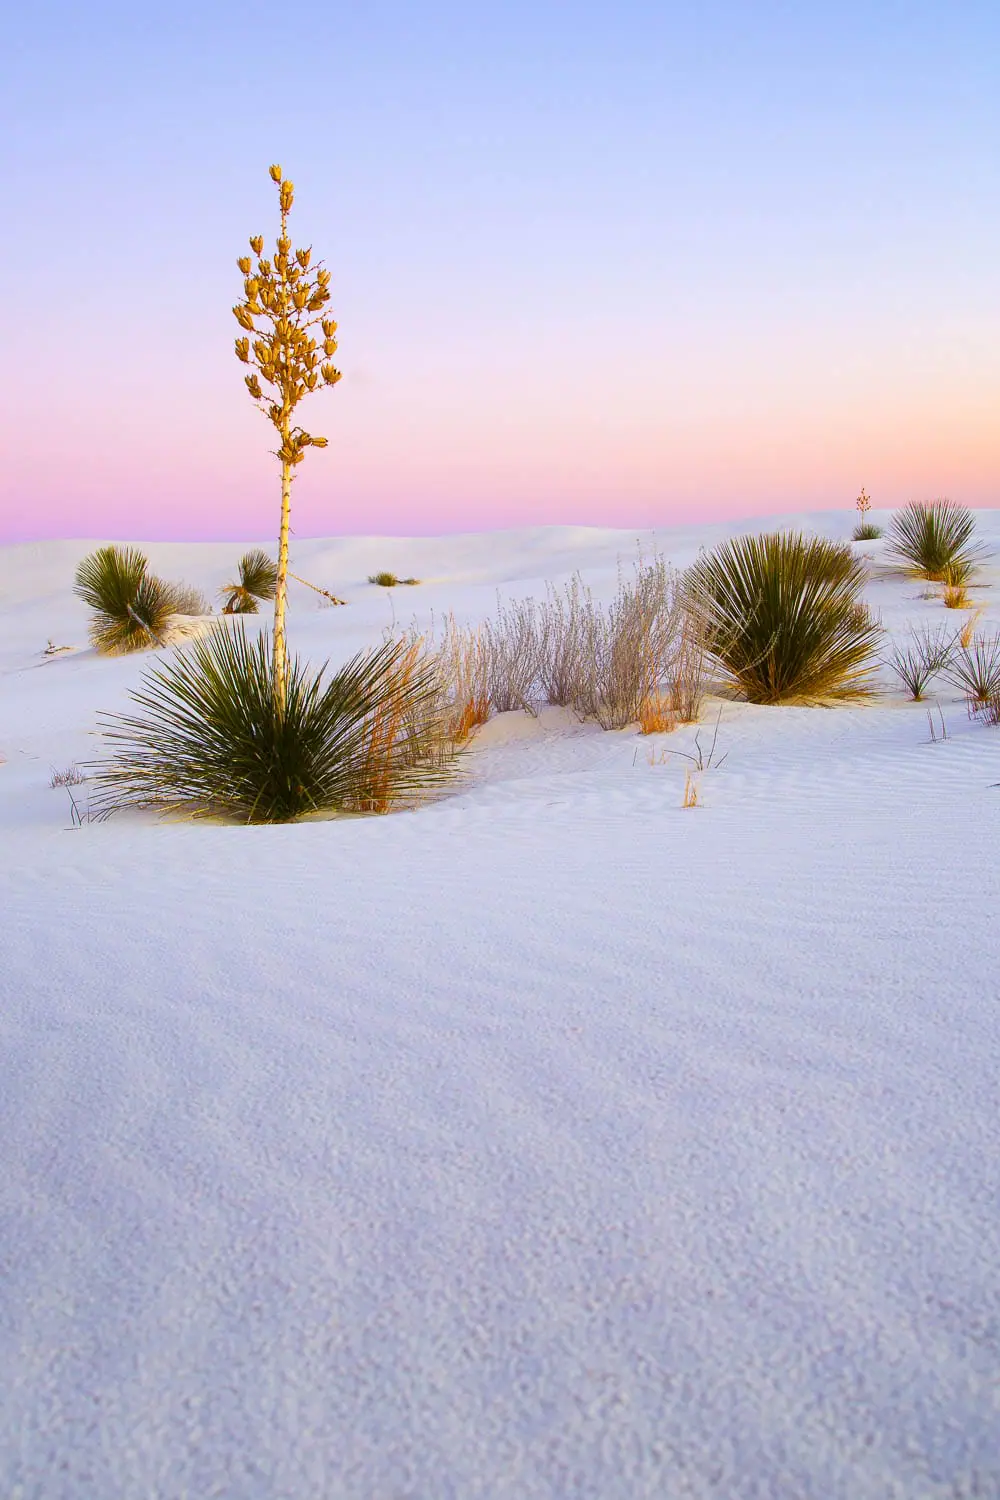
Sunset over yucca plants. Use the sun's low angle to maximize the wave patterns of sand on the dunes.
Autumn (September through November)
As the summer heat mellows, a sense of calm descends upon the park, with fall bringing cooler temperatures to the park.
Expect daytime temperatures in the 70s (°F) and nights in the low 50s (°F). With the summer crowds thinned out, you'll have plenty of unspoiled vistas to capture without distractions.
Palette-wise, the clear blue skies and the brilliant white sands remain, but the lower autumn sun casts longer shadows creating a dramatic play of light across the dunes.
Nature adds its own highlights, the vegetation showcasing a mixture of greens and browns, a subtle contrast to the stark white of the sands.
Pros:
- Decreased visitor numbers make for a tranquil experience
- The low position of the sun in the sky during autumn provides exceptional lighting conditions, enhancing the depth and texture of your photographs
- The cooler temperatures make hiking and exploring the park more comfortable, creating opportunities for extended shooting sessions
Cons:
- Some species of wildlife may be less visible as they begin to prepare for winter
- Days begin to shorten, meaning fewer daylight hours for photography
What to pack:
There's not a season when layering isn't key. Here's what we recommend packing:
- Moisture-wicking base layer
- Lightweight, breathable, long-sleeved shirt and pants
- Warm jacket for the cooler mornings and evenings
Winter (December through February)
Winter months in the park are characterized by cooler temperatures, ranging from the mid-50s (°F) during the day to freezing at night.
The chill in the air does not lessen the beauty of the park but adds a fresh, crisp quality.
Though rare, there is a possibility of snowfall.
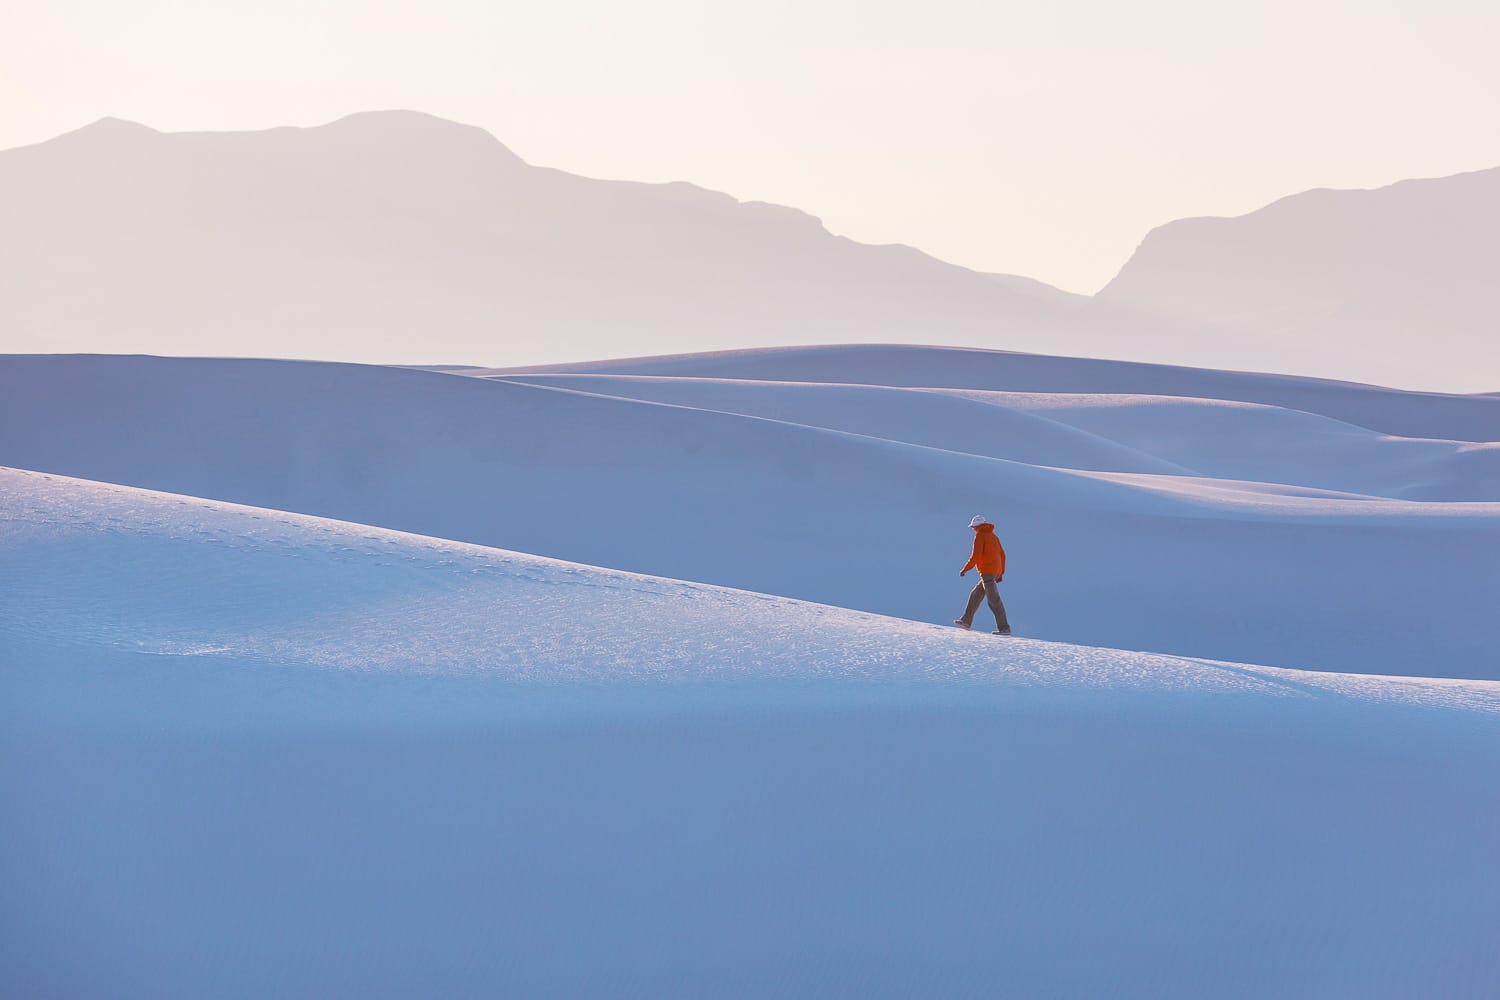
The undulating dunes covered in snow under the blue winter sky, where the white of the gypsum sands merges with the white of the fresh snow, create a monochrome palette that is both enchanting and challenging to capture.
As the winter sun hangs low in the sky, it casts long, stretching shadows across the dunes, creating a play of light and darkness that can add incredible depth and dynamism to your shots.
The lack of crowds during winter also means unspoiled landscapes for you to work with.
Pros:
- There's a chance – even if oh so slim! – that you'll catch snowfall on the dunes
- Capture the long, dramatic shadows that the low winter sun casts across the dunes
- Take advantage of the cooler weather for comfortable hiking and extended photo sessions
Cons:
- Wildlife sightings may be less frequent, as many animals hibernate or are less active during the winter months
- Shorter daylight hours mean less time for photography
What to pack:
Pack so that you stay warm and cozy during your cooler weather visit. Make sure to bring along the following:
- A base layer of thermal underwear for added warmth
- Insulated pants to keep your legs warm
- Several layers of tops, including a fleece and a waterproof winter jacket
- Hat, gloves, scarf, and any other extra accessories to help keep you warm
Recommended: We list a few of our top recommendations for clothing for outdoor photographers and other helpful accessories in this gift guide (which makes a handy wishlist if anyone asks you what you want for a birthday or holiday!)
Photo: Purplexsu/Shutterstock
Your clothes are as important as your photography gear when visiting White Sands National Park. Consider the season and weather to stay safe and comfortable.
Camera gear to pack
Equipping yourself with the right gear is essential for photographing White Sands National Park. Here's what we recommend bringing along on your photo adventure:
Camera Body
Your choice of camera body largely depends on your preferences and budget.
Whether a DSLR or mirrorless, make sure it's durable and weather-sealed.
Camera Bag
It's crucial to protect your camera, lenses, and other photography equipment from the sand anytime you're not shooting.
Make sure your bag is designed for easy access to your equipment so you're not tempted to set your camera directly on the ground.
Check out our recommendations on the best camera backpacks for traveling and hiking.
Lenses
Having a variety of lenses on hand will allow you to capture all aspects of White Sands National Park. Consider bringing the following:
- Wide-angle lens (14-35mm): Ideal for capturing the expansive dunes landscapes
- Standard zoom lens (24-70mm): Versatile option for general photography
- Telephoto lens (100-400mm or more): Crucial for photographing animals from a safe distance
- Macro lens: Particularly useful for taking close-up shots of unique patterns in the sand
ALWAYS keep your lens cap on when you're not taking photos. This simple step can prevent sand from adhering to your lens or scratching its surface.
And, remember to pack your camera lens hoods, too – they're key to snapping high-quality photos.
Tripod
A sturdy, lightweight tripod is essential for long exposures, low-light situations, and for capturing incredible sunsets.
Bring a tripod with adjustable legs and a ball head for flexibility in various terrains.
Filters
Packing a few key filters can not only enhance your images, but are so important to protecting your lenses in a sandy environment.
At a bare minimum bring a UV or protective lens filter to protect your primary lens, but also consider a circular polarizing filter to reduce glare, darken skies, and enhance colors and a neutral density filter to allow for longer exposures in bright conditions.
Camera Accessories
Remember these essential accessories to keep your gear protected and functioning smoothly:
- Pack extra batteries, especially during cooler temps.
Bring multiple high-capacity memory cards. - Lens cleaning supplies, including microfiber cloth, lens brush, and air blower. Regular cleaning can prevent build-up of sand and potential long-term damage.
Photo: Melly Powell/Shutterstock
Soft, diffused lighting can enhance the dreamy atmosphere of the white sand dunes, so try shooting during golden hour or on a cloudy day.
Safety considerations
When planning your photography adventure to White Sands National Park, it's crucial to prioritize safety. From respecting wildlife and staying hydrated to understanding the unique characteristics of the desert environment, let's delve into key safety considerations for your visit.
Wildlife Safety
While White Sands National Park may be renowned for its dunes, it's also home to a diverse array of wildlife. Over 800 species – from amphibians and reptiles to birds and mammals – call the area home. Here's a great checklist of the critters found in the area.
As you set out to capture the unique beauty of the park, it's crucial to remain respectful and cautious of the animals that call this place home.
Remember to observe from a safe distance and adhere to the following guidelines:
- Follow park rules (and logic) by staying at least 100 yards away from predator species, and 25 yards away from smaller animals. Use a telephoto lens to capture close-up images without encroaching on their territory or disturbing their natural behavior.
- Never feed wild animals. It's dangerous for both you and them. Plus, it's illegal in the park.
- Be familiar with ethical wildlife photography guidelines. Check out our ethics guide for reference.
Weather Safety
The weather at White Sands National Park can be challenging. Here are some key climate considerations to keep in mind:
- The arid desert climate can lead to rapid dehydration.
- Always carry plenty of water and drink even if you don't feel thirsty.
- The sun can be particularly intense in the desert, and the reflective white sand can exacerbate its effects.
- Wear a wide-brimmed hat, UV-protective sunglasses, and apply high-SPF sunscreen regularly. Light-colored, loose-fitting clothing can also provide additional protection.
- Weather in the desert can change abruptly. Be aware of the forecast and watch for signs of incoming storms, particularly in the summer months when sudden thunderstorms can occur.
Navigation Safety
It's easy to become disoriented in the vast, open landscape of White Sands National Park. Always be aware of where you are, and never hesitate to turn back if you are unsure of your location or if conditions deteriorate. Consider the following:
- Stick to the marked trails when possible. The park has five established trails of varying lengths and difficulty levels, each offering a unique view of the dunes and the surrounding landscape.
- Pick up an up-to-date park map from the visitor center, but keep in mind that because of the shifting sands, landmarks can change and may not be reliable for navigation. Use a hand-held GPS device to ensure you stay on course, particularly if you venture off-trail.
- Be realistic about your physical abilities. Only attempt hikes that are manageable and safe for your skill level.
- Let someone know your itinerary, including planned routes and expected return time.
And, as always, follow Leave No Trace principles and respect the rules and regulations of the National Park Service and its park rangers.
By keeping these considerations in mind, you can enjoy your photography adventure with confidence.
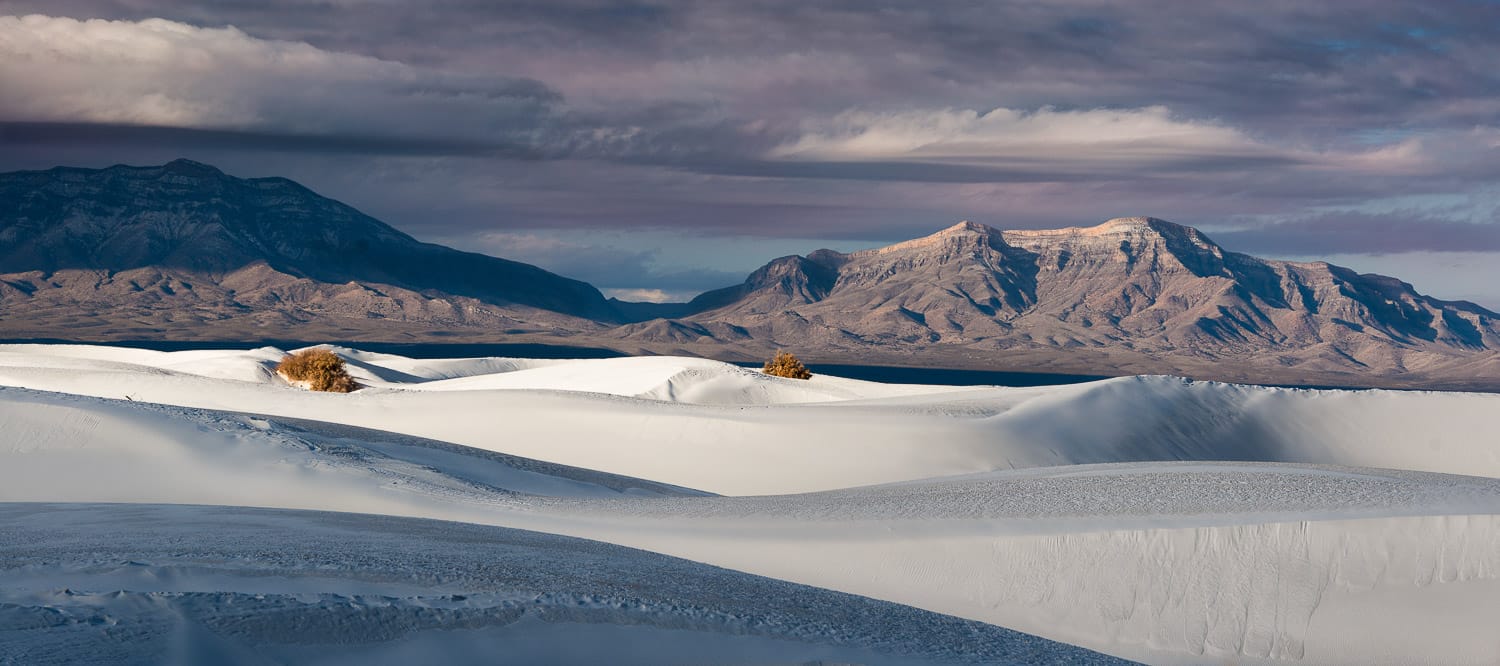
Photo: Nagel Photography/Shutterstock
While it's tempting to always zoom in on a specific plant or dune, remember to compose scenes that take in the vastness and contours of this special place.
Our favorite ways to photograph White Sands National Park
We typically approach our national park guides by showcasing specific, picture-perfect locations. However, White Sand National Park isn't about navigating from one scenic point to the next; instead, its beauty lies in its endlessly shifting landscape, where the white gypsum dunes dance and reshape with the wind, and the light creates an ever-changing play of shadows and highlights.
1. White Sands sunset photography
We're going to venture to guess that the most sought after shot at White Sands National Park is a sunset shot.
And we get it!
Sunsets at White Sands paint the sky in a kaleidoscope of colors, casting a mesmerizing glow over the dunes.
White Sands sunset photography highlights the sinking sun as it softens the landscape, turning the bright white sand golden, while the sky becomes a canvas of vibrant hues, from fiery oranges and reds to soft pinks and purples.
The key to capturing this magnificence lies in timing and composition.
Arrive early to choose your spot and experiment with different angles and perspectives; you might want to capture the sun as it descends towards the horizon, or focus on how the gradient of colors in the sky transitions over the dunes.
Bring a sturdy tripod and play with long exposures.
2. Blue hour photography at White Sands
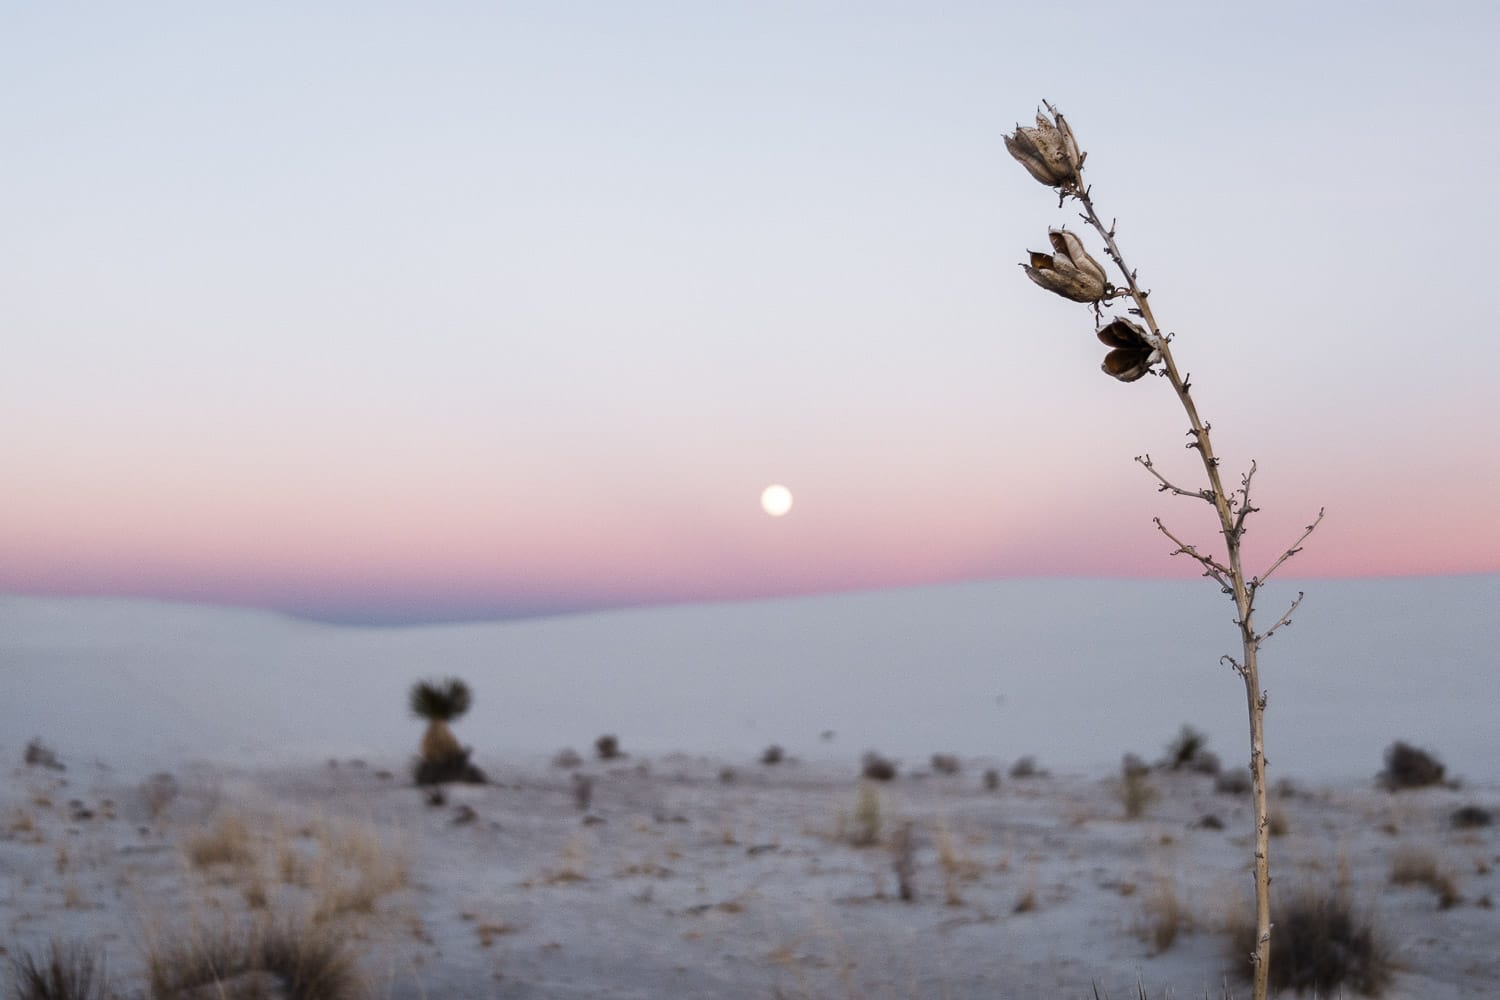
Following sunset (and right before sunrise), you'll have a brief period when the sun is just below the horizon and the sky takes on an deep blue hue.
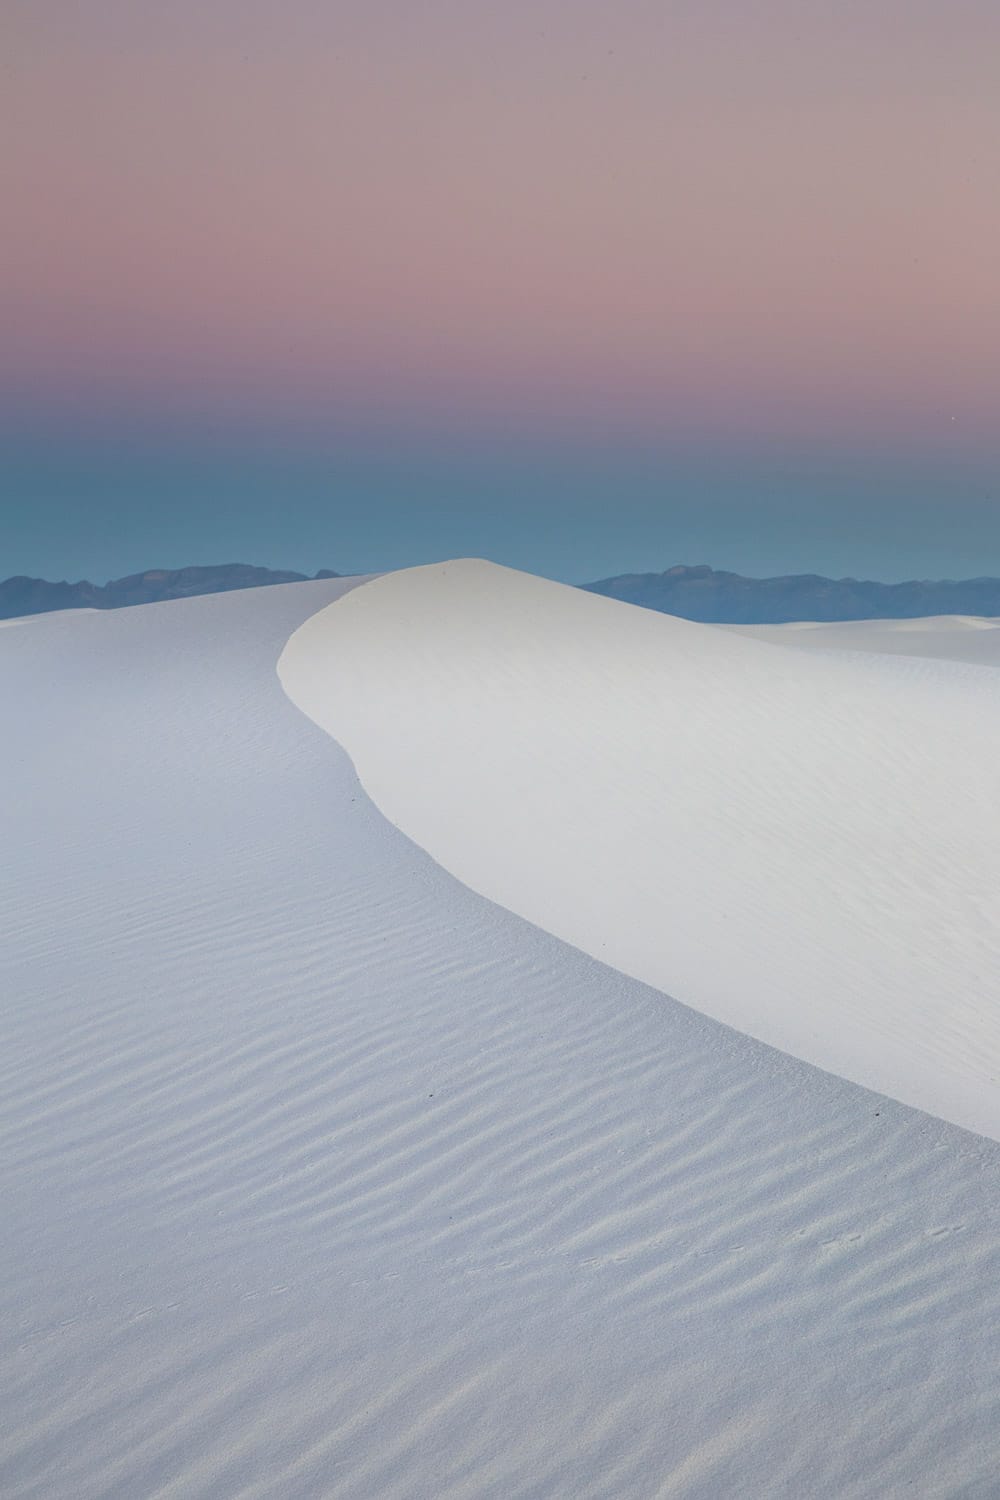
During this period, the typically white dunes mirror the sky, taking on subtle blue and purple tones. The soft, diffused light during this time is ideal for capturing the gentle undulations and textures of the dunes without harsh shadows.
Blue hour photography at White Sands is the perfect time to capture the silhouette of the dunes against the sky, or to focus on the gentle, ethereal illumination on the dunes.
The timing of the blue hour varies throughout the year due to the changing position of the sun. Generally, it occurs approximately 20-30 minutes prior to sunrise and after sunset.
To ensure you don't miss it, though, it's a good idea to arrive at least an hour before sunrise or stay at least an hour after sunset.
3. Golden hour photography at White Sands
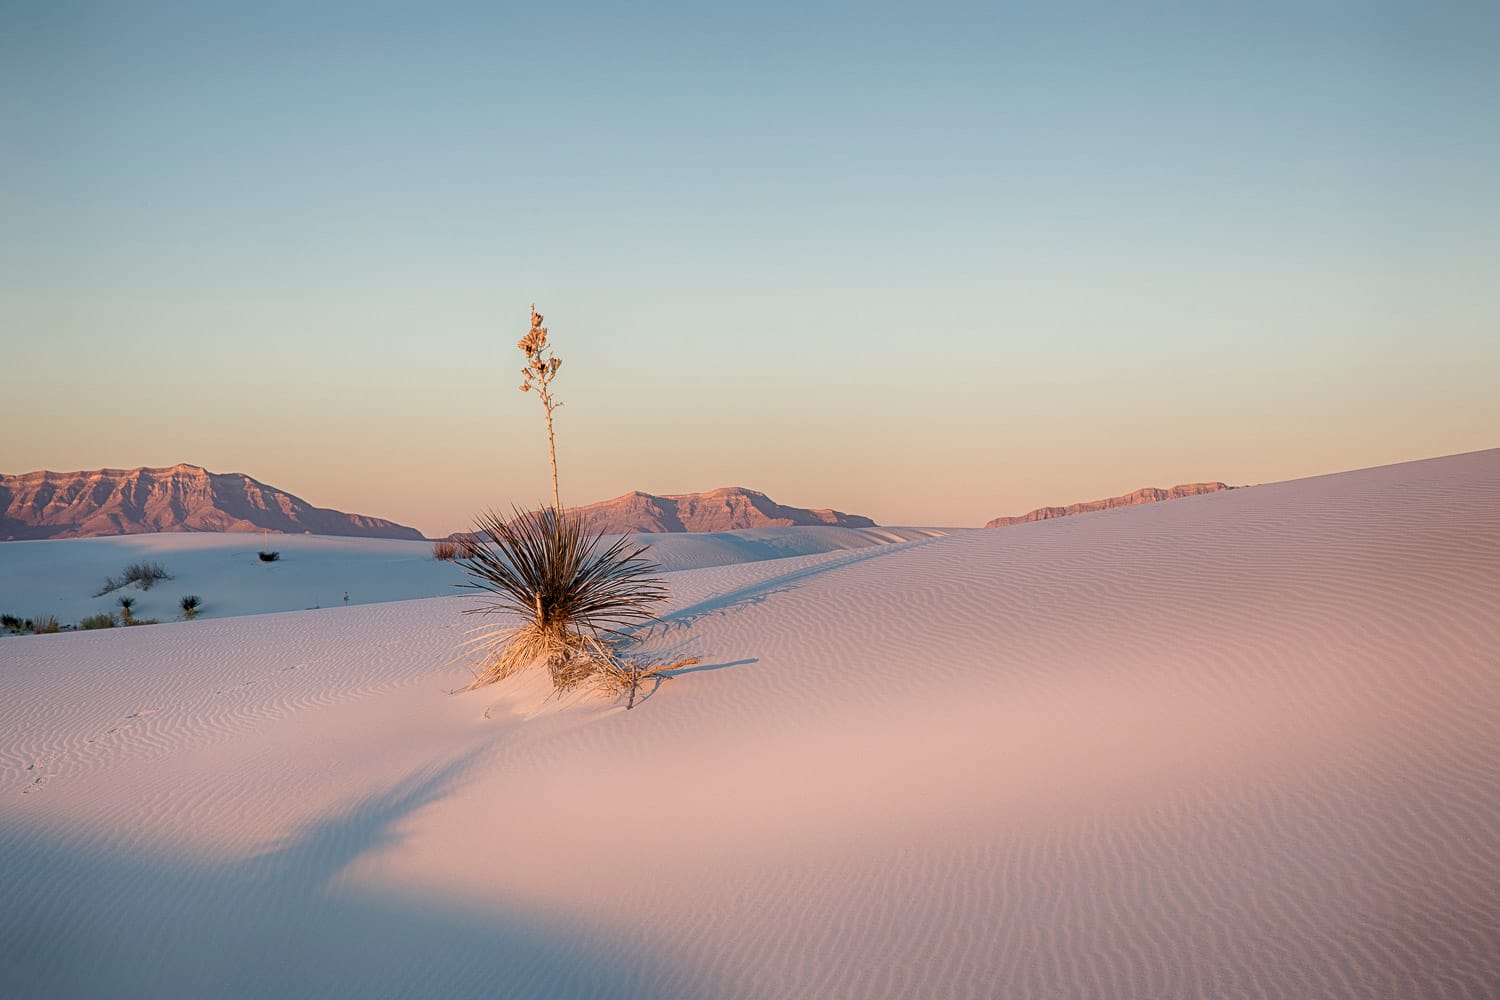
The low angle of the sun during the ‘Golden Hour' – the hour after sunrise and the hour before sunset – bathes the dunes in a warm, golden glow, creating dramatic shadows and a richness of color.
The low sun casts long shadows, emphasizing the texture and forms of the sand dunes and bringing depth to your photos.
To make the most of the golden hour, position yourself with the sun behind you to help bring out the varied textures and ripples of the sand.
Using a tripod can also be beneficial for stability, particularly if you are experimenting with different exposures. Of course, the golden hour doesn't last long, so plan your shots in advance to make the most of this magical time!
Photo: JB Manning/Shutterstock
Try using high key photography to enhance the natural brightness of the white sand dunes. Use a wide aperture and adjust your exposure settings to capture the light and airy feel of the landscape.
4. Mid-day photos at White Sands
While many photographers shy away from the harsh light of midday, at White Sands, it's an opportunity! The bright light and clear sky create stark contrasts, emphasizing the park's minimalistic beauty.
As the day advances, the sun moves higher in the sky, causing the light to hit the landscape from above. This overhead lighting can flatten the scene, reducing the sense of depth.
However, it can also create a dramatic contrast between the bright white sands against the deep blue of the New Mexico sky, especially when paired with polarized filters.
Additionally, shooting towards the sun (known as backlighting) can result in a completely different mood and aesthetic.
In the early morning or late afternoon, this can produce beautiful, glowing edges on the dunes and a more ethereal atmosphere in your images.
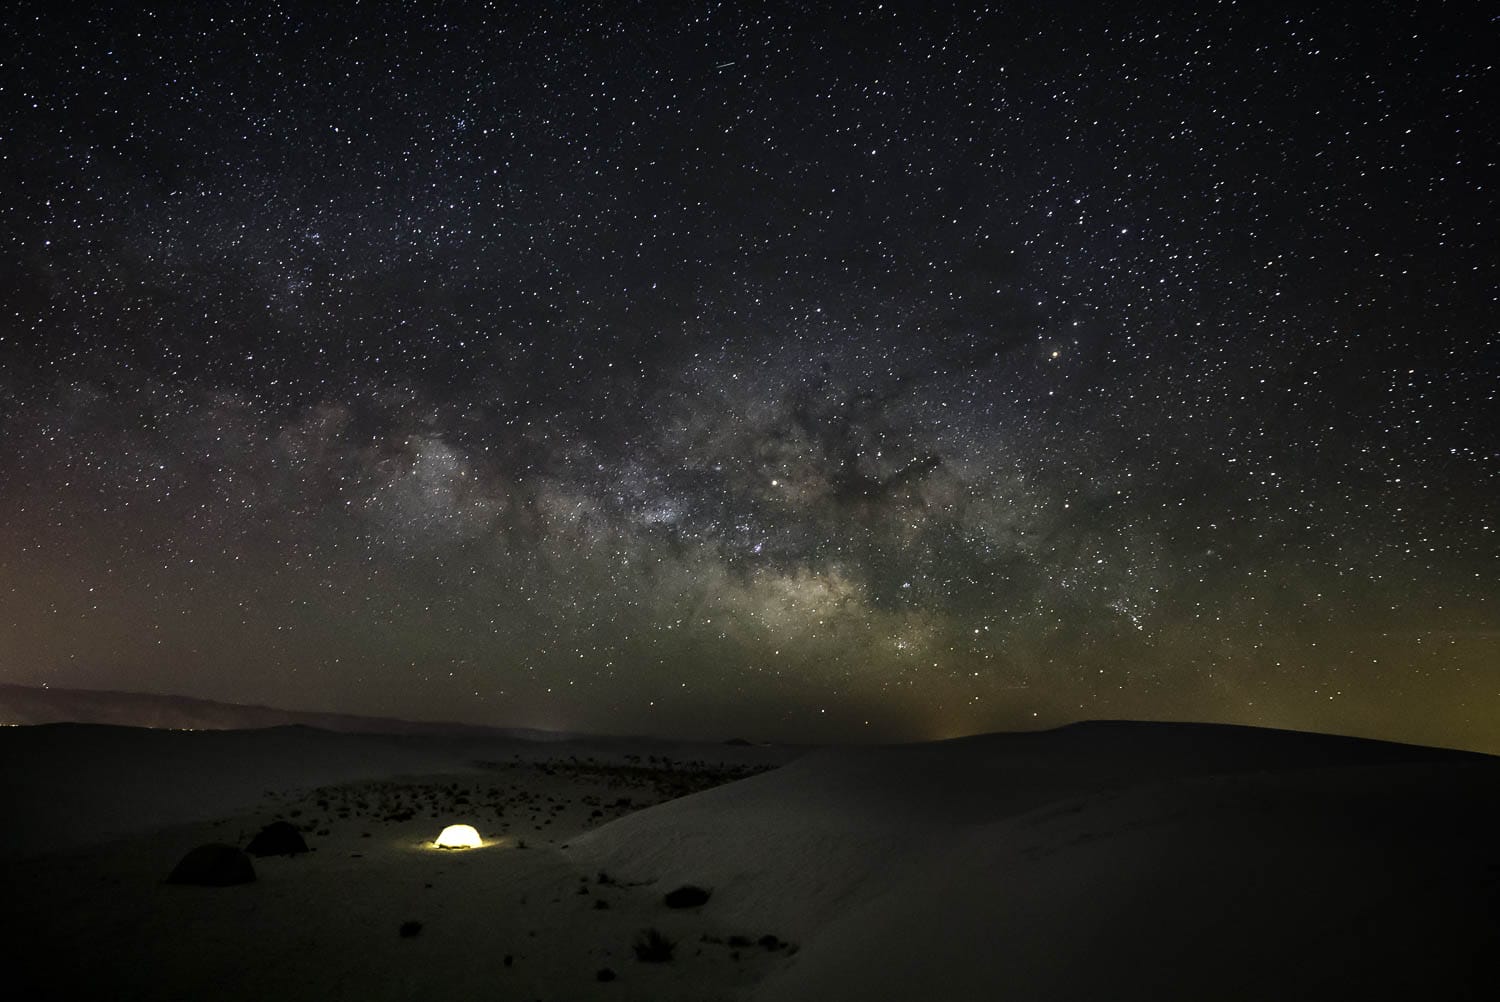
Photo: Kevin Kopf/Shutterstock
It's not just the daylight hours that provide amazing opportunities for nature photography. Check out the landscape of the sky at night for some Milky Way photography goodness.
5. White Sands night photography
As the sun dips below the horizon, don't pack up your gear just yet! The park's isolation from light pollution makes it an exceptional location for night sky and astrophotography.
Imagine capturing a landscape of moonlit dunes under a blanket of stars or using the dunes to frame long exposure shots of star trails.
Bing a sturdy tripod and use a long exposure to allow enough light into your camera.
If possible, plan your visit during a new moon for the best star viewing conditions. For more information, check out our night sky photography guide!
Check the park's night-time access rules and ensure you are prepared for safe navigation in the dark.
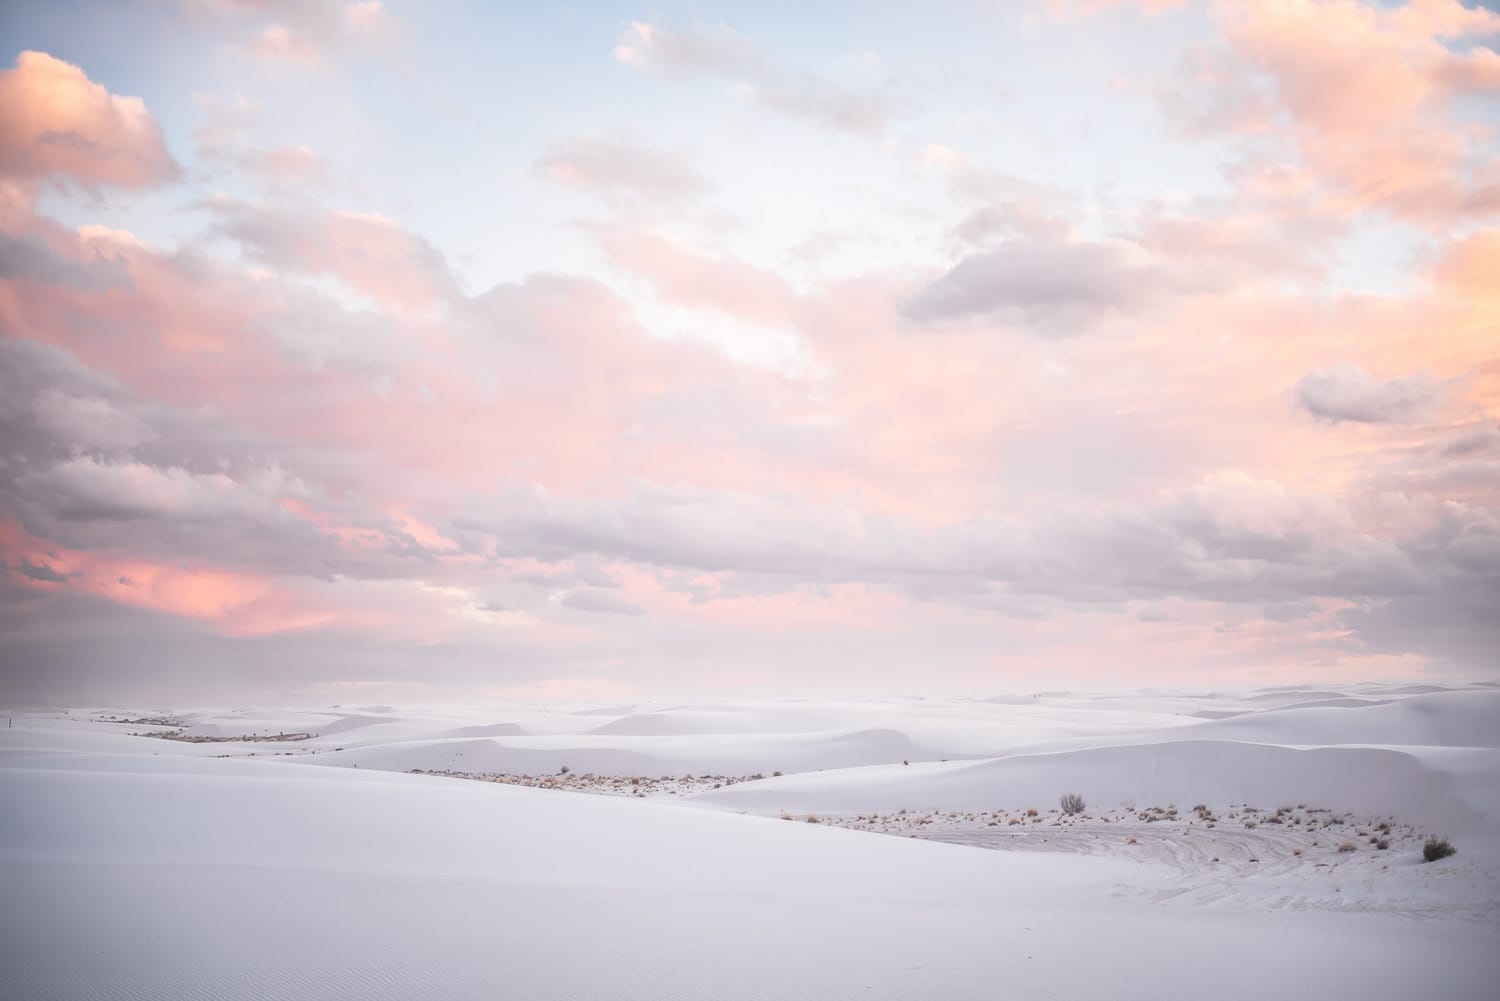
Photo: Mary Rice/Shutterstock
The soft hues of pink, purple and orange created by the rising sun against the white sand dunes make for a stunning backdrop. Experiment with different camera settings to capture the perfect balance of colors in your photos.
6. Sunrise photography at White Sands
During sunrise, the first rays of light gently illuminate the gypsum sand dunes, casting a soft, subtle glow that gradually intensifies, creating a mesmerizing landscape of shifting contrasts and colors. The morning's relative tranquility provides a serene setting.
Photographing toward the east in the morning is advantageous as the sun rises from this direction. This gives rise to beautiful images where the dunes are gently bathed in the soft, warm morning light, revealing intricate details of the texture and patterns of the sands.
7. High-key photography at White Sands
The stark, bright landscape of White Sands National Park lends itself perfectly to practicing high-key photography, a style characterized by a deliberate overexposure of the image, with minimal shadows and contrast.
The gypsum sand dunes act as a natural light reflector, bouncing off sunlight and creating a bright atmosphere ideal for high-key imagery.
The best time for high-key photography in the park is during the middle of the day when the sun is at its pinnacle.
This is a departure from the usual rule of avoiding harsh sunlight, usually a nemesis for photographers, becomes your friend.
Photo: Dustin Lee Thibideau/Shutterstock
A Bleached Earless Lizard is one of the many species of wildlife to keep a sharp eye out for while photographing at White Sands.
8. Wildlife photography at White Sands
Wildlife photography at White Sands offers a unique challenge, as many creatures here have adapted to blend in with the gypsum sand.
Patience is key. Take your time, move slowly, and keep an eye out for movement or tracks in the sand.
Due to the high daytime temperatures, many of the park’s residents are most active during the cooler parts of the day, around dawn and dusk.
As such, plan your visit during these times to increase your chances of spotting wildlife.
Always remember to respect the wildlife and maintain a safe distance. It's their home, and we're just visitors. A telephoto lens can be useful to photograph wildlife from a distance, ensuring you don't disturb them while still capturing stunning images.
Photo: Patricia Thomas/Shutterstock
Try different angles and viewpoints to capture the unique patterns and textures of the white sands. Look for interesting lines and shapes in the landscape to create a dynamic composition.
9. Experiment with composition and perspective
At White Sands National Park, the possibilities for composition and perspective in its landscape photography are endless.
One technique to experiment with is using leading lines.
These can be created by the curves and lines of the dunes themselves, or by incorporating elements like plants or rocks into your shot. The leading lines will guide the viewer's eye through the photo, creating depth and interest.
Another technique is to use a low perspective.
Getting down on your knees or lying flat on the ground can offer a whole new perspective that most people don't get to see. It can also highlight details and textures in the sand that may go unnoticed from a standing position.
10. Explore texture and form
When photographing White Sands National Park, embrace the diverse textures and forms found in the park's dunes. From soft and smooth to ripple-lined, these textures offer endless possibilities.
Capture the beautiful patterns created by the sun's angle at different times of the day.
Let the fluid contours of the dunes inspire your composition, revealing the mesmerizing array of geometric shapes.
Remember, it's not about finding a single ‘perfect' spot but rather using your creativity to uncover the park's enchanting magic.

