Read Time: 10 minutes
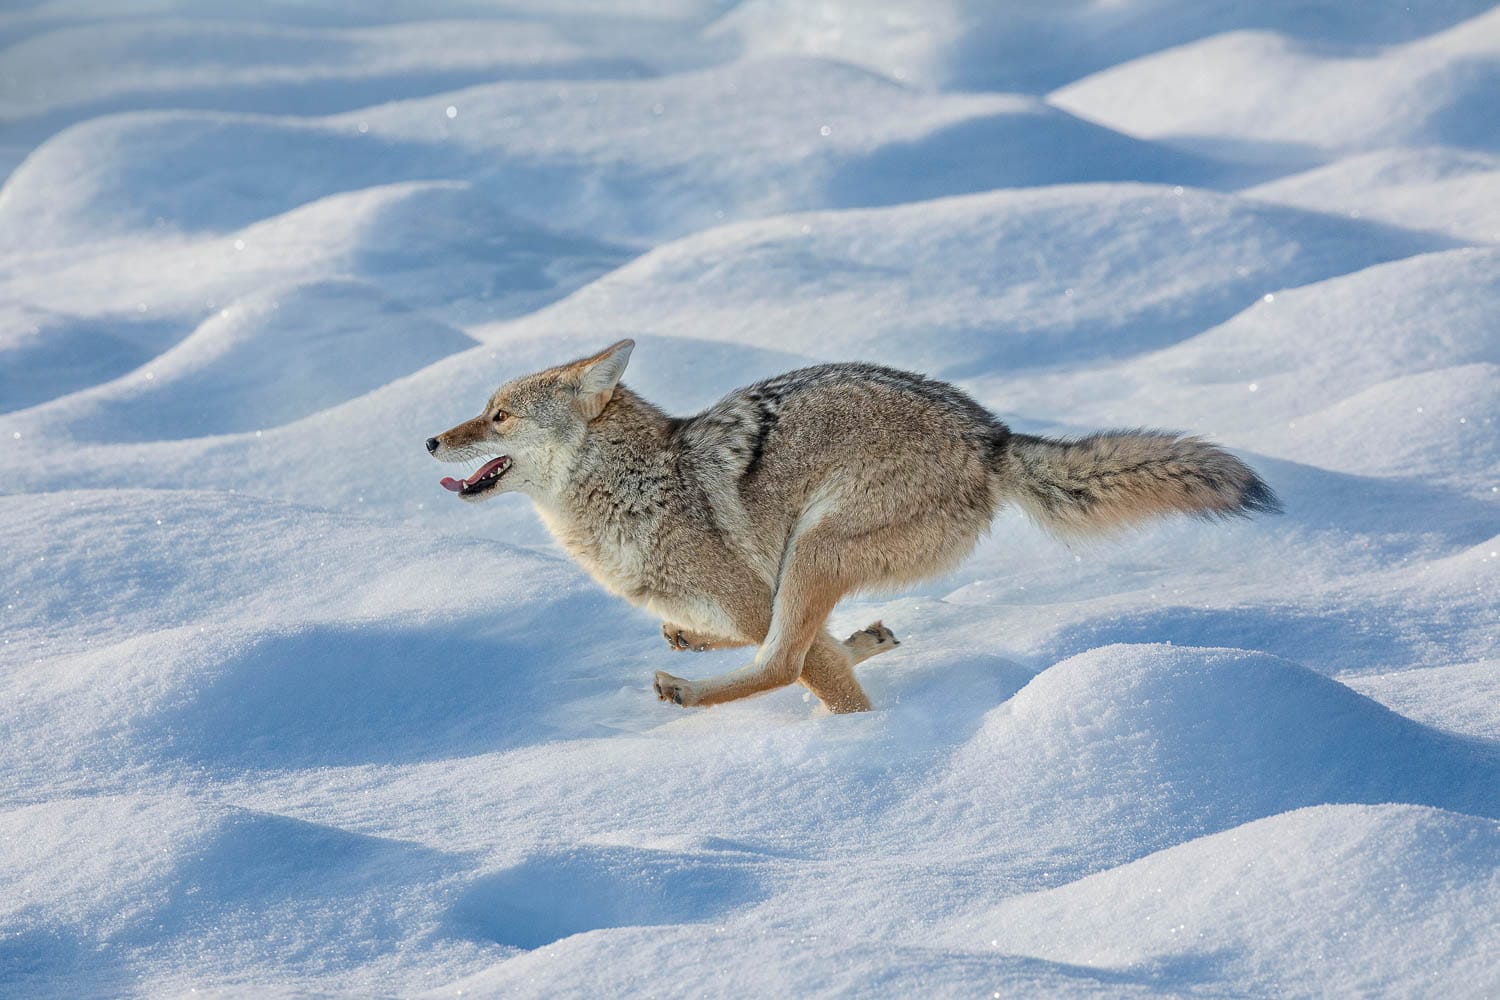
The sight of a winter wonderland is nothing short of spectacular. The bright blue sky juxtaposed against the bright white of fresh snow with wildlife making their way through the snowy landscape – there are few settings quite like it.
Capturing snow through your camera lens comes with its own challenges, though.
From the snow's brightness confusing your camera to “bad” weather damaging your equipment, photographing snow comes with a whole host of obstacles!
But, did numb fingertips keep you from dragging your sled back up the hill for one more epic hill run as a kiddo?
Nah!
Well, then, we're not ones to let cold weather conditions get in our way of capturing a snowy shot in all its winter glory.
In this article, we'll share our snow photography tips that will surely come in (gloved) handy.
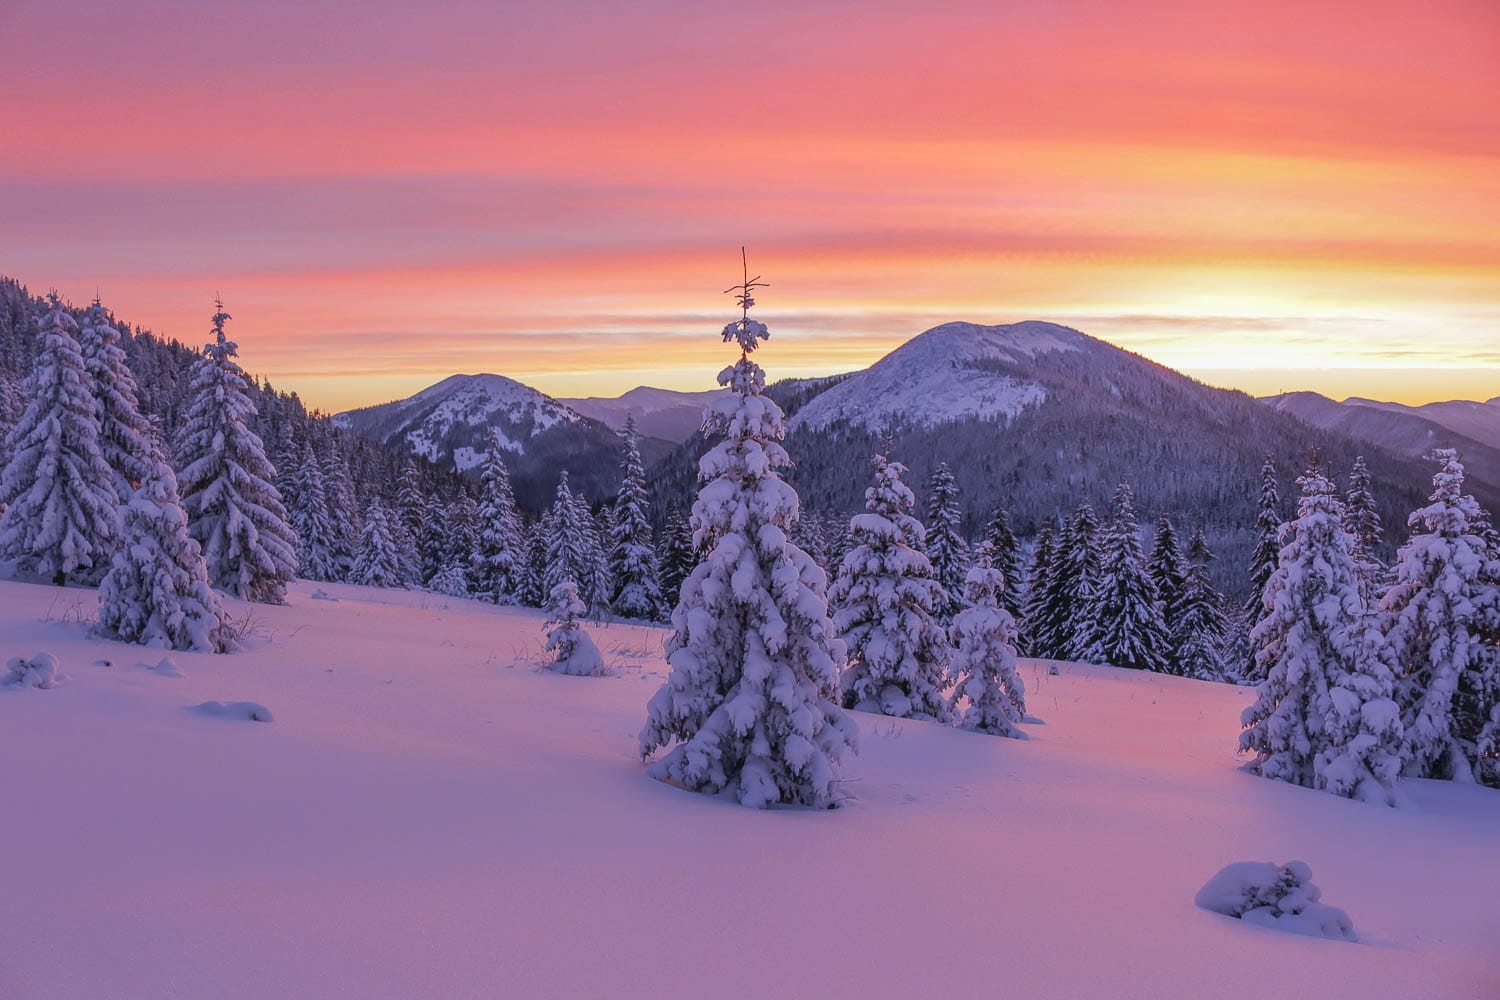
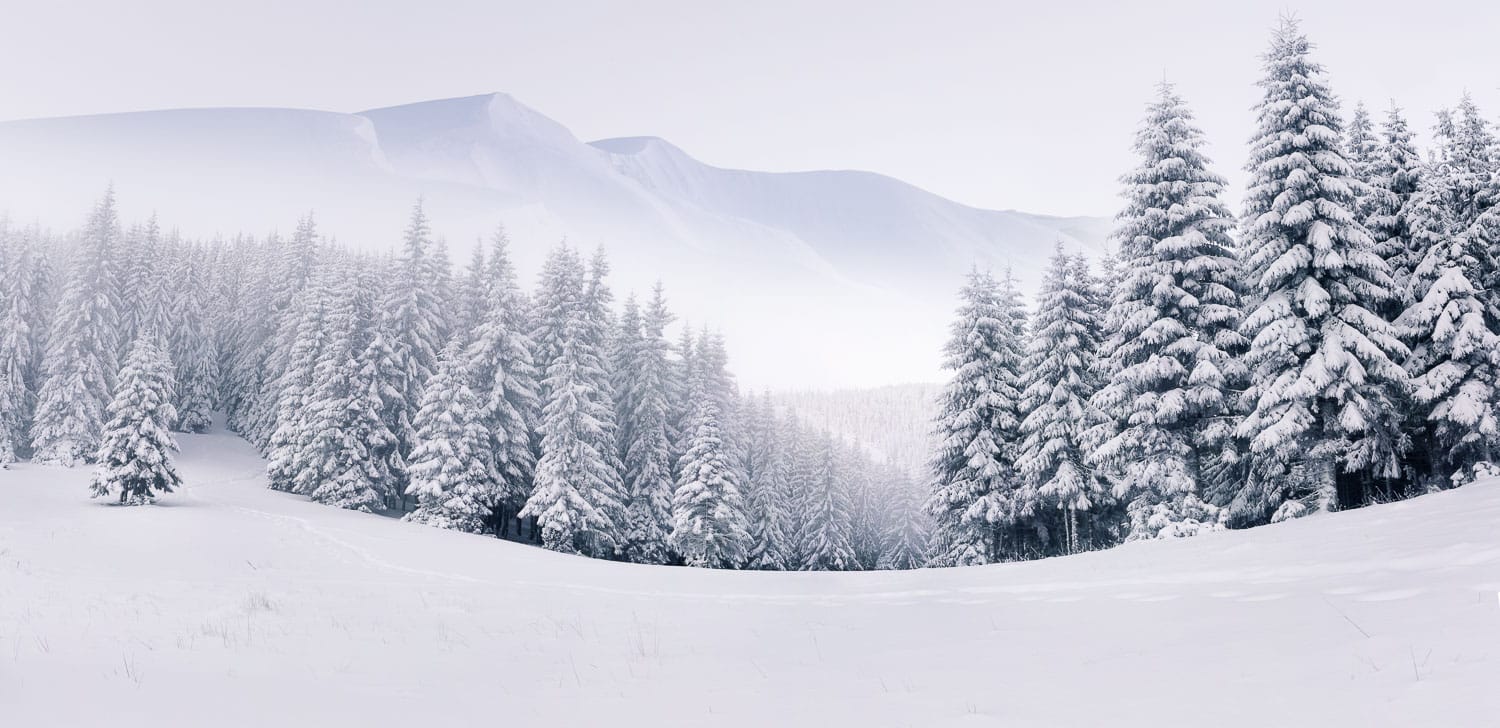
Photo: Michal Balada/Shutterstock
Snow photography tips
When it comes to photographing snow, not only do the camera settings matter, but there also the challenges of simply shooting in cold weather, whether that's keeping your batteries warm to simply to keeping yourself from falling on the sometimes slippery snow covered ground.
Let's start with camera settings.
Manual camera settings for snow photography
Before we even begin shooting snow, we need to decide how you want your images to look.
Do want broad shots that capture a broad, expansive snowy landscape?
Or do you want to capture dynamic shots of snow as it's falling or macro photos of individual snowflakes?
Shooting manually is perfect for tricky situations like shooting snow photos where controlling the exposure can be challenging due to the snow's high reflectivity.
Each of the following camera settings plays a crucial role in how your snow photographs turn out, but they're just loose guidelines to get you started.
Experiment and adjust based on your personal style and the specific conditions you're shooting in.
Let's explore 6 manual settings to experiment with:
Photo: Giedriius/Shutterstock
1. Exposure Compensation
When it comes to snow photography, manually adjusting exposure compensation is key to getting that brilliant white snow effect.
But what does this mean in practice?
It's simple, you're just convincing your camera to ignore its default settings.
Your camera's light meter will typically read the bright snow as too much light, causing it to underexpose the image and leave your pristine snow looking a dull gray.
Basically, too much light confuses the camera. Without adjustments from the photographer, the camera is “forced” to reduce how much light it takes in, so it turns the pictures from crystal white to moody gray.
Since the issue is exposure related, the solution is easy – exposure compensation!
This is a feature that almost all cameras have, prompting them to allow more light to be taken in, resulting in significantly brighter photos. Typically, there is a button for exposure compensation on the camera body looking like “+/-.”
The exposure scale ranges from -3 to +3, meaning that anything that goes to the positive side will result in more brightness and vice versa.
Since lack of light is an issue in this case, all we need to do is raise the exposure when doing snow photography, and no more gray snow! Our snow photography tip would be to set it at +1, as anything more than that can cause even more over-exposure.
Photo: smutan/Shutterstock
2. ISO
Keep your ISO as low as possible to reduce noise. ISO determines your camera's sensitivity to light – a lower ISO (like ISO 100) means less sensitivity and is ideal for brightly lit conditions, such as a sunny snow day. This results in clearer, crisper shots with less ‘noise' or graininess.
On the other hand, if you're shooting on an overcast day or in shaded areas where light might be limited, you'll need to increase the ISO to 200 or 400. This will make your camera more light-sensitive and help properly expose your image.
But remember, higher ISO can introduce more noise to your image, so it's all about finding that perfect balance.
Don't be shy about experimenting with different ISO levels to see what works best for your specific situation!
Photo: Andrew Mayovskyy/Shutterstock
3. Aperture
In snow photography, manually adjusting the aperture allows you to have greater control over the depth of field in your images.
The aperture is the hole through which light travels into your camera. A wide aperture (like f/2.8) allows more light in, creating a shallow depth of field. This is perfect for close-ups of snowflakes or portraits, as it beautifully blurs the background, putting the focus on your subject.
On the other hand, a narrow aperture (like f/16) lets in less light but gives you a deeper depth of field. This means that both your subject and the background will be in focus, which is ideal for capturing broad, expansive landscapes.
Experiment with different settings to find the one that best suits the shot you're going for!
Photo: Danita Delimont/Shutterstock
4. Shutter Speed
Tinkering with the shutter in snow photography can help you create a wide variety of eye-catching effects.
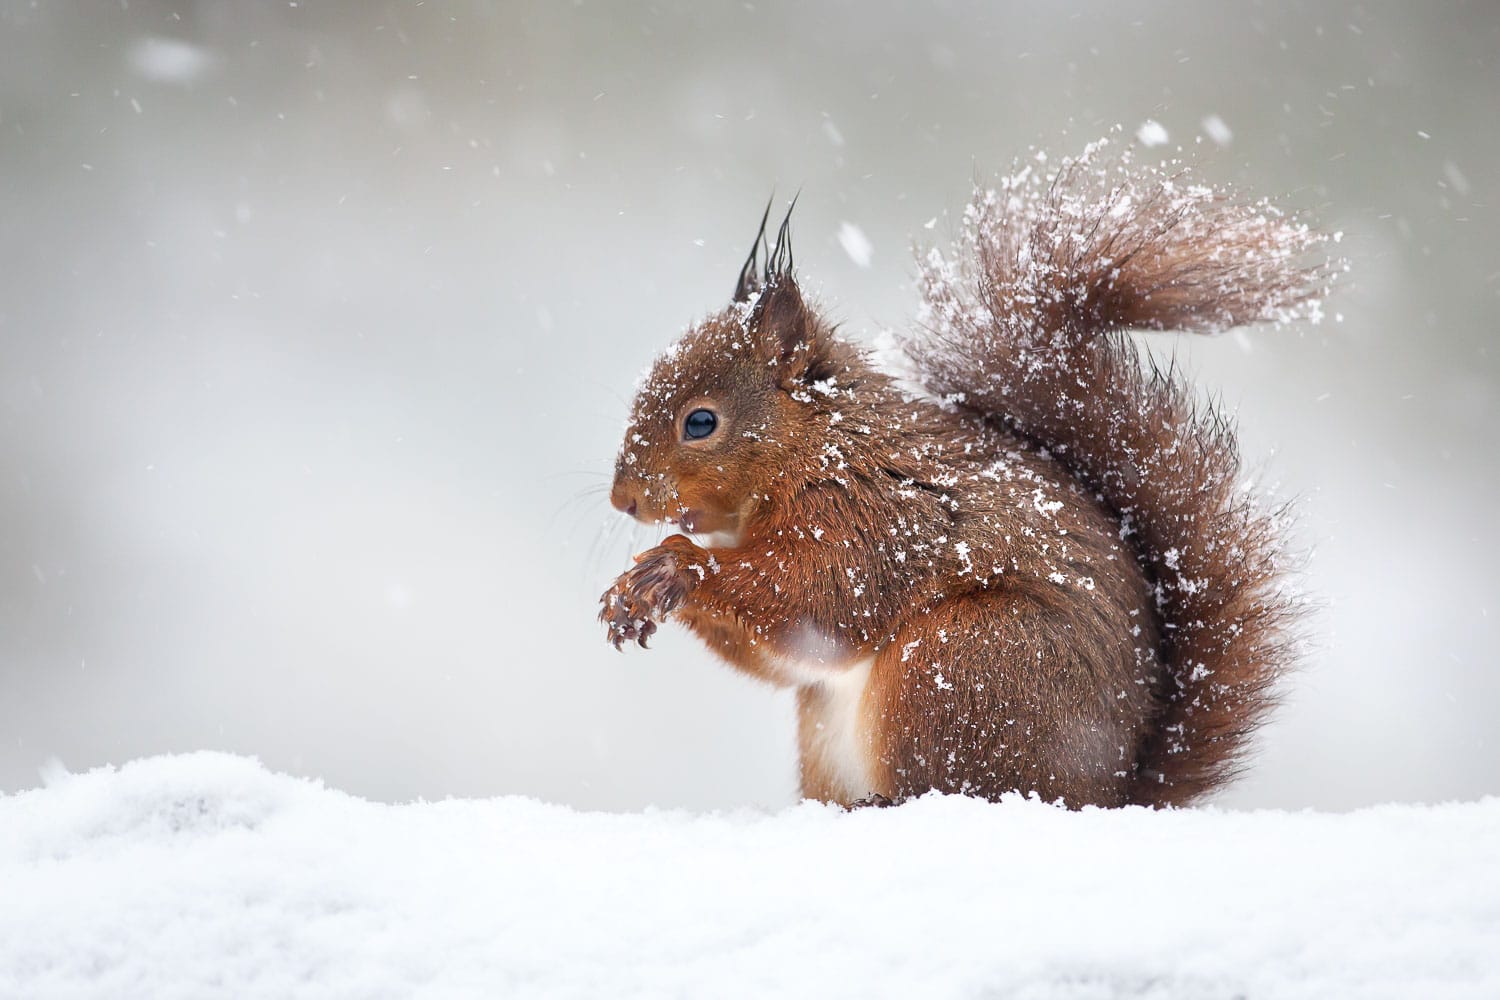
With a fast shutter speed (like 1/500) is ideal for freezing fast-moving scenes, like a snowflake dancing in the wind, providing a sharp, crystalline capture of the moment.
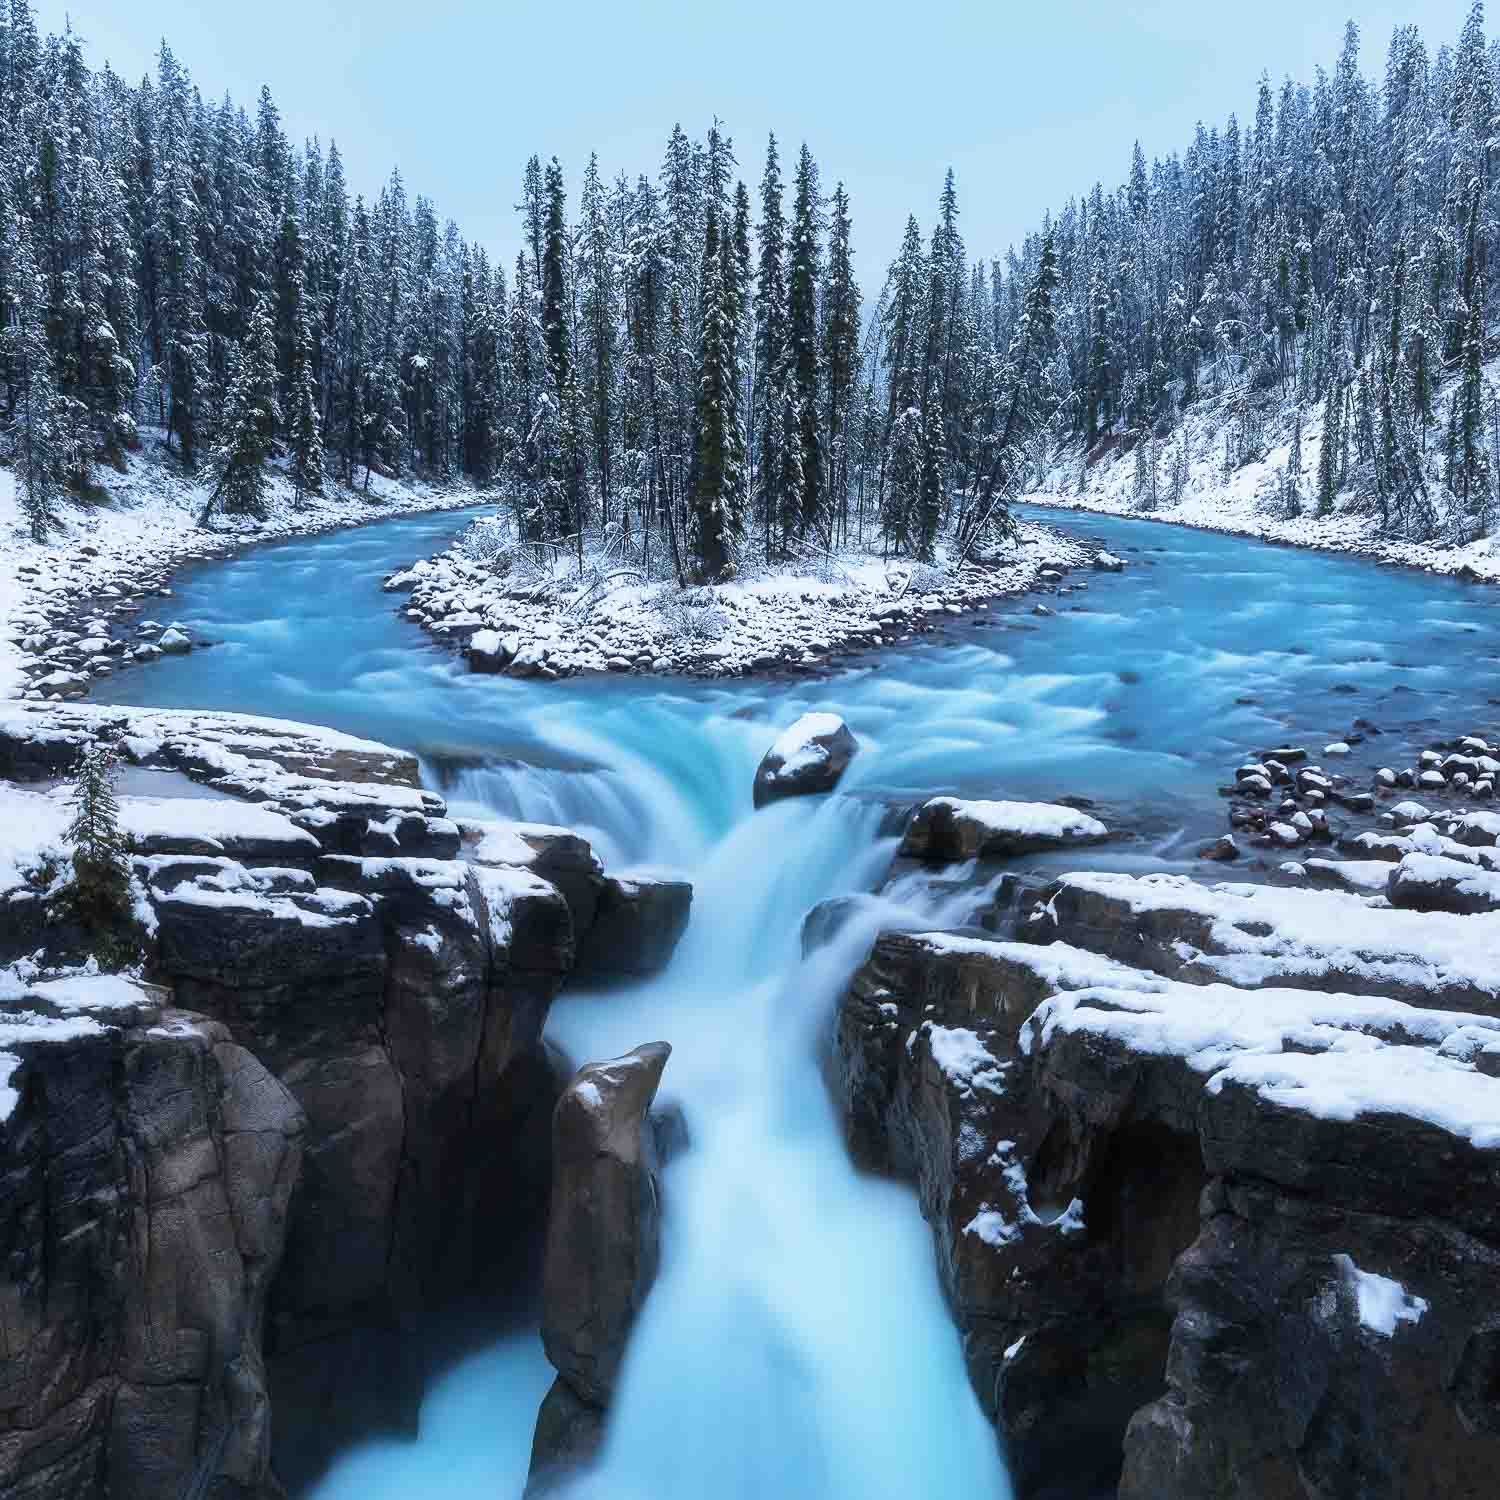
Alternatively, if you want to capture the feeling of snow falling, a slower shutter speed can create a beautiful, dreamy blur effect. For this, you might want to experiment with speeds around 1/60 or even slower.
But beware, as you slow the shutter, you risk introducing motion blur to any moving elements in your shot (like tree branches swaying in the wind).
One way to combat this is by using a tripod, ensuring that your camera remains stable despite the longer exposure.
Photo: Michal Balada/Shutterstock
5. White Balance
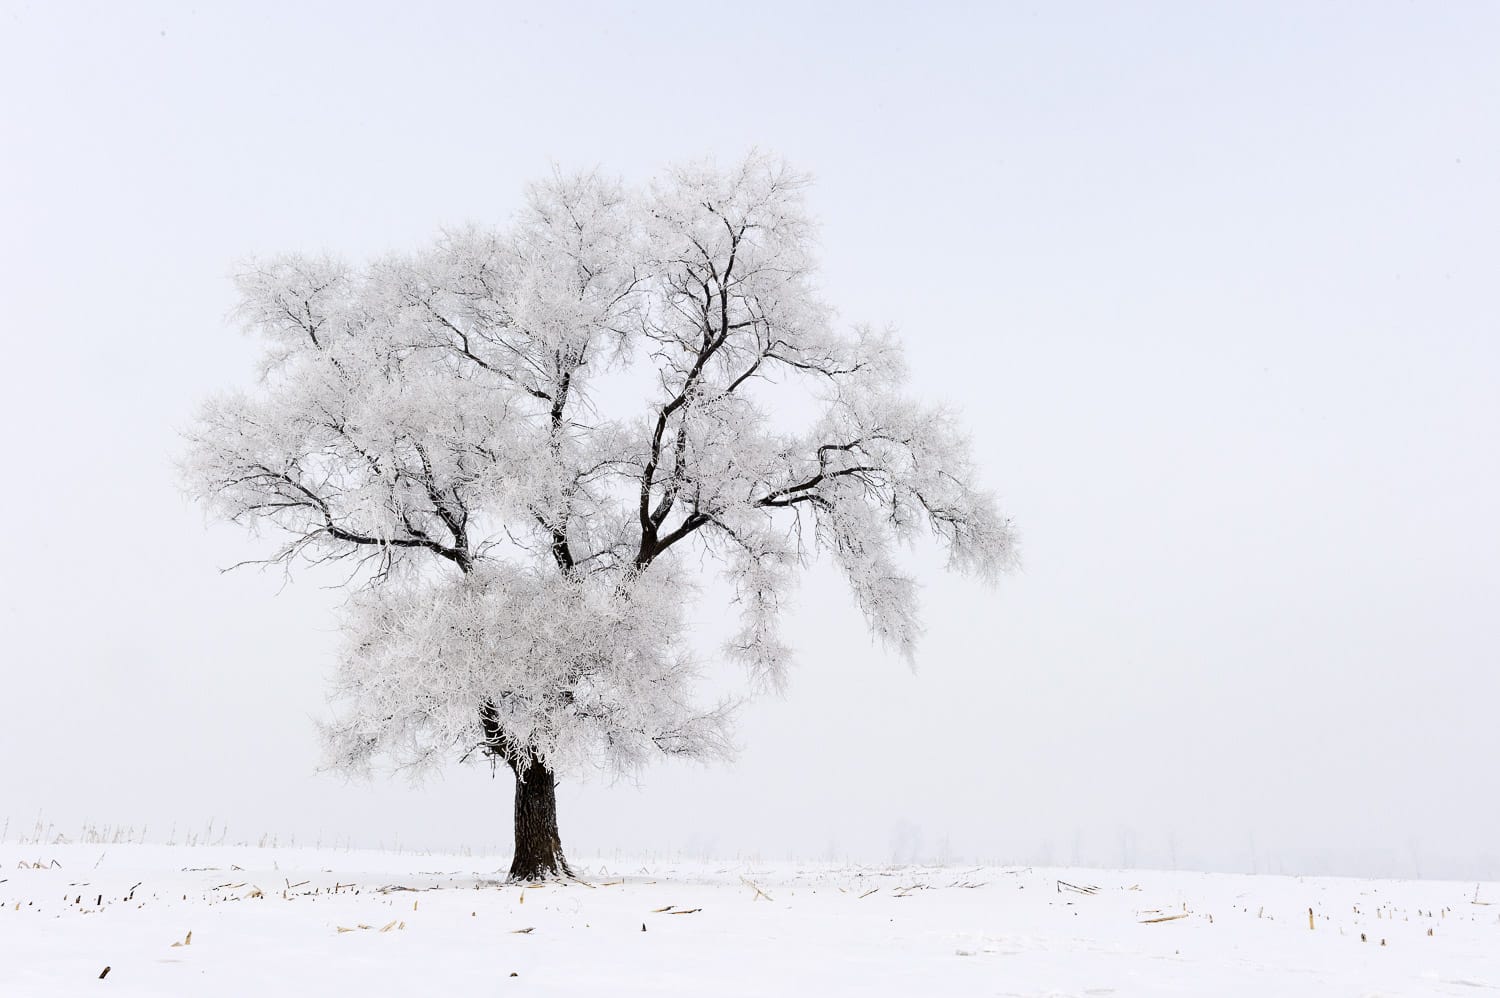
Manually setting your white balance when shooting snow photography can make the difference between a slight blue cast and the pristine white you're after.
When you adjust this setting manually, you're telling your camera what “true white” looks like under particular lighting conditions, enabling it to correct other colors based on that reference point.
First, you'll want to find your camera's “Custom White Balance” or “Manual White Balance” setting — usually listed under the menu settings.
To set it, you'll need a white or grey target, like a piece of white paper or a grey card, which should be placed directly in the lighting conditions you'll be shooting in.
Point your camera at the target, ensuring it fills the frame, then select ‘set' or ‘OK' on your camera to set the white balance.
You've now calibrated your camera to recognize the exact shade of white present in your scene.
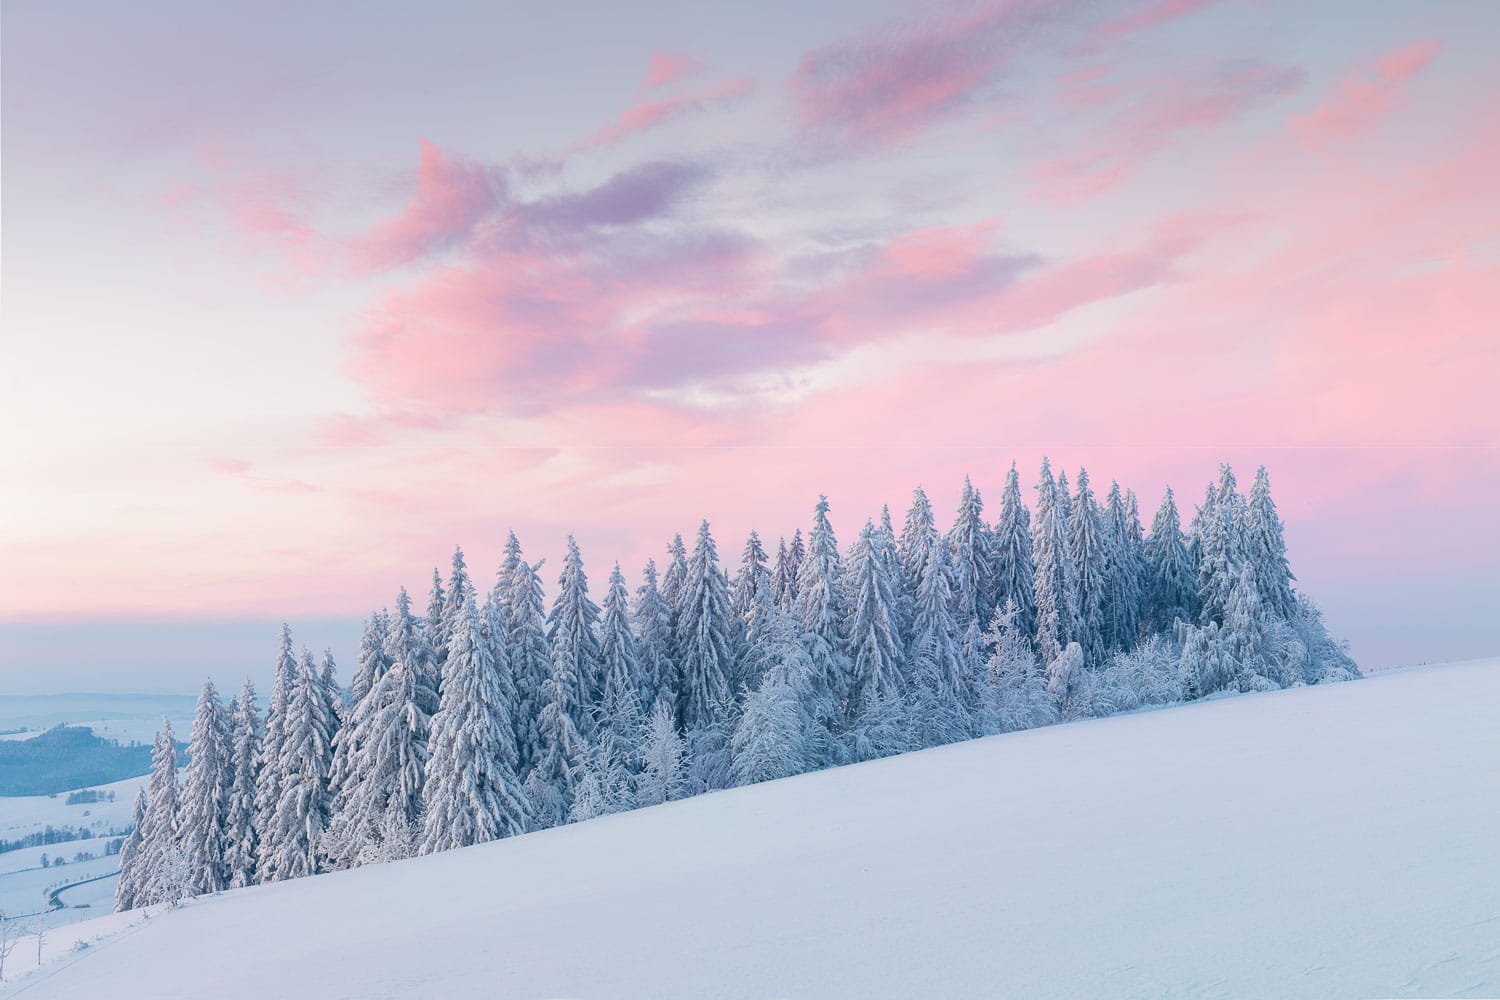
While white balance is important, you won't always want the snow to be white. For instance, you'll have a color cast on the snow when shooting in the early morning golden hours or at blue hour before sunrise or after sunset. And that's what you want – a realistic tone that it takes on thanks to the ambient light.
So, play with white balance but don't get obsessive. You can always make some adjustments during post-processing.
Photo: Nicholas Taffs/Shutterstock
6. Focus
The abundance of brightness coming from the snow can mess the focus up completely.
Basically, if there are no clear subjects or contrasting elements in sight, auto focus is nearly impossible since the camera doesn't know what to put its “attention” to. This is also a common issue with a blue sky, especially when it's completely clear.
By switching to manual focus, you gain full control, allowing you to pinpoint exactly where you want the sharpest part of your image to be.
To use manual focus, first, turn the focus switch on your lens to ‘M' or ‘MF.' This disengages the autofocus system, putting you in control. Then, using the focus ring on your lens, adjust the focus until your subject is sharp.
You may want to use your camera's live view and zoom in to ensure precise focus. In snow, you can focus on a contrasting element, like a tree line or a colorful piece of clothing, to get the clearest shot.
Manual focus can be especially useful when shooting close-ups of snowflakes or when you want to ensure a specific part of your composition is in focus.
However, like all aspects of photography, mastering manual focus requires practice, so don't be discouraged if it takes a while to get the hang of it.
Photo: Michal Balada/Shutterstock
Shooting in other modes
While adjusting snow photography settings manually allows more control because snowy scenes are also quite bright, issues like the shutter speed dropping low or the ISO going too high are not that common.
So test out some of these other modes:
❂ Aperture Priority Mode (Av/A)
Aperture priority mode gives more freedom to control the depth of field, and compared to manual mode, we don't have to worry about the shutter speed or the ISO, as it already adjusted automatically. This is a great mode when you want to control the depth of field – for example, capturing detailed portraits against a blurred snow background.
❂ Shutter Priority Mode (Tv/S)
Here, you set the shutter speed, and the camera will adjust the aperture. Perfect for when you're trying to capture action shots – like a snowball mid-flight!
❂ Program Mode (P)
This mode sets both the aperture and shutter speed, allowing you to adjust other parameters like ISO and white balance. It's a good “middle ground” between automatic and manual modes.
❂ Automatic Mode
If the technical aspects are getting too overwhelming, your camera's Automatic mode can also achieve decent results. Modern cameras are fairly good at judging light conditions.
Photo: Giedriius/Shutterstock
6 Savvy snow photography tips
1. Watch your histogram for correct exposure
It seems that most of the issues of snow photography are exposure related. Even with the exposure compensation raised, we still can encounter a few issues.
With that in mind, frequently check the LCD screen on your camera when you're shooting in highly-lit snowy conditions.
Furthermore, use the histogram to see if the exposure is perfected down to the T, and don't hesitate to over-expose if needed.
2. Use a camera lens hood
A lens hood is a camera accessory that directly attaches to it and filters out light. Namely, when we're photographing snow, the bright sun may pose a problem since it can cause glare on the lens. In turn, this results in snow photos that may have flares on them, and removing them in post-processing can make you want to pull your hair out!
Use a lens hood to reduce excessive light and create much cleaner pictures in the end.
Additionally, lens hoods are used whenever snow starts falling to keep snowflakes off of the lens. It essentially gives your lens its very own rain cover! Always keep it on hand when you photograph falling snow.
Photo: Michal Balada/Shutterstock
3. Try using a polarizing filter
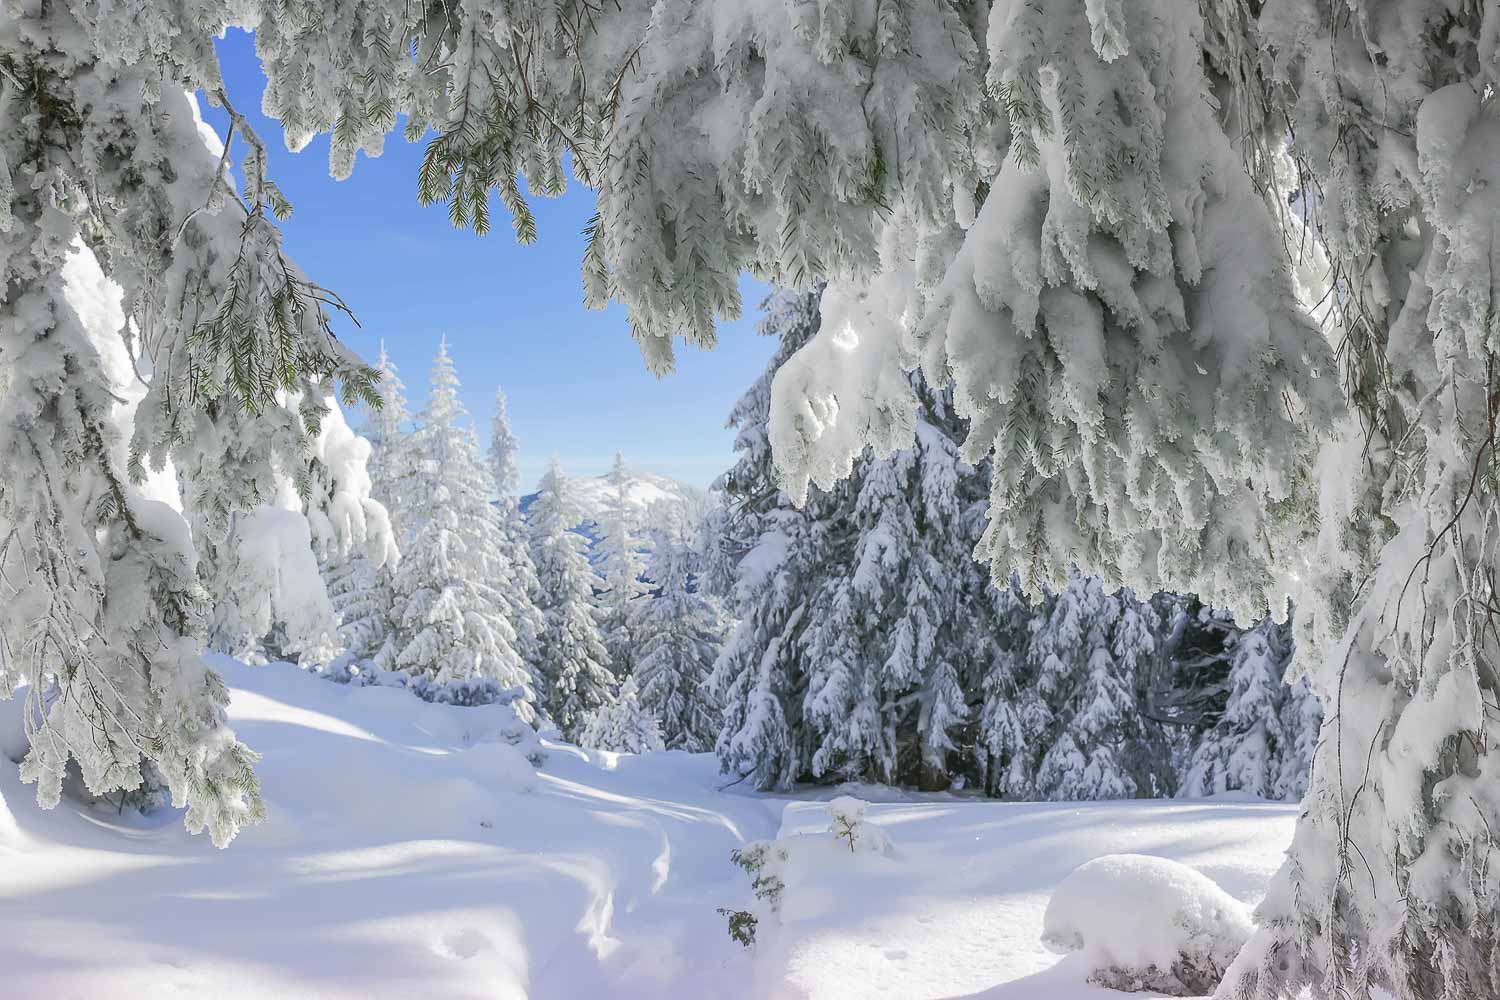
We can also benefit from having a polarizing filter in our camera bag. A polarizing filter helps reduce reflections and glare, which are often magnified in snow due to its reflective nature, allowing your scene's true colors and details to shine through more clearly.
Moreover, it can help to enhance the contrast between the snow and the blue sky, making the sky appear deeper and more saturated. This can greatly improve the overall balance and depth of your snowy scenes.
It's important to remember that using a polarizing filter will also decrease the amount of light reaching your camera sensor by about 1.5-2 stops, so you'll need to adjust your camera settings accordingly.
Photo: LeniKovaleva/Shutterstock
4. Shoot in RAW
Shooting in RAW is particularly beneficial in snow photography as RAW files capture all the data from your camera sensor without any processing, providing a high level of detail and allowing greater flexibility during editing.
This is crucial in snow photography, where achieving correct exposure can be challenging due to the abundance of white.
With RAW files, you can adjust the exposure, white balance and highlight details in post-processing without losing image quality.
RAW files also offer a wider color range so you can bring out the subtle hues of a snowy landscape more effectively.
5. Try black and white conversion for moody landscape photos
Transforming a snow-laden landscape into a monochromatic realm can create a dramatic and emotion-rich photograph.
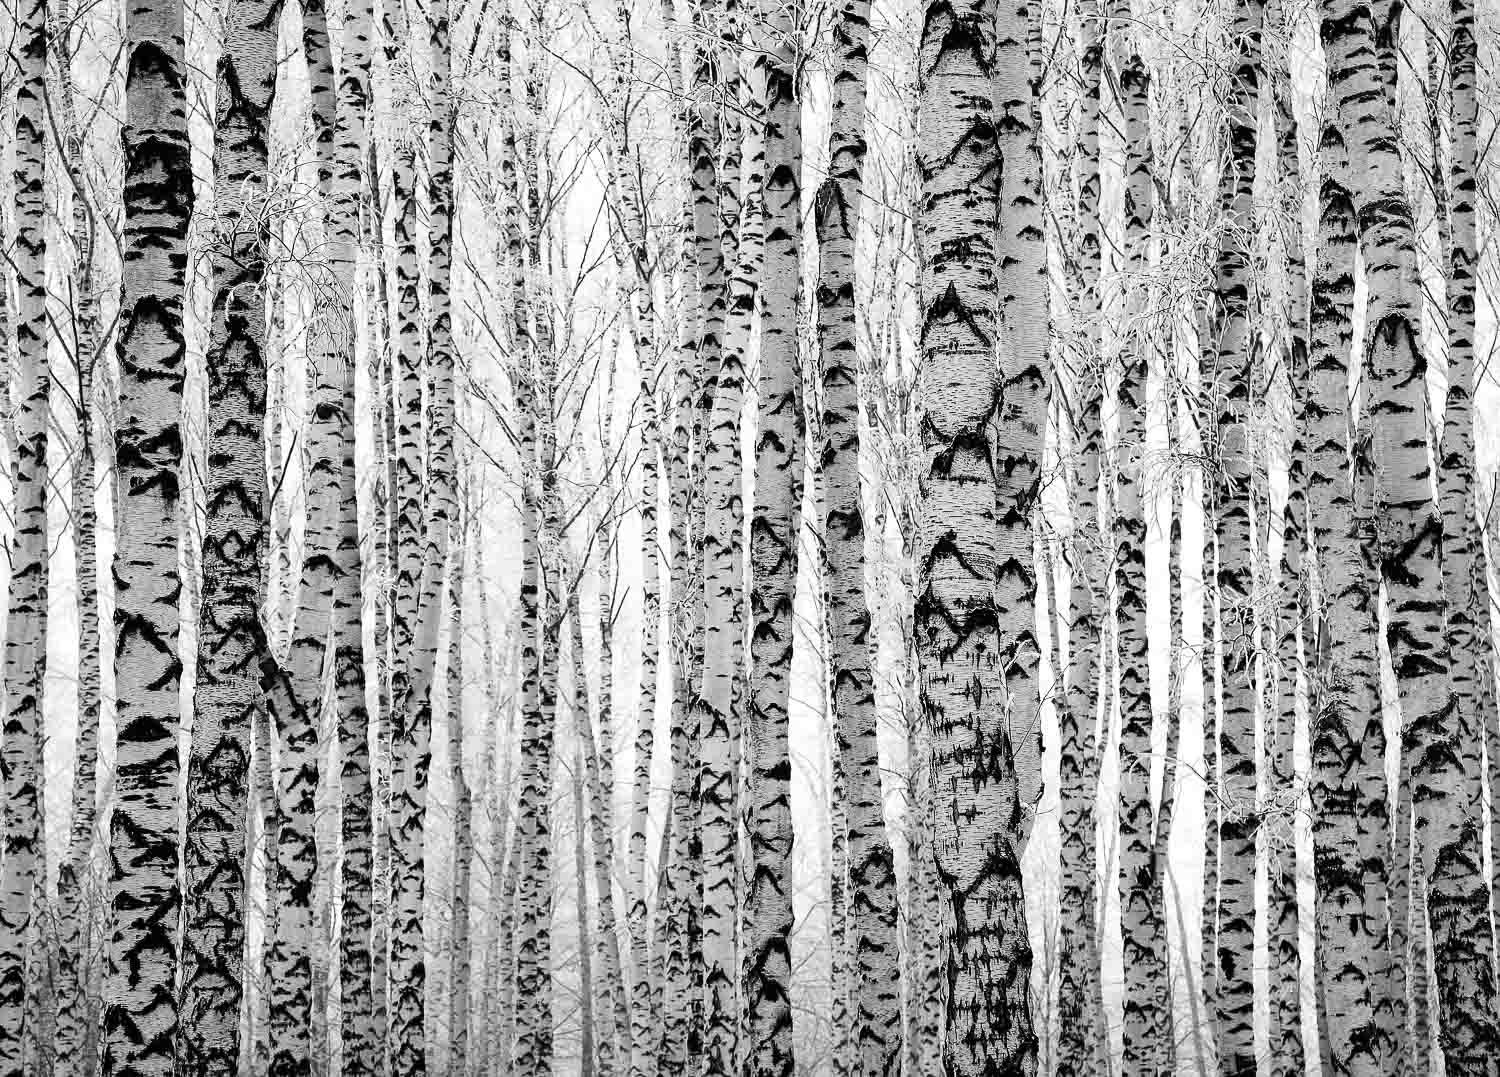
Black and white conversion helps emphasize the contrast between the stark whiteness of the snow and the darker elements of the scene, highlighting textures and patterns that might otherwise get lost in a color photo.
The conversion can also impart a timeless, classic feel to your snowscapes, converting a colored snowy scene to a mysterious yet stunning monochromatic work of art.
Photo: hxdyl/Shutterstock
6. Protect your gear
The well-being of your camera and photography gear is paramount during snow photography shoots.
When temperatures plummet, so does battery life, therefore always carry extra batteries and keep them warm in an inside pocket in a jacket (or my go-to outfit of insulated overalls!). It's also wise to acclimate your gear to the cold slowly to prevent condensation from forming inside the camera or the lens.
When moving from a warm environment to the cold outdoors, place your camera in a camera bag and let it gradually adjust to the temperature difference to avoid fogging.
Meanwhile, keeping your camera dry is another major concern. Consider investing in a waterproof camera bag or case to shield your gear from the wet, snowy conditions.
If your camera or lens isn't weather-sealed, consider using a rain cover or even a simple plastic bag sealed with a rubber band to protect it.
Finally, don’t forget to keep yourself warm too.
Wear layers of warm clothes, invest in warm gloves suitable for photography and have a thermos with a hot drink handy. After all, you can't capture those stunning snowscapes if you're too chilled to press the shutter!
Photo: Giedriius/Shutterstock
How to photograph falling snow
Photographing falling snow can turn an ordinary winter scene into a dreamy spectacle. It's a chance to bust out your creative thinking cap and craft shots that have a distinctive feel, such as:
- a blizzard vibe with lots of blurry snow streaking around
- or a wonderland vibe with light flakes drifting across the scene
- or perhaps something abstract with intentional camera movement.
To play with the creative possibilities of falling snow, follow these steps:
Step 1: Choose the right time
Find the magical moment when the snowfall is dense enough to be visible but not so heavy that it obscures the scene. Early morning or late afternoon is ideal for a softer light that really makes the snowflakes pop.
Step 2: Set your shutter speed
To freeze the snowfall, you'll want a fast shutter speed — start at 1/250 second and adjust as needed. If you're going for a more dreamy look with streaks of snow, slow it down to 1/60 second or less.
Step 3: Adjust the aperture
A wider aperture (lower f-stop number) helps isolate snowflakes against a nicely blurred background. However, if you're aiming for a crisp landscape with falling snow, opt for a smaller aperture (higher f-stop number).
Step 4: Bump up ISO
Since you're dealing with potentially fast shutter speeds and a smaller aperture, don't shy away from increasing your ISO for proper exposure without compromising on speed.
Step 5: Use manual focus
Sometimes autofocus struggles in the snow as it can't decide which flakes to focus on. If your camera's having trouble, switch to manual focus. Aim to capture the snow's motion without sacrificing your subject's clarity.
Step 6: Experiment with Flash
A little fill flash can illuminate snowflakes and give them definition, especially against a dark background. Just be subtle with it to maintain the natural ambiance of the scene.
Photo: Maryan Melnyk/Shutterstock
Post-processing tips for snow photos
1. Adjust Exposure and Contrast
Snowy scenes can often come out looking flat due to the overwhelming brightness of the snow.
Adjusting the exposure and contrast in your post-processing can help add depth and dimension to your photos.
You may need to brighten the exposure and increase the contrast to make your subject stand out.
2. Adjust Color Balance
The color balance in snow photos can often shift towards blue, giving the snow a cold, icy appearance.
This can be a beautiful effect, but if it's not what you're going for, you can adjust the color balance in post-processing.
Try warming up the temperature slightly to give the snow a more natural, sunlit appearance.
3. Enhance Details
Post-processing is also the time to enhance the details in your photos. Try increasing clarity or sharpness to bring out the texture in the snow and the detail in your subject.
4. Crop and Straighten
Finally, don't forget to crop and straighten your photos as necessary.
A crooked horizon can make a photo look amateurish, and unnecessary elements on the edges of your photo can distract from your main subject.
Use your post-processing software's crop and straighten tools to perfect your composition.
And there you have it! With these tricks up your insulated sleeve, you're ready to brave the cold and capture some magical winter wonderland shots.
The best way to master snow photography is by exploring, experimenting, and embracing the process. So bundle up, grab your camera, and enjoy the beauty of the snow through your lens.
