
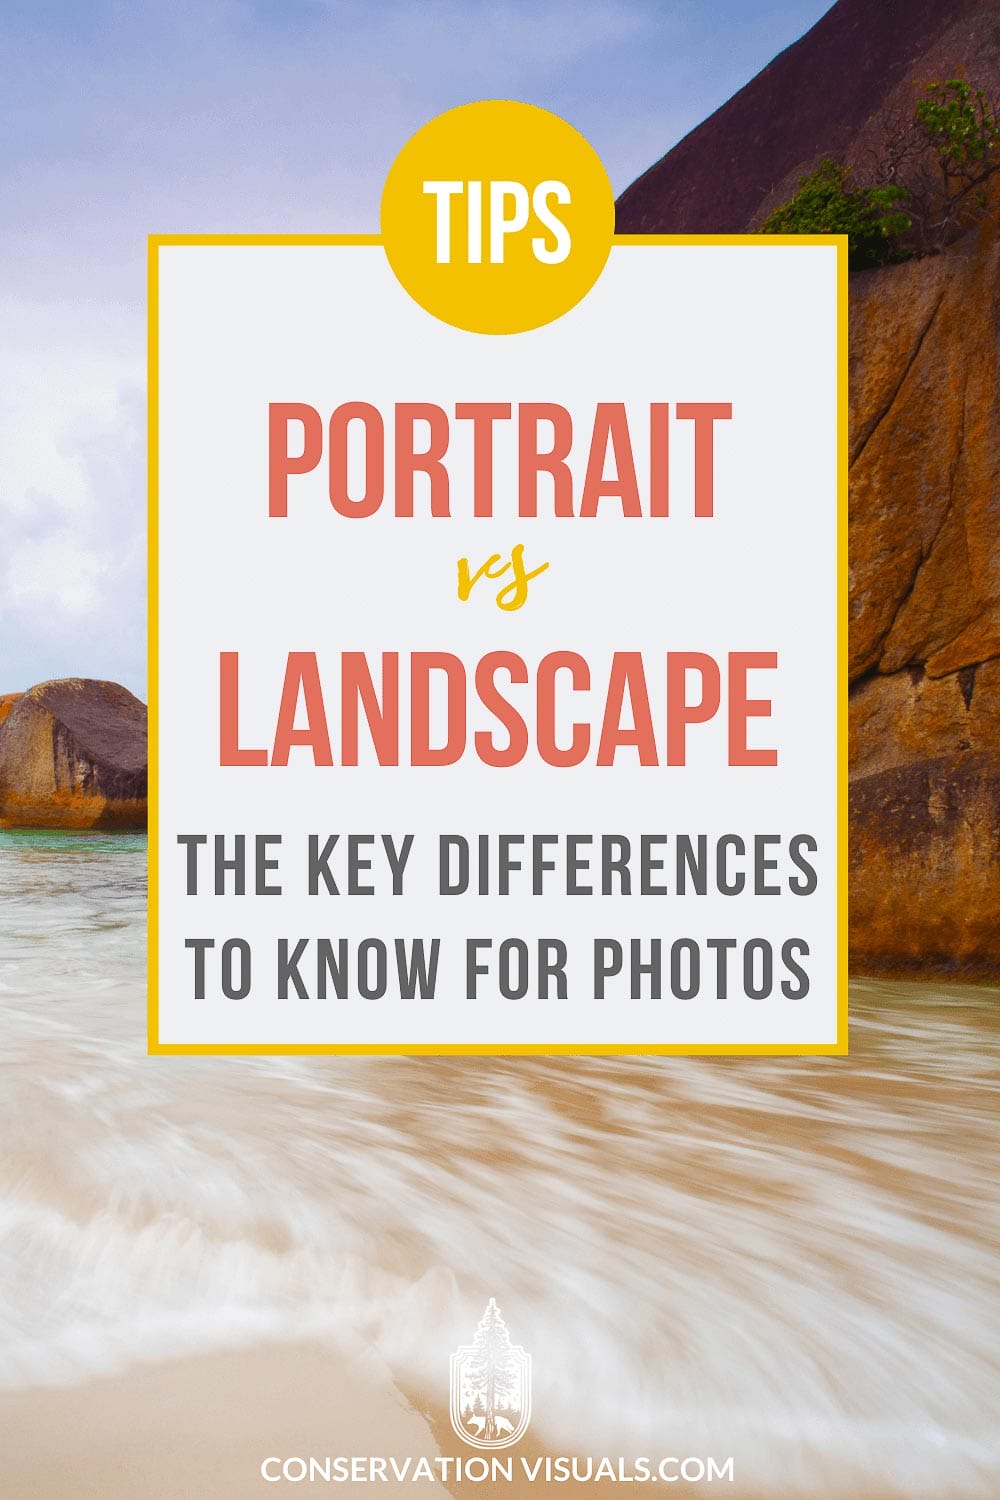
Read Time: 8 minutes
An image isn't just about capturing a moment; it's about conveying a narrative.
In getting that evocative frame, one of the first decisions to make is whether to shoot in portrait or landscape orientation.
It may seem like a small detail, but understanding the key differences between the two can greatly impact the, well, impact your image makes!
In this article, we're looking at portrait and landscape orientations, dissecting the differences between the upright vertical format of portrait orientation and the panoramic horizontal layout of landscape orientation, and helping you decide when each is best for your shot.
Difference between landscape and portrait orientation
In the simplest of terms, the difference between landscape and portrait orientation is whether the shot has a horizontal orientation or a vertical orientation, respectively.
In the horizontal landscape format, the image is wider than it is tall and in the vertical portrait format, the image is taller than it is wide.
This seemingly small detail can greatly influence the overall mood, meaning the same image can have a completely different effect depending on its orientation.


Shifting the choice between horizontal and portrait orientation can alter the mood, context, and story of a photograph, even when it's of the same subject mere moments apart.
Portrait vs landscape — two modes, two moods!
Portrait orientation often creates a more intimate connection with the subject (think more subject-focused), while landscape orientation often allows for a broader perspective (think more scene-focused).
For instance, when photographing an actual landscape image, landscape orientation creates a sense of scale that showcases the vastness of a scene, while portrait orientation focuses more on the details and emotions of often a single subject.
Let's dig a bit deeper into the details of each.
What is portrait orientation

This vertical orientation is ideal for creating portrait images or capturing the scale of a tall subject, using vertical lines to convey a sense of height.
Photographing vertically helps direct the viewer's attention straight to the main subject, often with little background or surrounding elements. Portrait format allows you to zoom in on the details that really capture the vibe of your subject.
BEST FOR:
- Close-up shots, individual portrait photography, headshots, vertical subjects, social media platforms
PROS:
- Great for capturing emotion and telling a story
- Creates a personal and intimate connection with the subject
- Useful for photographing people or objects in detail
CONS:
- Limited view of surroundings
- May require careful cropping and composition to avoid distractions

What is landscape orientation
When you've got a lot of wide-angle beauty to cram into a single shot, this is your play. With its horizontal orientation, landscape format excels at showcasing breadth, depth, and the flow of a scene.

It captures the surroundings, creating a sense of place and giving the viewer a broader perspective.
It is commonly used – as you might expect – in photographing a vast landscape image like a scenic vista of a mountain range, but also in cityscapes or any photo that requires more context.
BEST FOR:
- Landscape photography, panoramic shots, cityscape or street photography, large family photos or group shots, event coverage
PROS:
- Ideal for capturing wide scenes and landscapes
- Can evoke a sense of awe and wonder
- Provides context through surrounding elements
- More room for creative composition
CONS:
- Can be challenging to capture details

How to choose: portrait vs landscape orientation
When it comes to portrait vs landscape orientation, it's ultimately up to you to decide which best suits your subject and the story you want to tell.
While there may not be a “correct orientation,” your choice is key in how your story is perceived, and ultimately, how it unfolds.
You don't need this checklist for every photo you take (the answer to going with portrait vs landscape for a certain shot is often a gut feeling), but if you're struggling to decide or sitting at home thinking through how to best tell a photo story, start by asking yourself the following questions:
- Who or what is the main subject? Do you want to emphasize the height or width of that subject? If height, you're likely going with portrait format; if width, it'll be landscape format.
- How do you want the subject oriented within the shot? At the same time, you'll want to consider the role of background elements and the emphasis you want placed on them.
- What are the feelings you're looking to bring out? How do you want viewers to feel when they look at the photo and what feel do you want the photo to have?
- What story do you want to tell? Consider the story both portrait mode and landscape mode tells and which mode will maximize what you want to achieve.
- How will this shot be shared? Through social media platforms? Then shooting in portrait is likely the way to go. A billboard? You get the idea.
We're not abandoning you with just that though. To help you decide, here's a bit more on what to consider when choosing between landscape and portrait.

❂ Composition techniques
When considering the overall composition, think about the subject and how they best fit into the frame as well as the role they and the background elements play in telling your story.
Traditional composition techniques, such as the rule of thirds, are more easily applied in landscape orientations due to their inherent width.
Portrait format with its vertical layout requires more intuitive placement but can yield striking results when the subject is balanced against its length.
❂ Subject dimensions
On a related note, the size of the subject also matters! Obviously, a scene that's wide and broad in scale is going to be best represented horizontally, while a tall building or any other subject that's taller than it or they are wide, is typically best-suited in a vertical format.
Also consider how you want that size either emphasized, exaggerated, or minimized.
❂ Subject emphasis
When deciding which is best, consider what the focus of the image is and what component(s) you want to draw attention to. Each orientation places emphasis differently.
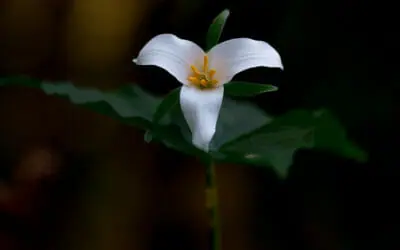
For example, close-ups of a single flower in portrait mode evoke a sense of poetry and fragility.
The same scene in landscape format might have viewers scanning in vain for the micro that's not the macro.
❂ Visual storytelling
Orientation can speak volumes about the story you're trying to tell. A portrait can bring emphasis to a single subject, while a horizontal image can give more context.
A vertical layout can accentuate the height or scale of a tall subject. Or, when framed smaller in a wide scene, it can convey a sense of solitude, smallness, or connectedness.
You have immense control over the story held within a frame based simply on how you hold the camera.

Scenarios or subjects where you'd choose portrait orientation might include:
❂ Portrait photography
When shooting portraits, chances are that you're going to have a vertical subject and portrait composition is going to be your best bet.
That being said, if your subject is sprawled on a chaise lounge “Titanic”-style (we love you Kate Winslet!), flip to landscape.
❂ Height emphasis
Whether a tall building, majestic mountain peak, or with any other tall subject sticking with portrait mode is often the way to go.
Keep in mind though, if you're photographing a low and broad piece of architecture like, say, Frank Lloyd Wright's Taliesin West or trying to fully capture the scale and breadth of the Grand Tetons, to landscape mode you go.
❂ Final use
And don't forget to consider the ultimate use of the photo. Are you going to share it on social media to people scrolling on their phones? Then it's portrait orientation. Are you going to be submitting it as a magazine cover? Portrait again.


Scenarios or subjects where you'd choose landscape orientation might include:
Group shots
While portrait is often best for a single subject, landscape can accommodate more people in the frame – at least if everyone is lined up relatively horizontally.
Now if it's one of those sitting on the stairs family portraits, then, obviously, the orientation is vertical and portrait is best.
Broad and low
As we mentioned with low buildings and broad landscapes, if your subject is longer horizontally than vertically, then landscape orientation is the best choice.
This is often the case with landscape photography that follows the horizon (“horizon”…”horizontal”…you see the cognate picture…).
Action shots
While this could go either way depending on the movement direction, if you're capturing a land chase or a herd of bison moving across the plains, landscape orientation will best capture your subjects on the move.
While some shots may do best in one orientation over the other, like we already said, there are no hard and fast rules to choosing the “right” photo orientation.
We know, we know! As rule followers, we get it. We're like, “Okay, just give me the parameters and I got this.”
But as creative spirits, we're also like, “Ohhhhhh, this could be fun to experiment with…”
If you believe doing the opposite of what might be considered “correct” will better convey your message, then get creative and go for it!

FAQ
How does the camera position change in landscape vs portrait orientation?
The camera orientation is going to mirror the orientation of the image. So, if your camera is held so that it's longer than it is tall, you'll be shooting in landscape. If you tilt it 90 degrees making the camera taller than it is wide, you're in portrait orientation.
If it helps, imagine a landscape photographer holding a camera vs a fashion photographer holding a camera. The former's going to be holding it horizontally to capture as much as possible of the horizontal elements of the scene and the latter will likely be holding the camera vertically to take in the entire stature of the model.
What's the best orientation for shooting video?
This depends on what you're planning to use the video for. If you're posting on a social media app that's primarily accessed from a smartphone (think Instagram or TikTok), portrait orientation is that route to take.
If you're creating something more cinematic or for a video streaming platform like YouTube, then stick with landscape.

Are the camera settings for portrait vs. landscape orientation?
When it comes to camera settings, there is not much difference between portrait and landscape orientation.
However, here are a few tips for each:
Portrait orientation settings
- Use a wide aperture (low f-stop number) to create a shallow depth of field and draw focus to your subject.
- Keep your ISO low to avoid grainy or noisy images.
- Use a fast shutter speed to freeze any movement and capture sharp images.
- Portrait mode will optimize your settings for capturing a single subject.
Landscape orientation settings
- Use a narrow aperture (high f-stop number) to create a large depth of field and ensure everything in the frame is in focus.
- Experiment with different ISO settings, depending on the lighting conditions.
- Use a tripod or steady your camera to avoid blurry images due to longer shutter speeds.
- Landscape mode optimizes settings for capturing broad images.

I'm still confused! How do I choose?!
Choosing which is best for you ultimately depends on the type of shot you're going for! Be flexible with your shooting style to see what works best for you and your subject.
No matter the image orientation you opt for, play with negative space within each to see which has the most dynamic feel and is the most visually interesting.
Take your time considering how each uses background elements to best tell the story, whether that's one of visual tension between the fore- and background or one where each is supporting the other.
Experiment by taking frames in both portrait and landscape orientation and see which does the best job conveying the composition you're hoping for.
And, if you're unsure, remember, the crop tool will be waiting for you at home.

")


