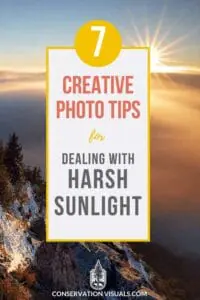
Let's be honest. We nature photographers love working with natural light, so we can get anxious about how to capture sunlight at its absolute best.
And when it comes to shooting into the sun – or even making the sun the subject of our photograph – it's often downright frustrating to get the desired results.
Not to mention how tough it can be to get the right mix of dreamy backlight or gorgeous rim light around a subject without harsh flares!
Shooting images facing into a glaring sun invites lens flare and heaps of exposure-related issues.
Because of this – and of course, the gorgeous colors that sunrise and sunset bring out – we tend to time our outings for hours around dawn and dusk to do our best work.
But as much as we love golden hour, we cannot always wait for the perfect conditions or fantastic soft lighting. Nature is always active, and we must be ready to roll no matter the light.
That includes knowing how to shoot in harsh sunlight and into the sun, so even when it seems like the WORST conditions, you can still make exciting and beautiful frames.
This guide has our best tips for when you're faced with less-than-ideal lighting.

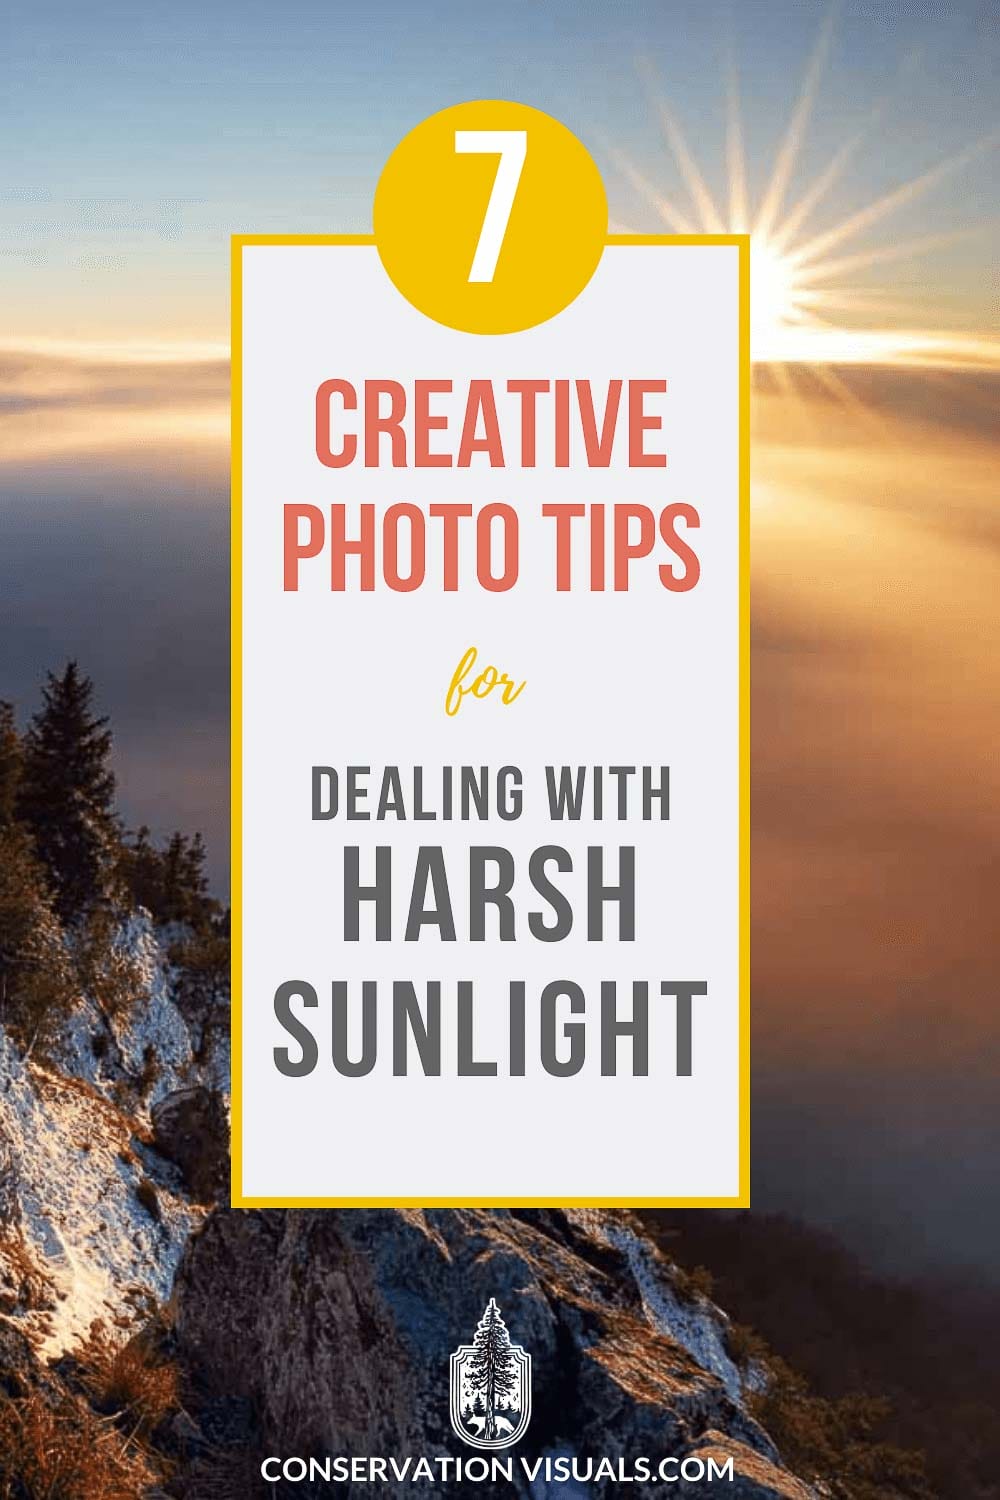
Photo: Valerio Pardi/Shutterstock
Can the sun damage your sensor?
The quick answer is yes, the sun can potentially harm your camera's sensor.
But don't let that scare you off! It's all about how you handle and use your gear.
Many of us choose to put off “sun shooting”, or shooting toward bright sunlight, because it's thought to cause damage to the camera, specifically the sensor.
When the sun's rays are focused directly onto your sensor for prolonged periods, similar to how a magnifying glass can focus sunlight to start a fire, it can cause damage.
This is particularly a risk during live view mode or when shooting video, where the sensor is continually exposed.
However, many modern cameras come equipped with protective mechanisms to prevent this from happening.
Plus, typical photography practices like frequently changing your composition or only opening the shutter briefly for each shot, reduce the risk significantly.
That said, it's always recommended to use good judgment, be aware of the potential risks, and take necessary precautions when shooting into harsh light.
Use a lens hood to shield your lens from direct sunlight, and try to avoid keeping your camera in live view or video mode for extended periods pointing directly at the sun.
Lastly, although you need to be aware of the exposure to your sensor, you must also take care of your eyes.
We all know that the sun can be too bright and strong, and looking at it through the viewfinder can cause harm.
Instead, look at your photo in live view and save your eyes from all the strain.

Photo: Puspok/Shutterstock
How to figure out the best exposure when shooting the sun
When it comes to the correct exposure, things get a bit tricky!
When the camera peers directly into the sunlight, the lens is over-flooded with light. As a result, you get highly overexposed images that typically wash all the color out of the sky or cause highlight clipping.
Even if you're a pro in post-processing, you won't have the photograph you'd hoped for.
In contrast, because of contrast (pun intended!), the darker parts of photos are underexposed, causing you to lose detail in the shadows or even turn foreground elements into silhouettes.
So, it's a tricky balance to capture the sun's brightness while keeping details in the rest of the scene.
To properly pull off photography of the sun, you'll have to experiment with exposure bracketing and aperture, play around with lens flares, and also use your typical disadvantages – to your advantage!
Get your manual mode ready because no glare can stop you from capturing the perfect sun photograph!

Photo: Sara Winter/Shutterstock
1. Use exposure bracketing
We've already mentioned how the abundance of light highly affects the quality of your shots, so you need to even out your exposure. One way to do this is to use exposure bracketing.
(This is especially useful for landscape photography when your camera is on a tripod, and you can play with slower shutter speeds!)
Our eyes can see a larger dynamic range than our cameras. So exposure bracketing helps our cameras capture what our eyes see by taking multiple images at different shutter speeds that you then combine for maximum dynamic range.
One frame will be properly exposed for the bright sunlight, another for the mid-ranges, and another for the darker elements in the scene.
You can take as few as 2 frames or go to town with 5, 7, or even 10 frames, all of which you layer into a single image during post-processing.
Most cameras have a setting for exposure bracketing. This allows you to set an exposure that's as balanced as possible for the scene and then set a number of shots that are both under-exposed and over-exposed for the scene. You can then fire off the series of shots in a single burst.
However, if your camera doesn't have exposure bracketing, simply make three frames:
- One slightly under-exposed by about a third of a stop
- One exposed as balanced as possible
- One over-exposed by about a third of a stop
Play around with the amount of over/under exposure and number of frames.
This will give you plenty to work with when you get home to your computer and post-processing software.

Photo: 99Art/Shutterstock
2. Try graduated neutral density filters
These filters are designed to be darker on one side and gradually become more transparent towards the other end. This allows you to dim the brightest part of the scene, such as the sky, while keeping the rest unaffected.
A graduated ND filter will significantly lower the sun's brightness, almost providing a perfect balance.
Almost perfect because sometimes, you might notice glare in the lens. If this happens, try covering the unwanted light with your hand to produce the final image.
There are a few popular options for graduated ND filters for landscape photography.
The Lee Filters brand is highly regarded for its high-quality optical glass and precise light control. Having a set of hard-edged or soft-edged filters of different densities helps ensure you're ready for any sunny situation.
Another favorite among photographers is the Cokin P-Series Graduated ND Filter, known for its versatility and compatibility with various lens diameters.
If you're looking for a budget-friendly option without compromising on quality, the Tiffen Graduated ND Filter is a worthwhile investment. It offers impressive color accuracy and sharpness, making it a reliable addition to your photography gear. Be sure to select the filter size that's for the lens you'd like to use it on.
With these effective filters in your kit, you'll have a powerful tool to control and manipulate light, enabling you to easily capture stunning landscape images.

Photo: Dave Head/Shutterstock
3. Explore backlighting in photography
When it comes to making beautiful portraits, the sun can be your greatest friend… or can feel like your worst enemy.
It may seem counterintuitive, but sometimes positioning yourself so your subject has the sun behind them will give you the best results.
It allows you to shoot into the sun and use it for interesting backlight portraits.
Backlighting creates a glowing effect around the subject, adding depth and separation from the background.
Backlighting in photography may seem simple at first, but even experienced photographers can struggle to capture eye-catching images.
That's because you're walking the knife-edge balance of having the sun wrap around your subject or having it blast into your camera.
Even the slightest camera movement can ruin the entire shot.
So, to get backlighting just right:
- Adjust your camera settings to counter the strong backlight. Use manual mode, lower your ISO, increase your shutter speed, and, if needed, underexpose to maintain details in the bright background.
- Use manual focus if your camera struggles to autofocus due to the strong backlight. Ensure your subject is in sharp focus.
- Play with your settings and, importantly, your position. Move yourself and your camera to get the right amount of sun behind the subject versus off to one side.
- Notice when you're getting lens flare, as this can be distracting. And if you are, just keep slightly adjusting your camera angle so you avoid it.
With practice, you'll master the art of using backlight in harsh light, adding a magical touch to your frames.

Photo: JGade/Shutterstock
4. Play with lens flare
Sometimes leaning into the “problems” shooting into the sun causes can be the best way to turn a challenge into a beautiful frame.
Lens flare adds a playful touch to your photography, depending on the angle of your camera to the sun. It can move or disappear as you adjust your camera's position.
But changing the angle of your camera to account for lens flare also means changing the angle to your subject, so it's an interesting balance getting everything just right.
While lens flare can bring spice and drama to your photo, it can also become a distraction or look like a mistake.
Consider whether it enhances or detracts from your final image.
Fortunately, removing lens flare in post-production is a breeze. Take two consecutive shots – one with and one without the flare – and layer them in Photoshop.
Investing in a camera lens hood is another option to help reduce unwanted lens flare when shooting into the sun.
But experimenting with the abovementioned techniques adds an extra touch of fun to your shooting experience.
To make the sky pop and dazzle, try using post-production filters to enhance sharpness. Your images will shine like never before!

Photo: iacomino FRiMAGES/Shutterstock
5. Aim for sun stars
You can actually make our brightest star look like an actual star! You've probably seen tons of photos where the sun is practically bursting with rays, usually around golden hour.
This looks especially enticing when shooting landscapes, such as when the orange sun creeps up behind the mountains.
But, like with all the previous tips, there are a few things to be aware of.
The key is to use a small aperture setting, such as f/11 or f/16, which causes light to diffract or spread out as it passes through the narrow opening of your lens.
This diffraction creates the starburst effect.
Position your frame so that the sun is partially blocked by a landscape feature, such as a tree or a mountain peak.
This strategy makes the rays more pronounced and adds a captivating contrast to your image.
Note that the quality of the sun star will vary depending on what lens you use, as different lenses have different numbers and quality of aperture blades.
Some lenses capture many crisp sun rays, while others capture a handful of soft sun rays.
While we often think of capturing sun stars at golden hour when the sun is low, you can absolutely use this technique when the sun is high in the sky and at its harshest.
This works when looking up at the sun through a tree canopy, as it's shining above an overhanging boulder, and so on.
So, play with this technique when shooting into the sun any time of day.

Photo: Pheelings media/Shutterstock
6. Use a camera lens hood
We'll keep this one simple – lens hoods are ideal for shooting in harsh sunlight since they block out any glare coming into the lens, practically preventing flares altogether.
Acting like a visor or a sunshade, the lens hood shields your camera lens from stray light that could otherwise enter from the sides. This unwanted light can degrade your image quality by causing flare, reducing contrast and washing out colors.
The lens hood ensures that only the light passing directly through the lens reaches the sensor, so your overall image is sharper and has richer colors.
If you want to minimize the problems that pop up with shooting into the sun, a camera lens hood is a must-have addition to your set-up.
Here's more on when and why you want to use a camera lens hood >>

Photo: Dragos Asaftei/Shutterstock
7. Use harsh lines and shadows as composition elements
What sets a photographer apart is their ability to turn challenges into stunning photos that leave people in awe.
We've already talked about embracing harsh sunlight to achieve the perfect exposure and contrast.
But what about situations where skylight becomes a problem, creating unwanted shadows or harsh lines that bother you?
Instead of avoiding or working around these elements, why not make them an exciting part of your composition?
Zero in on that shadow in the middle and find a way to make it interesting.
Use it to add depth and intrigue to your image.
The same goes for harsh lines – soften them where possible or use them to provide structure and depth within your composition.
By embracing and creatively incorporating these elements, you'll transform challenging situations into unique opportunities for captivating photography.
Don't be afraid to experiment and push the boundaries of what's possible!
Final Thoughts
Shooting in harsh sunlight doesn't have to be a deterrent for photographers. Instead, embrace it as a unique opportunity to create visually striking and dramatic photographs.
You can transform the challenges of shooting in harsh sunlight into creative opportunities by mastering techniques such as backlighting, playing with lens flare, aiming for sun stars, and using a camera lens hood.
Even the harsh lines and shadows, which often pose a problem, can become intriguing compositional elements when viewed from a different perspective.
Remember, great photography is about adapting, experimenting, and constantly learning.
So, step out, immerse yourself in the sun, and let your creativity shine brightly.


")