Read Time: 10 minutes
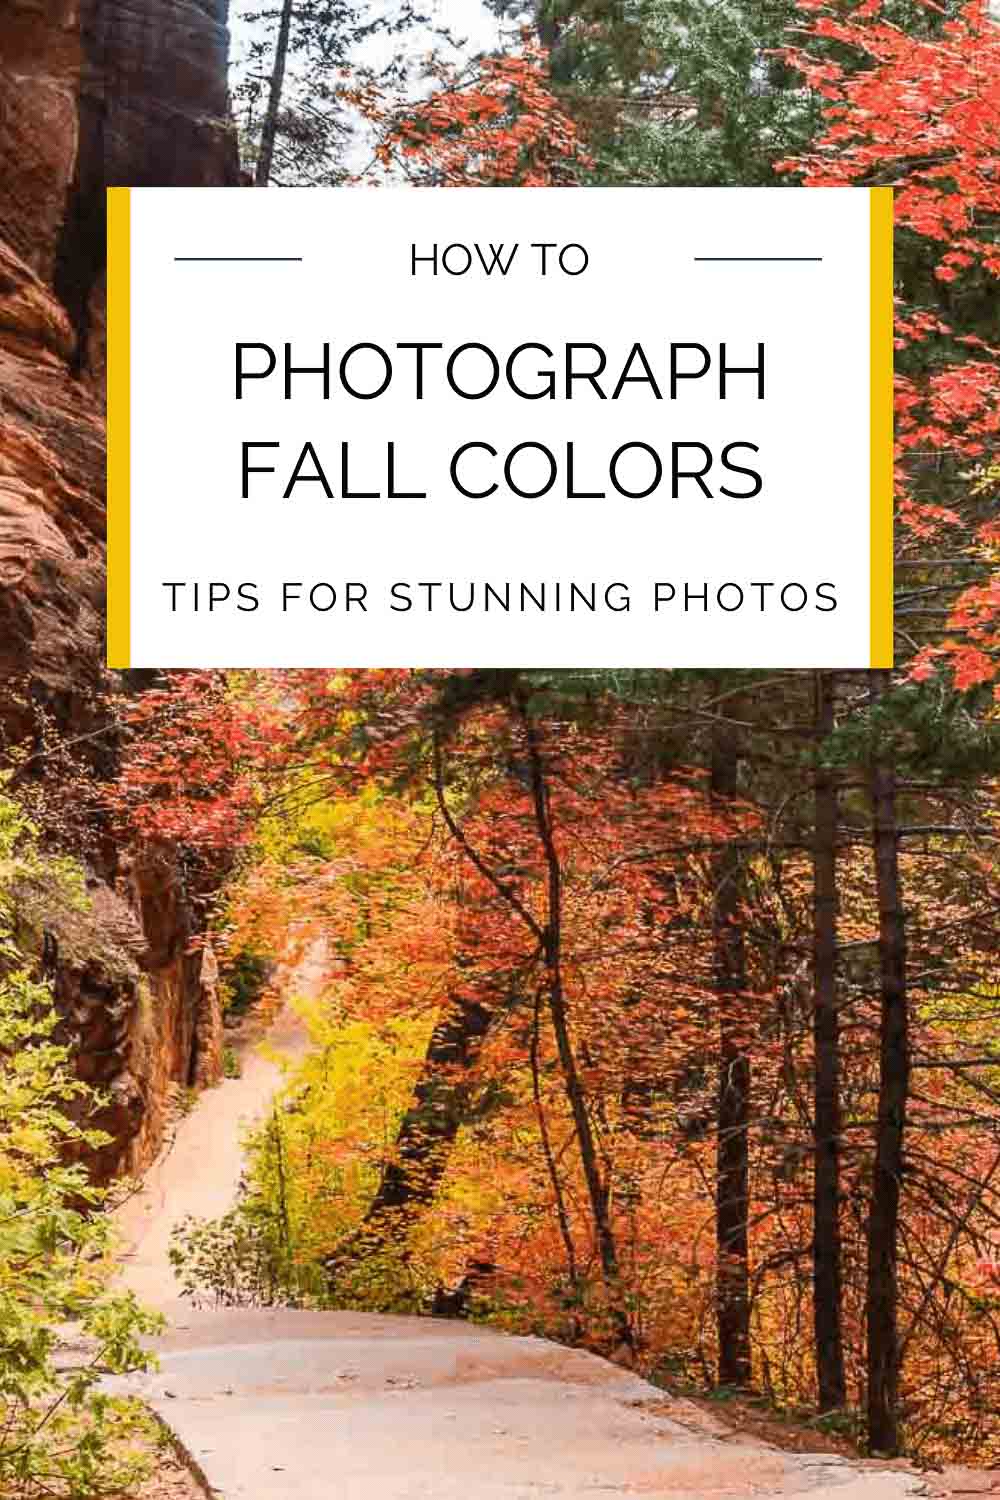
Ever felt your heart go thumpitythump at the sight of a fall landscape, absolutely vibrating with hues of gold and crimson against a vibrant blue sky? Autumn colors are creative kick, right?!
But when you try to capture that magic through your lens, does it feel like the colors lose their luster, leaving you with less-than-stellar shots?
You're not alone. Fall landscape photography can be a tricky field to navigate.
Don't worry – it's possible with a little practice and guidance to capture the autumn splendor just as your eyes see it. With our expert fall photography tips, we'll turn your struggles into successes.
From understanding light to choosing the right settings, we'll guide you through each step of your autumn foliage photography journey.
Contents
- Scout for fall foliage events
- Maximize golden hour light at sunrise or sunset
- Use a polarizing filter
- Use slow shutter speed for abstracts
- Use a tripod
- Look for reflections
- Avoid too much contrast in highlights and shadows
- Warm up your white balance
- Look for patterns
- Take advantage of mist and fog
- Try macro photos
- Find leading lines with paths, trails and roads
1. Scout for fall foliage events
Autumn photography is all about timing, capturing that magic moment when the world transforms into a vibrant canvas of fiery oranges, golden yellows, and radiant reds.
But these peak fall colors are fleeting, often lasting just a week or two, making it a race against time for photographers.
Ever planned a fall road trip, arrived at your chosen location with camera in hand, only to find that the color spectacle has ended? We've all been there.
Here's the silver lining: Just as meteorologists predict weather patterns, experts map the progression of fall colors across regions, providing a valuable tool for knowing when colors of autumn trees will peak.
Lean on resources like fall foliage prediction maps to get insights into when and where to go to plan a fall foliage photo shoot.
Two great maps are:
By aligning your photo trips with these forecasts, you can ensure you're there to capture the height of this colorful season.

Photo: na-um/Shutterstock
2. Maximize golden hour light at sunrise or sunset
Take advantage of the golden hours to capture the beauty of autumn to its fullest.
Light is different during sunrise and sunset because of the sun's low position. During these early morning and evening periods, the sunlight is diffused and indirect, casting a warm glow and long shadows that can bring out the vibrant hues of autumn leaves.
Shooting during golden hours adds depth and dimension to your images, making the reds, oranges, and yellows of foliage pop against the beautifully lit backdrop.
Dedicated landscape photographers benefit from heading out well before sunrise, photographing until the sun is high in the sky, and then returning to the same location in late afternoon to photograph until well after sunset.
This way, you can capture a scene with peak colors in many different lighting situations.

Photo: jdross75/Shutterstock
3. Use a polarizing filter
Polarizing filters reduce glare and reflections, particularly during sunny or very bright scenes.
When it comes to fall foliage, can help reduce the glare on the leaves.
If you want to deepen or increase the density of hazy or blue skies, then this filter is especially handy.
Benefits of using a polarizing filter include:
- Enhances Color Saturation: Polarizing filters assist in heightening the vividity of fall colors, making the reds, oranges, and yellows of the leaves pop more in your photographs.
- Reduces Glare: It can help reduce the glare on shiny, wet leaves after a rain, enabling you to capture their natural color and texture.
- Improves Sky Contrast: A polarizing filter can deepen the blue of the sky, creating a striking color contrast with the fiery colors of the fall foliage.
- Adds Depth: By reducing reflections and enhancing color saturation, polarizing filters lend a sense of depth to your photographs, making them more dynamic and visually appealing.
- Protects Your Lens: Apart from enhancing image quality, a polarizing filter also acts as a protective layer for your camera lens against potential scratches or smudges.
There are circular and linear polarizing filters. We recommend going with a circular polarizer for extra ease of use. You just screw it onto your lens and turn it until you get the desired effect.
Both B+W & Tiffen are great brands. You can choose a filter that best fits both your lens and budget.

Photo: Layne V. Naylor/Shutterstock
4. Use slow shutter speed for abstracts
Autumn is a great time to experiment with slow shutter speed for an artistic take on the fall colors.
One unique technique involves deliberately moving your camera while the shutter is open, a method known as intentional camera movement (ICM).
By adjusting your camera settings to a slow shutter speed, typically somewhere between 0.5 to 2 seconds, and purposefully moving your camera up and down, you can create an abstract, painterly effect that mimics the look of falling leaves.
This technique creates a sense of motion and energy, capturing the dynamic nature of autumn.
Creating the perfect abstract image might take a few attempts, so don't be bummed if your first few shots don't turn out as expected. Just keep trying.
With some practice, you'll be able to master this technique and add a unique twist to your fall photography portfolio.
Recommended: Curious about using 35mm film for your landscape photos? Check our our article “An Exploration Of Best 35mm Film For Landscape Photography” for a review of the best film choices to try!

Photo: Sean Pavone/Shutterstock
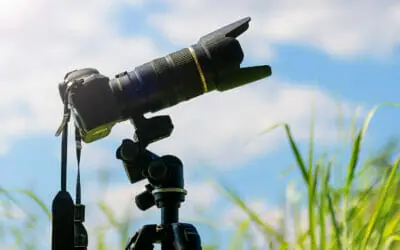
5. Use a tripod
Using a tripod is a game-changer for capturing the perfect fall foliage photos.
This trusty piece of equipment stabilizes your camera, eliminating the risk of blurry, shaky images, particularly when shooting in low light conditions or using slow shutter speeds.
An extra benefit to using a tripod is you don't need to limit yourself to eye-level shots. Experimenting with the height of your tripod can lead to unique perspectives.
Try positioning the camera low to the ground for a different viewpoint of the autumn leaves or extend it to its full height to capture a wider landscape.
If you plan to create a panorama by stitching together multiple images, a tripod is vital. Ensure each shot overlaps by about 30% with the previous one, and keep the camera level to ensure a smooth and natural-looking panorama.

Photo: James William Smith/Shutterstock
6. Look for reflections
Reflective surfaces, such as bodies of water, can be a gorgeous compositional element in your autumn landscape photography.
The mirror-like reflection of brilliant fall colors and textures in a calm lake, river, or pond can double the impact of your scene, providing a sense of balance and symmetry.
Even puddles after a rain can serve as a great reflective surface for capturing the beautiful fall colors.
When shooting reflections, consider the rule of thirds; position the horizon line along one of the horizontal grid lines rather than in the middle of the frame. This gives more room to highlight the reflection.
If you DO put the horizon line smack dab in the center (like in the example above), then try to lean into the symmetry of the scene and watch your edges to ensure you're including elements that add to symmetry, and excluding elements that detract from it.
Additionally, try to include a focal point in your composition, such as a distinctive tree or rock formation, to draw the viewer's eye.
Lastly, shoot early in the morning or late in the day when the wind is often calmer, providing a smoother reflective surface.

Photo: Nickolay Stanev/Shutterstock
7. Avoid too much contrast in highlights and shadows
The fall season offers a smorgasbord of photographic opportunities, but can also be a season of stark contrasts.
You might find yourself shooting in conditions where the bright sunlight creates intense highlights on the leaves, while heavy shadows lurk beneath the canopy.
This can be a recipe for photographs that are visually jarring, pulling the viewer's gaze between too-bright spots and too-dark patches.
To avoid this pit-“fall” (pun absolutely intended), you need to master the art of balance.
Expose for the highlights to ensure they are not blown out and try to shoot during the “golden hours”—early morning or late afternoon—when the light is softer and shadows are less harsh.
You can also make use of graduated ND (Neutral Density) filters to balance the exposure between the sky and the land. We recommend checking out either Cokin or Lee ND filters.
This results in images with beautifully balanced highlights and shadows, showing off the fall colors in their full glory.

Photo: Denis Belitsky/Shutterstock
8. Warm up your white-balance
White balance is how warm or cool the overall color reflects through your photographs.
Since fall pictures often center on capturing the warm, inviting hues of the season, one technique to really make these colors pop is to adjust your camera's white balance to bring out the rich warm tones in fall leaves.
Most cameras offer a ‘Shade' or ‘Cloudy' setting in the white balance options. Using these presets can help to enhance the warm tones prevalent in autumn landscapes.
Experiment with your camera's white balance settings until you achieve the desired result.
🔥 Pro Tip: It's best to shoot in RAW so you have plenty of data in the image to play with in Lightroom or your editing software of choice. This way, if you don't particularly like the white balance when you get it on the computer, you can easily make adjustments with the most data possible.

Photo: DariaGa/Shutterstock
9. Look for patterns
Turning a snapshot of chaotic fall colors into a photograph of an epic autumn scene can be accomplished by zeroing in on patterns.
In nature, patterns can be found everywhere, from the arrangement of fallen leaves on the ground to the way branches interlace in the canopy overhead.
Look for repetition and contrast – the recurring colors of fall leaves or a splash of red against green grass can draw the viewer's eye.
Here are a few ideas for patterns to look for:
- Contrasting leaf colors: Look for a mix of different colored leaves, such as red and yellow leaves together.
- Lines of trees: Long lines of trees, especially ones shedding their leaves, present a pattern of repetition that is visually striking. The variation in colors and the play of light and shadow can create fantastic photographic opportunities.
- Shadow patterns: Fall provides low and warm sunlight, creating long, fascinating shadows. These shadow patterns, especially against the brilliant fall colors, can create a unique and dramatic effect in your images.
- Textures in the landscape: The texture of tree barks, patterns of fallen leaves, or the ripples of a stream can serve as great patterns.
- Hillsides: Rolling terrain provides a natural pattern of elevations and depressions, while the fall foliage lends a vibrant palette of reds, oranges, and yellows.
Vary your compositions with wide-angle shots for a grand scale and close-ups to emphasize specific elements, like a solitary tree or a patchwork of colors.
Don't necessarily strive for uniformity; a break in pattern can make your image stand out. Experiment with angles to reveal new patterns and add depth.

Photo: Songquan Deng/Shutterstock
10. Take advantage of mist and fog for visual interest
Mist and fog can act as a dramatic canvas for autumn photography, creating an atmosphere of mystery and enhancing the visual interest in your images.
When the landscape is shrouded in fog, the main focus of your photograph—be that a solitary tree or an entire forest of fall foliage—becomes more prominent, standing boldly against the clouded backdrop.
During early mornings, when the fog is most likely to form, the diffused light softens the harsh contrasts and gently illuminates the subject, adding a dreamy, ethereal quality to your photographs.
The clouds, hovering close to the ground, can also serve as a natural reflector, intensifying the warm hues of the fall foliage.
When photographing in foggy conditions, remember to manually focus your camera. The lack of contrast can make it difficult for your camera's autofocus to lock onto the subject.
Also, ensure to expose for the main subject of your image, as the brightness of the fog can trick your camera's light meter into underexposing the shot.
Don't shy away from foggy days. Embrace the clouds and let them add an element of mystery and intrigue to your fall photographs.

Photo: Philip Silver/Shutterstock
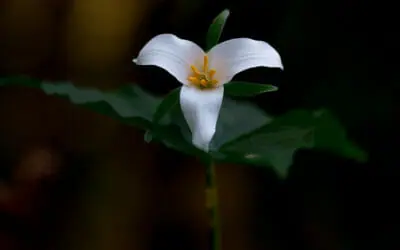
11. Try macro photos
Macro photography offers a unique perspective and can truly bring your fall photographs to life. By focusing on small details, you can isolate beautiful elements such as the intricate veins on a leaf, dew drops on a spider web, or the rich texture of a tree bark.
Macro shots enable you to highlight the beauty in the everyday and often overlooked aspects of nature, and in autumn, with its vivid colors and unique textures, these opportunities abound.
Fun ideas for fall foliage macro photos:
- Leaf Portraits: Every leaf tells a story. Capture individual leaves in various stages of change, highlighting their unique shapes, colors, and textures. Include the intricate details of leaf veins in your shots.
- Dew or Rain Drops: After a rain or on dewy mornings, capture the beads of water clinging to the edges of leaves or balancing on the spindly legs of a spider web. These droplets can beautifully magnify the vibrant colors around them.
- Close-ups of Tree Bark: Capture the rich textures of tree bark, which can be especially dramatic in the soft, autumnal light. Look for variety—the gnarled, uneven bark of older trees, or the smooth, mottled bark of younger trees.
- Sunset Backdrop: Shoot a leaf against the backdrop of a sunset. The warm, glowing light can create an incredible silhouette and illuminate the leaf's colors and structure.
- Seed Pods and Berries: Autumn isn't just about leaves. Seed pods, berries, and nuts add a different dimension and texture to your photos. They can also serve as a reminder of the cycle of life, symbolizing the promise of new growth come spring.
- Fallen Leaves on Water: If you're near a pond or stream, capture the leaves that have fallen on the water's surface. The water offers a dynamic background that can add an interesting element to your macro photos.

Photo: SametGuler/Shutterstock
12. Find leading lines with paths, trails and roads
Paths, trails, and roads naturally draw the viewer's eye through the image, creating a sense of depth and leading to the main subject of your photograph.
In the fall, these elements can become even more compelling, with colorful foliage emphasizing the lines even more.
Composing a frame using leading lines is all about direction and guidance.
Start by identifying your main subject and then look for lines in the scene that lead towards it. Position these lines starting from the bottom of your frame, moving towards your key point of interest.
This technique invites the viewer's eye to naturally follow the path you've created, automatically guiding them towards your focal point.
This not only adds depth to the image but also creates a narrative and a sense of journey within the photograph.
Try shooting from a lower perspective to accentuate the length and direction of the path.
Leading lines do not always have to be straight; winding roads and trails can add an element of intrigue, guiding the viewer on an exciting visual journey.
Whether you're capturing the grandeur of a foggy forest, the minute detail in a leaf's vein, or the journey down a winding, foliage-lined path, the opportunities to create beautiful and evocative images are truly endless.
So pack up your gear, step out into the crisp autumn air, and let nature's palette inspire your creativity!
Recommended: Ready to stretch your creativity all year long? Check out our course, The Nature Photographer's 52 Week Creativity Kit >>

The Nature Photographer's 52 Week Creativity Kit
A year of weekly bite-sized nature photography concepts and challenges that strengthen your camera skills and provide endless inspiration.


")