Contents
- What is a camera trap?
- Gear and equipment
- Choosing a location for your camera trap
- Setting up your camera trap (overview)
- Positioning your camera
- Positioning your sensors
- Lighting your scene
- Camera settings
- Power considerations
- Protecting your gear
- Tips for success
- Photographers to inspire you
- More resources
Read Time: 12 minutes
If you dream of capturing those elusive, candid moments of animals in their natural habitat, then remote camera photography is a skill you'll love having in your toolkit.
In this article, we explore the art of using DSLR camera traps to help you achieve stunning, intimate photographs – or video – of your favorite furry, feathery, and scaly friends as they go about their daily lives.
Contents
- What is a camera trap?
- Gear and equipment
- Choosing a location for your camera trap
- Setting up your camera trap (overview)
- Positioning your camera
- Positioning your sensors
- Lighting your scene
- Camera settings
- Power considerations
- Protecting your gear
- Tips for success
- Camera-trapping conservation photographers to inspire you
- More resources

Photo: Nick Hawkins / NPL / Minden Pictures
One of the joys of camera trapping is the cool behavior you can capture, especially when an animal is comfortable around the equipment. This ocelot doesn't mind sitting down for a bathing session right in front of the lens!
What is a camera trap?
Camera traps are like the sneaky, undercover agents of wildlife photography, snapping shots of animals from mountain lions to spotted owls going about their daily lives in their natural habitats.
This clever contraption typically includes a DSLR camera, infrared or motion sensors, and an external flash or two, all mounted on a tripod or strapped to a tree. (Groucho glasses for the tree aren't necessary but are highly recommended.)
When an unsuspecting animal crosses the sensor's path, click! – the camera captures a candid moment of the creature going about its business without intruding on its life.
For a wildlife photographer, camera trapping is your trusty sidekick, helping you reveal the fascinating natural world and its more reserved inhabitants with minimal impact or disruption of their lives. And it has the added benefit of helping you capture exceptional photographs while you sleep!

Photo: Sebastian Kennerknecht / Minden Pictures
A basic DSLR camera trap includes a camera and lens, camera housing and mounts, sensors, flashes, and triggers. You can get fancy or keep it super-simple with DIY modifications.
Gear and equipment
A successful wildlife camera trapping venture requires the right gear. But don't worry, you won't need to wade into overly specialized gear. You can get going with some basics. Let's dive into the key pieces of equipment you'll need.
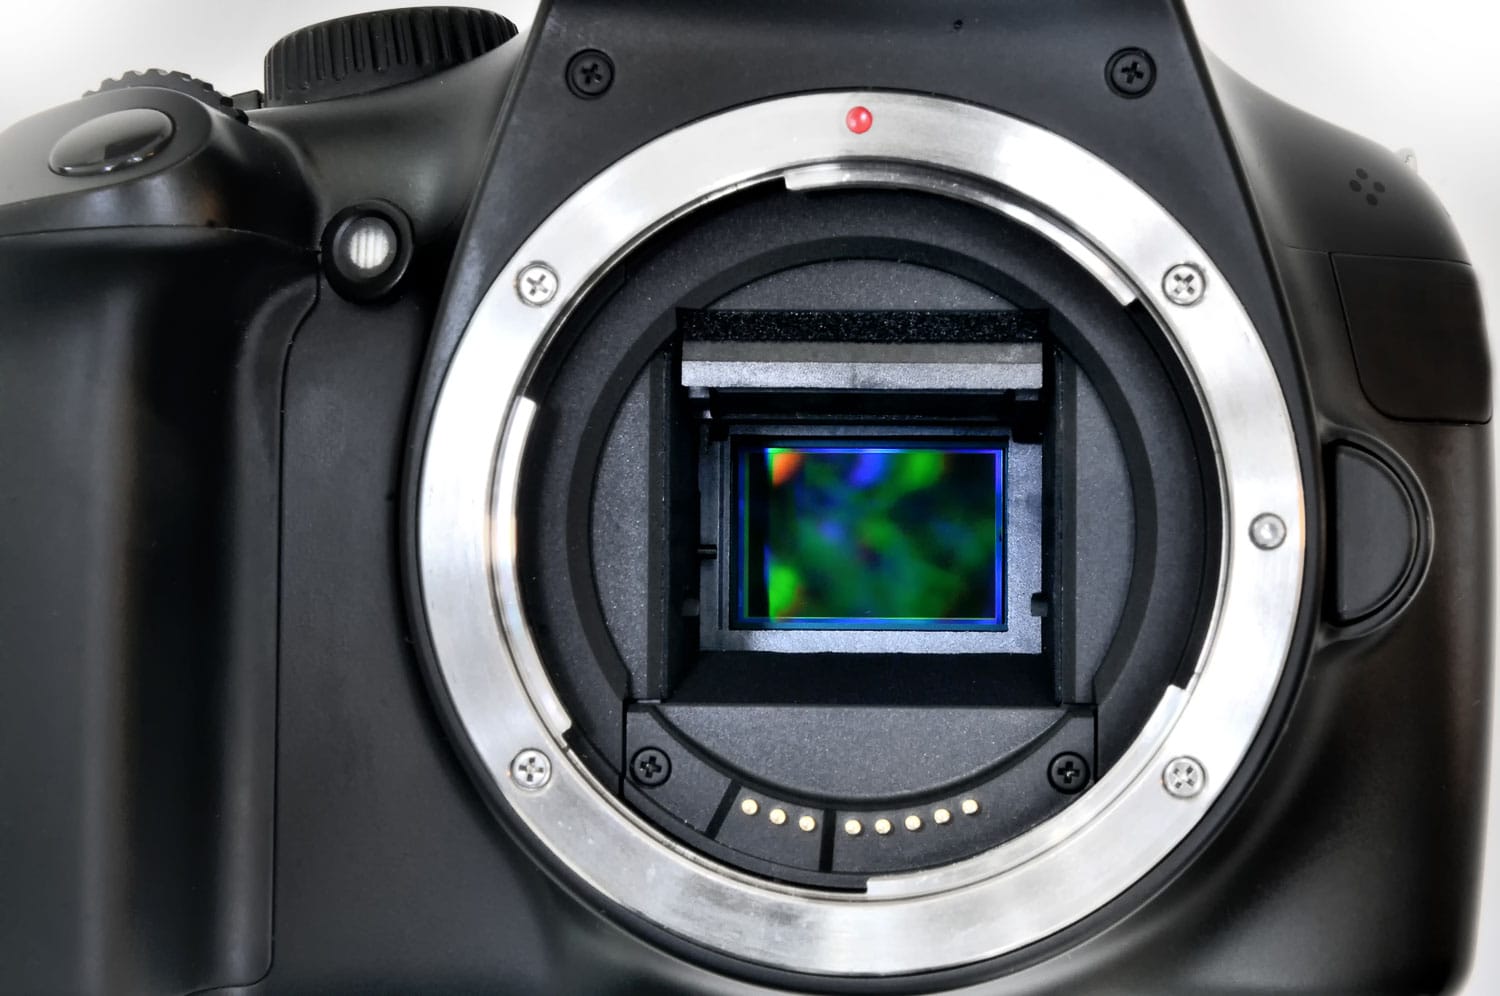
Camera
Choose a reliable DSLR camera with good low-light performance and a quiet shutter mechanism to minimize disturbance to wildlife. Weather-sealed cameras are a bonus, as they can withstand harsh outdoor conditions.
We love the Canon EOS Rebel T7 as an ideal choice for a first-time camera trap – small, affordable, has great image quality, and the kit lens is great for getting started.
Lens
A wide-angle lens is the best choice for camera trap photography because it allows you to capture as much of a scene as possible. This is important because it allows you to show both the habitat, as well as much of the animal as possible if it passes by close to the camera.
But perhaps the most important reason is that these lenses typically have a greater depth of field, so they're better suited for capturing subjects at varying distances from the camera. This means you're more likely to get the whole animal in focus, and have more “keepers” when you're photographing wildlife in unpredictable environments.
We recommend choosing a wide-angle lens somewhere between 16mm and 35mm.
Housing
Protect your camera from the elements with a durable, weather-resistant camera housing. We recommend using a Pelican case – specifically, the Pelican 1300 case. Pelican cases are sturdy, come in various sizes, and can be modified to fit your camera system.
Also, consider using natural materials, camouflage fabric, or netting to help obscure and disguise your equipment so that it blends into its surroundings to avoid spooking wildlife.
Note: If you don't want to do your own modifications to make a custom housing, consider the Cognysis Scout Cam-Box. It's a little pricey but can save you hours of time modifying a Pelican case. This can get you started in camera trapping with less headache, and you can figure out exactly what you want in a camera trap and modify your own Pelican case down the road.
Mounts
You'll need a sturdy tripod, stakes, or mounting brackets for mounting your housing at the location. A tripod or stakes give you added flexibility on where you place the camera in the scene. However, mounting your to a tree can make the set-up less intrusive. Just consider your environment when deciding how to mount your gear.

Photo: Jen Guyton / NPL / Minden Pictures
When choosing equipment – from camera housings to flash containers to batteries – consider the weather conditions your camera trap will face. Snow, rain and extreme heat will play a factor in how protected you need to keep your gear.
Sensors
Invest in a high-quality active infrared (AIR) sensor or Passive Infra Red (PIR) sensor to place along the animal's path. Sensors automatically activate your camera when wildlife is within range, ensuring you don't miss critical critter moments. Companies we recommend checking out for purchasing sensors are Cognysis and Camtraptions.
Flashes & Triggers
External flashes are essential for creating dramatically lit shots, especially when using wildlife camera traps in low-light or nighttime conditions.
Choose flashes with adjustable power settings and speedy recycle times, letting you control the light output's intensity and frequency.
The Nikon SB-28 is the gold standard. It's beloved among camera trap photographers because it can hold a charge for a long time, even in sleep mode, and wake instantly to get those can't-miss shots. It's also a very budget-friendly option.
Remember to sync your camera and flashes with wireless triggers, opting for reliable ones with long-range transmission and minimal delay. This ensures they fire in perfect harmony when the sensor springs into action.
Batteries
Always carry extra batteries for your camera, flashes, and triggers. Consider investing in high-capacity rechargeable batteries or external battery packs to extend the life of your entire setup. Eneloop is a very popular option.
Memory Cards
Bring ample storage by packing multiple high-capacity memory cards. Choose cards with plenty of storage space (we recommend at least 128 GB) with fast read and write speeds to reduce the risk of missed shots due to buffering. We love the SanDisk Extreme Pro cards for speed and reliability.
Security
Use cable locks or padlocks to deter theft. Additionally, consider using GPS trackers like Apple AirTags to help locate your gear in case it's misplaced or stolen.
Make building your kit easier! We know that putting together a complete camera trap kit can feel a little overwhelming with all the bits and bobs that are needed. So, we've created a kit list with our top recommendations for equipment, from cameras to mounting gear, to make it easier for you to get what you need. This kit list isn't exhaustive, but it covers much of what you'll want.

Photo: PARITNTUB/Shutterstock
Here's a perfect example of a camera trap that is NOT secure – neither from the elements nor passers-by who might want to take that camera home with them.
Choosing a location for your camera trap
Selecting an ideal location for your camera trap is crucial to increasing your chances of gaining insight into the daily lives of wildlife populations.
Here are some key factors in scouting for the perfect spot:
1. Research the area where you plan to set up your camera trap. Familiarize yourself with the local wildlife, their habitats, and animal trails. Consult local experts, park rangers, or wildlife biologists for additional insights.
2. Look for signs of animal activity, such as tracks, scat, feeding sites, dens, or nests. These clues can help you identify frequently used trails, water sources, or other hotspots where animals are likely to visit.
3. Opt for an accessible location to avoid disturbing the wildlife or their habitats. Though it may be tempting to hide your DSLR camera trap in a thick bush or on a steep bank, remember that regular visits may be necessary to check your equipment, change batteries, and retrieve memory cards. When choosing a location, consider the practicality of reaching your spot.
4. Consider environmental factors like weather conditions, seasonal changes, and vegetation growth on your wildlife camera trap setup. Avoid locations prone to flooding or excessive wind, which may damage your equipment or trigger false activations.
5. Use natural framing by paying attention to the composition and aesthetics of your camera trap location. As a wildlife photographer, look for natural elements that can help frame your subject and add depth to your images.
6. Evaluate the lighting in your chosen location. Consider how key light elements like adding flash photography to a particular setting can help achieve dramatically lit shots.
7. Obtain necessary permissions before setting up a camera trap on private or protected land. Be mindful of local regulations, and adhere to ethical guidelines to minimize disturbance to wildlife and their habitats.
As you'll discover, naturalist skills are a HUGE benefit when figuring out where to set up your camera trap. So, download our free guide on learning naturalist skills! It includes exercises and handy field notes templates you can print.
Recommended: Check out our guide to the 8 Best Trail Cameras for Capturing Wildlife for low cost trail cams for scouting locations (or simply dipping your toes into camera trapping without going full DSLR!)
Setting up your camera trap (overview)
Once you've spotted the perfect hideout and assembled your gear, it's time to set up your DSLR camera trap!
- Secure your camera, pointing the lens towards the anticipated animal path, and fine-tune those settings.
- Install the sensor, position your flashes, and test that everything is synced with your camera.
- Before you head out, give the whole camera trap system a test run by pretending to be an animal (go on, channel your inner wildlife!) to ensure everything turns out picture-perfect.
Tip: It's incredibly helpful to make a checklist that you review before leaving the location to ensure you *know* you have everything in place and set up correctly.

Photo: Will Burrard-Lucas / NPL / Minden Pictures
Every camera trap set-up will look different based on where you're placing it and how you want to light the scene. Here's a great example of the gear in the field. Two flashes on either side of a camera will light the scene when the sensor – next to the flash on the right – picks up the movement of an animal .
Positioning your camera
When using camera traps, proper positioning is crucial. Read on for some positioning tips to help you achieve stellar shots.
Mount your camera at an appropriate height based on the size and habits of your target species.
Position the camera lower for smaller animals or ground-dwelling birds. Larger mammals may require a higher vantage point. Be mindful of the potential for curious animals to interact with your equipment (bears love destroying camera traps), and adjust the height accordingly.
Consider the angle of your camera in relation to the expected path of the animal. A perpendicular angle can capture the subject's full profile, while a more oblique angle may provide a dynamic sense of motion. Experiment to find the most visually appealing perspective.
Determine the optimal distance between your camera and the area where you expect animals to appear. This will depend on your camera's focal length, depth of field, and sensor size. Aim to strike a balance between filling the frame with your subject and allowing enough space for unexpected movements or additional animals entering the scene.
Pay attention to the background and surrounding elements when positioning your camera. Look for natural framing and leading lines to guide the viewer's eye toward your subject.
Ensure your camera is stable and securely mounted on a sturdy tripod or attached to a tree using brackets, straps, or other mounting devices. This prevents unwanted camera shake and ensures your photos remain sharp, even in windy conditions or when using slower shutter speeds.


Photos: Terry Whittaker / NPL / Minden Pictures
Where you place your sensors in relation to your camera depends in part on how you want the animal to be framed in the scene – for instance, coming toward your camera or moving across the scene, as in these examples of pine martens photographed in Scotland.
Positioning your sensors
Proper positioning of your sensors is essential when camera trapping, as it directly affects the likelihood of being able to detect animals. Here are some tips to help you achieve the best results when positioning your sensors:
Choose a sensor type that suits your specific needs and target species. Motion sensors detect movement, while infrared sensors detect heat signatures. Each has advantages and limitations depending on the subject you're shooting, so thoroughly research both options before deciding.
Understand the detection range of your sensor, which refers to the maximum distance at which it can detect an animal's presence. Position your sensor within this range to ensure it effectively triggers your trail camera when an animal passes by.
Mount your sensor at a height appropriate for your target species. Smaller animals or ground-dwelling birds may require a lower sensor position, while larger mammals may necessitate a higher placement. Be mindful of potential interference from vegetation or other moving objects, which could cause false triggers.
Position your sensor at an angle that covers the area where you expect animals to appear while minimizing the risk of false triggers from non-target movement. A perpendicular angle to the predicted path can provide the most reliable detection. Angling the sensor upwards or downwards can help avoid unintended triggers from small animals or wind-blown foliage.
Adjust the sensitivity settings of your infrared or PIR motion sensor according to the size and speed of your target species. Smaller, faster animals may require a higher sensitivity setting. In contrast, larger, slower animals could benefit from a lower setting to prevent multiple triggers in quick succession.
If using multiple sensors, ensure sufficient overlap between their detection zones to increase the likelihood of capturing your subject from different angles or during various stages of movement. This can help create a more comprehensive understanding of the animal's behavior and interactions within its environment.
Sync your sensor with your camera and flash triggers, ensuring seamless communication between all components of your DSLR camera trap. Test the synchronization to confirm that your sensor effectively activates the camera and flashes when an animal is detected.

Photo: Tim Laman / NPL / Minden Pictures
Every camera trap photographer has a self-portrait like this! Always test your set-up before you leave. Here, photographer Tim Laman triggers a camera trap to test it during a Conservation International Rapid Assessment Program expedition.
Lighting your scene
Achieving the perfect lighting is crucial. Since you can't rely on natural light alone when using a camera trap, it's essential to understand how to illuminate your scene effectively when you're not there.
Here are our top tips:
1. Take advantage of ambient light sources, such as moonlight, starlight, or nearby artificial lights, to highlight nocturnal creatures and enhance the overall lighting of your scene. Be mindful of potential color casts or mixed lighting situations, and adjust your camera's white balance settings accordingly.
2. Use external flashes to provide the necessary illumination for your subject when ambient light doesn't cut it. Choose flashes with adjustable power settings and fast recycle times to control the intensity and frequency of the light output.
3. Strategically position your flashes to create even, balanced lighting that avoids harsh shadows or overexposure. Experiment with different angles and distances to find the most flattering and natural-looking light for your subject.
4. Soften the light from your flashes using diffusers or softboxes, which help create a more natural, less harsh appearance. This can be particularly important when photographing sensitive or nocturnal creatures that may be startled by intense light.
5. Minimize light spill outside your intended scene by using snoots, grids, or barn doors on your flashes. This helps direct the light precisely where you want it, preventing unwanted illumination of surrounding areas that could distract from your subject.
6. Consider the color temperature of your flashes, which can influence your images' overall mood and atmosphere. Warmer tones can evoke a sense of warmth and comfort, while cooler tones can create a more mysterious or ethereal effect.

Photo: Benjamin Olson / Minden Pictures
Notice the paths animals use regularly to get around. These are great spots to place a camera trap (but take care not to change an animal's behavior with your setup). Here, a frequently-used opening under a fence is the perfect place to make a storytelling photo of an urban red fox.
Camera settings
Since you won't be present to make adjustments when the action unfolds, it's essential to have the settings on your wildlife camera trap as exact as possible.
Here are some essential camera settings tips to consider:
1. Select a shutter speed fast enough to freeze motion and prevent blur, especially when photographing fast-moving or nocturnal animals. Depending on your subject and lighting conditions, a shutter speed of 1/250s or faster may be necessary.
2. Choose an aperture setting that provides an appropriate depth of field for your scene. A smaller aperture (higher f-stop number) increases the depth of field, ensuring more of the scene remains in focus. In comparison, a larger aperture (lower f-stop number) creates a shallower depth of field, isolating your subject from the background.
3. Set your ISO based on the available light and desired image quality. In low-light situations, a higher ISO may be necessary for proper exposure but may introduce noise into the image. Test different ISO levels to find the best balance between exposure and image quality.
4. Use manual focus to pre-focus your camera on the spot where you anticipate your subject will be when the sensor is triggered. This ensures sharp images even in low light or fast-moving situations. Consider using a small aperture to increase the depth of field, making it more likely that your subject remains in focus.
5. Set your camera's white balance to match the lighting conditions in your scene. This helps ensure accurate colors and avoids unwanted color casts. You can use presets like “Daylight” or “Cloudy,” or manually adjust the Kelvin temperature to fine-tune the color balance.
6. Shoot in RAW format. RAW files offer more flexibility for post-processing adjustments but require more storage space and editing time. JPEG files are smaller and more convenient, but may limit your ability to recover details in shadows or highlights during editing.
7. Set your camera's drive mode to continuous shooting or burst mode, allowing it to capture multiple images in quick succession when the infrared or motion sensor is triggered. This increases your chances of capturing the perfect moment as your subject moves through the scene.
8. If your camera offers noise reduction settings for high ISO or long exposures, consider enabling these features to improve image quality in night photography. However, be aware that these settings may increase processing time between shots, potentially causing you to miss critical moments.

Photo: Michael Durham / Minden Pictures
It's not just big animals that can be the star of the show. Tiny critters like rodents, songbirds, even reptiles can be great characters to focus your camera trapping efforts on.
Power considerations
Ensuring all components of your camera trap setup have reliable power is essential for shooting over extended periods. Here are some key power considerations to keep in mind:
Choose a DSLR camera battery with a long life, invest in high-capacity batteries, or include a battery grip in your wireless camera trap system to prolong the time between battery changes.
When purchasing batteries for flashes and triggers, opt for high-quality, high-capacity rechargeable batteries that provide reliable power output and multiple charging cycles.
Consider using external battery packs to extend the runtime of your camera, off-camera flashes, and motion sensors. Ensure these battery packs are compatible with your devices and securely mounted to prevent disconnection or damage.
Explore your camera's power management settings, such as sleep mode or auto power-off, to conserve battery life when the camera is not actively capturing images. Be mindful of the trade-offs between power conservation and camera responsiveness, ensuring your camera remains ready to capture critical moments.
Protect batteries and power sources from extreme temperatures, moisture, and other environmental factors that could affect performance or longevity. Use weather-resistant housings and insulated battery cases to shield your power sources from the elements.
Protecting your gear
Put some attention into safeguarding your camera trap equipment to extend its functionality and longevity – and to protect your investment.
Here are some essential tips for protecting your gear:
1. Use weather-resistant housings or covers for your camera, flashes, and sensors to protect them from rain, dust, and moisture. This prolongs the life of your equipment and helps maintain optimal performance under various environmental conditions.
2. Disguise your camera trap setup with camouflage fabric, netting, or natural materials to blend it into the environment. This reduces the risk of animals being spooked by your equipment and deters potential theft.
3. Ensure your camera, flashes, and sensors are securely mounted on stable tripods, brackets, or straps. This prevents accidental falls, damage, or misalignment caused by wind or animal interactions.
4. Use cable locks, padlocks, or security enclosures to secure your camera, flashes, and other valuable equipment to trees or other sturdy structures. This acts as a deterrent against theft or tampering. You can also attach discreet GPS tracking devices, such as Apple AirTags, to your camera trap equipment to help locate it in case of theft or if it becomes lost or misplaced.
5. Periodically check and maintain your camera traps during site visits. While changing batteries or retrieving memory cards, take a moment to clean the lenses, sensor covers, and flash diffusers to ensure optimal image quality. Tighten mounting hardware, replace worn straps, and address any signs of wear or damage.
6. Consider insurance for your gear to protect your investment in case of theft, damage, or loss. Check with your insurance provider to ensure your gear is adequately covered in remote locations or during extended periods of unattended operation.
7. Be mindful of the impact your camera trap setup may have on the environment and wildlife. Avoid damaging vegetation or disturbing animal habitats during installation, maintenance, or removal of your system. Practice responsible, ethical wildlife photography to protect the subjects you aim to capture.

Photo: Peter Mather / Minden Pictures
Incredible stories can be told in a single frame with this type of photography. Here, the photographer placed a camera trap on a caribou migration pathway, and we get a sense of the epic journey these animals make.
Tips for success
Using a camera trap can be an incredibly rewarding experience, allowing you to capture stunning images of wildlife in their natural habitat. To maximize your success with camera traps, consider the following tips:
Patience is non-negotiable
One of the most important qualities in remote camera photography is patience. Firstly, trying to get cameras, sensors, and flashes to all talk to each other and fire correctly can be frustrating. Take deep breaths, and keep going. Secondly, it may take days, weeks, or even months to capture the perfect shot. Embrace the waiting process, as it often leads to joyful surprises and a deepened understanding of your subject's behavior and environment.
Research your subjects
Spend time researching the habits, preferred habitats, and patterns of movement of the species you wish to photograph to that your system can best detect animals. Understanding your target subject increases your chances of capturing compelling images and helps you make informed decisions about camera placement, sensor positioning, and lighting.
Test your setup
Before leaving your camera trap unattended, test your entire camera trap system by simulating animal movement in front of the sensor. Check that the camera and flashes are firing correctly, and review the test images to ensure proper exposure, focus, and composition.
Carry backup equipment
Bring spare batteries, memory cards, and other essential components during site visits to replace malfunctioning or depleted items. Having backup equipment on hand ensures your camera trap remains operational and increases your chances of capturing stunning wildlife images.
Learn from your images
Analyze the images captured by your camera trap to understand better your target species' behavior, movements, and interactions. Use the insights gained from your captured images to refine your setup and improve your images.
Experiment and innovate
Feel free to try new techniques, equipment, or approaches. Experimentation can lead to breakthroughs in capturing unique perspectives on how an animal moves throughout their environment, revealing previously unseen aspects of wildlife behavior.
With time, practice, and a LOT of patience, you'll become skilled in this niche while enhancing your wildlife knowledge.

Photo: Peter Mather / Minden Pictures
As you set up your camera trap, consider the story you want to tell about your target subject. That'll inform the location, how high or low you place the camera, at what angle you place your sensors, and so on. Then, cross your fingers. The animals have full control from there.
Camera-trapping conservation photographers to inspire you
If you’re looking for inspiration to take your camera trap photography skills to the next level, there are several accomplished conservation photographers who have made a name for themselves with stunning images captured using camera traps.
From photographing endangered pygmy rabbits to documenting elusive predators in their natural habitat, these talented photographers have created remarkable images that not only will inspire you, but also motivate you to use the photos you make to protect the habitats and species you love.
Here are just a few of the many inspirational conservation photographers creating beautiful images with camera traps.
❂ Morgan Heim – Her story on endangered Columbia Basin pygmy rabbits won hearts and much-needed attention for this tiny species with a big conservation story. It's just one of the many ways she's used camera trapping in her conservation-focused wildlife photojournalism stories.
❂ Sebastian Kennerknecht – His photography of wild cats helps Panthera and other organizations protect felid species around the world.
❂ Carlton Ward Jr – His long-term project, WildPath and film Path of the Panther is an unquestionable leader in using camera trap technology to create incredible images that advance a conservation effort.
❂ David Moskowitz – His camera trap photography illuminates the lives of endangered caribou and other species that call the Pacific Northwest home.
❂ Roy Dunn – His urban and exurban camera trap work shines a spotlight on the ways cougars find ways to live among people.
❂ Jenn Guyton – Her camera-trapping skills brought viewers into the heart of the Gorongosa and life at a watering hole.
❂ Peter Mather – His remote camera photography of brown bears, wolverines, foxes, and other wildlife living in the far north illuminates the richness of this chilly and exceptional part of the wold.
❂ Roy Toft – His backyard camera trap project focuses on the wildlife living all around us in suburban habitats, and all we can do to protect nature right in our own backyards.
Several of these fantastic photographers have been interviewed on Impact: The Conservation Photography podcast! Dive into our episodes with them >>>

Photo: Terry Whittaker / 2020VISION / NPL / Minden Pictures
Wherever you live, there is opportunity to try out camera trapping and tell the amazing stories of our wild world. Have fun out there!

")